TH-A9 specifications
The JVC TH-A9 is an advanced home theater system designed to deliver an immersive audio-visual experience. This powerful system combines cutting-edge technology with user-friendly features, making it a popular choice among home entertainment enthusiasts.At the heart of the JVC TH-A9 is its 5.1-channel surround sound configuration. The system includes five satellite speakers and a dedicated subwoofer, designed to create a three-dimensional soundstage that immerses viewers in their favorite movies, music, and games. The satellite speakers feature a compact design, making them easy to place around your room without overwhelming your space. The subwoofer delivers deep, rich bass, ensuring that every explosion and musical note resonates with intensity.
One of the standout features of the TH-A9 is its Dolby Digital and DTS decoding capabilities. These technologies provide high-quality audio reproduction, allowing users to enjoy cinematic sound experiences. Whether it's an intense action scene or a subtle dialogue, the system ensures clarity and precision in sound delivery.
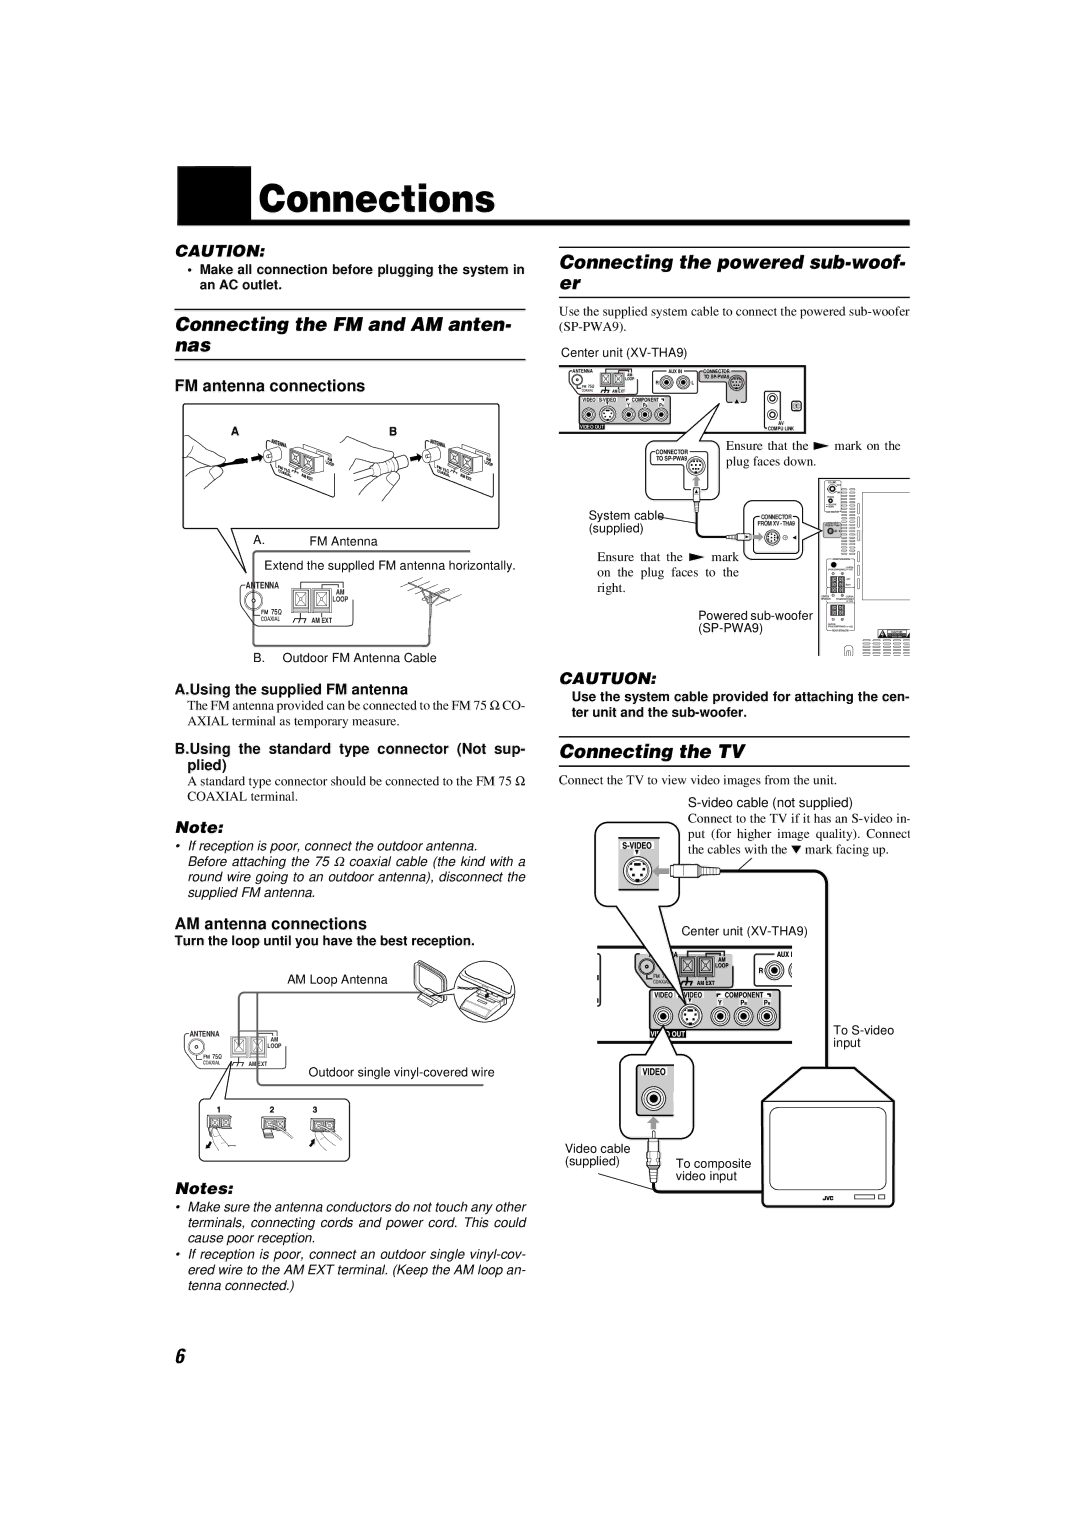
Connectivity is another area where the JVC TH-A9 excels. The system is equipped with multiple input options, including HDMI and optical audio inputs, allowing users to connect their Blu-ray players, gaming consoles, and streaming devices easily. Additionally, the system features Bluetooth connectivity, enabling users to stream audio directly from their smartphones or tablets, adding to its versatility.
For ease of use, the JVC TH-A9 comes with a user-friendly remote control, allowing users to adjust settings, switch inputs, and control volume without the need to leave their seat. The system also features an on-screen display, providing intuitive navigation through the various audio settings and preferences.
In summary, the JVC TH-A9 is a robust home theater system that combines powerful sound with modern connectivity options. With its 5.1-channel surround sound configuration, Dolby Digital and DTS support, and user-friendly design features, it offers an excellent solution for anyone looking to enhance their home entertainment experience. The combination of performance and convenience makes the JVC TH-A9 a worthy investment for both casual viewers and dedicated audiophiles.

