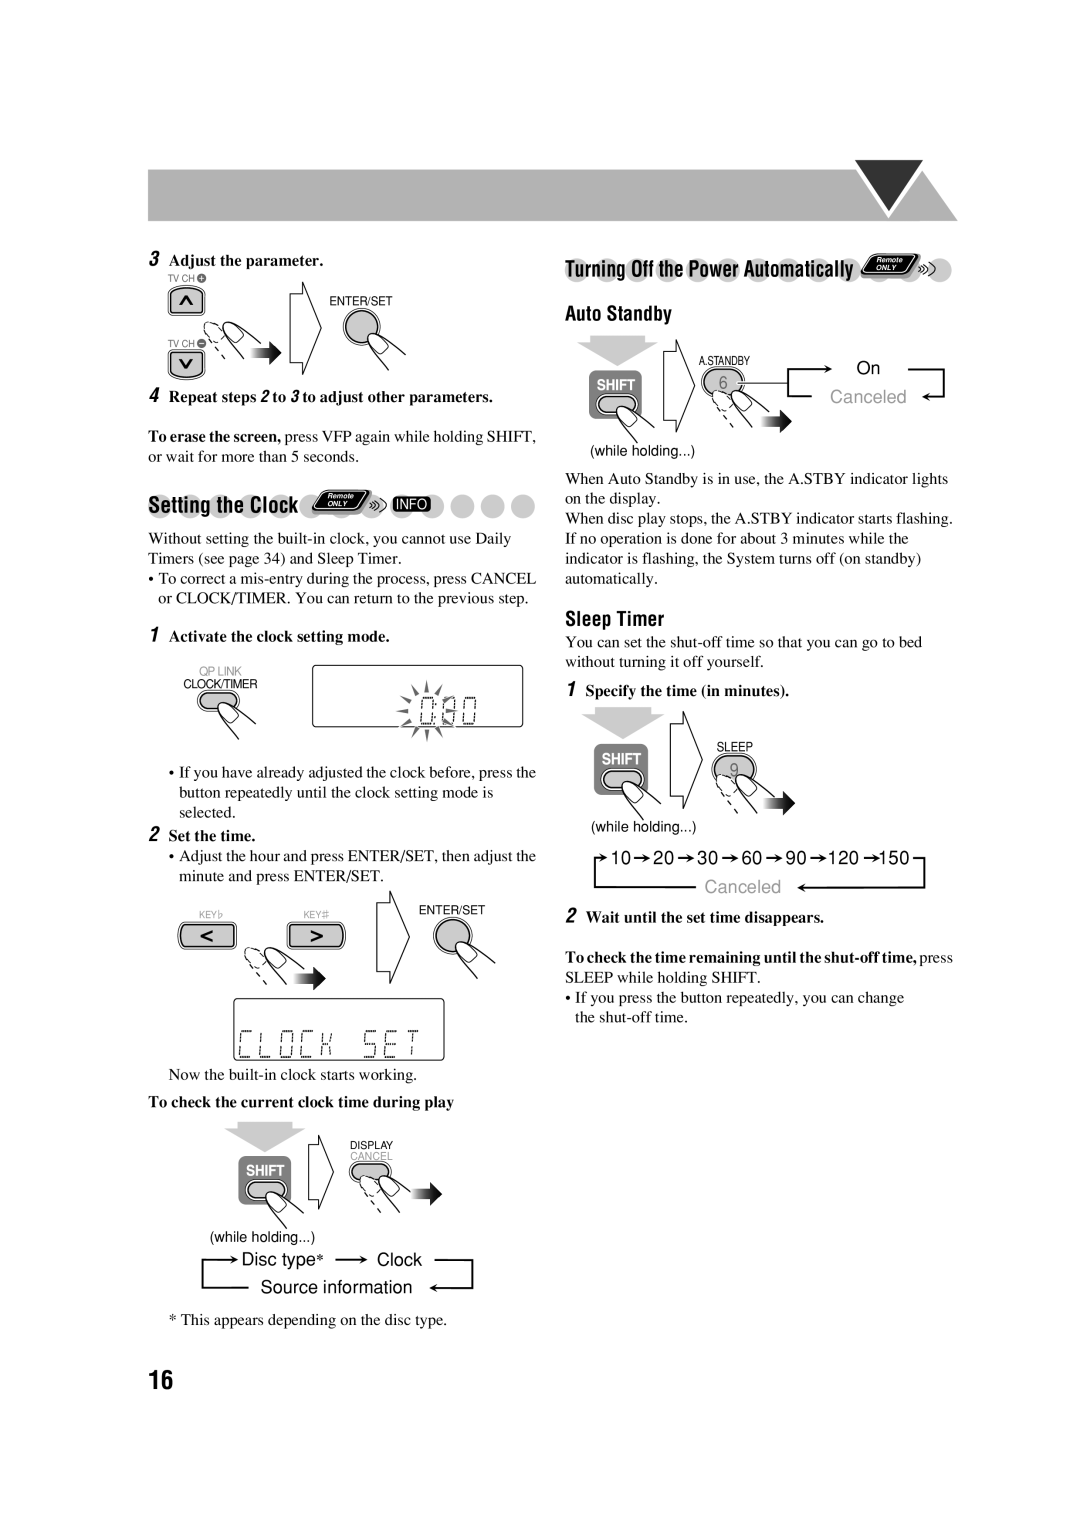
3Adjust the parameter.
TV CH ![]()
ENTER/SET
TV CH ![]()
4Repeat steps 2 to 3 to adjust other parameters.
To erase the screen, press VFP again while holding SHIFT, or wait for more than 5 seconds.
Setting the Clock | Remote | INFO |
ONLY |
Without setting the
•To correct a
1Activate the clock setting mode.
QP LINK | 1DISC ALL | MP3 WMA MONO ST TA NEWS INFO A.STBY REC | |
CLOCK/TIMER | QP Link PG PL USB | AHB PRO S.TURBO SLEEP | |
GROUP RANDOM | PRGM 3D PHONIC | PRGR. B.S.P. BONUS REC 1 2 3 | |
•If you have already adjusted the clock before, press the button repeatedly until the clock setting mode is selected.
2Set the time.
•Adjust the hour and press ENTER/SET, then adjust the minute and press ENTER/SET.
KEY | KEY | ENTER/SET |
| MP3 WMA MONO ST TA NEWS INFO A.STBY REC | |
1DISC ALL | QP Link PG PL USB | AHB PRO S.TURBO SLEEP |
GROUP RANDOM | PRGM 3D PHONIC | PRGR. B.S.P. BONUS REC 1 2 3 |
Now the
To check the current clock time during play
DISPLAY
CANCEL
(while holding...)
Disc type* | Clock |
Source information
* This appears depending on the disc type.
Turning Off the Power Automatically | Remote | |
ONLY | ||
|
Auto Standby
A.STANDBYOn
6
Canceled
(while holding...)
When Auto Standby is in use, the A.STBY indicator lights on the display.
When disc play stops, the A.STBY indicator starts flashing. If no operation is done for about 3 minutes while the indicator is flashing, the System turns off (on standby) automatically.
Sleep Timer
You can set the
1Specify the time (in minutes).
SLEEP
9
(while holding...)
10 |
| 20 |
| 30 |
| 60 |
| 90 |
| 120 |
| 150 |
|
|
|
|
|
|
Canceled
2Wait until the set time disappears.
To check the time remaining until the
SLEEP while holding SHIFT.
•If you press the button repeatedly, you can change the
16