Using the Timers | Continued |
There are four timers
2Set the on-time when you want the unit
to turn on. | UP |
English
clock (see page 10).
Using Daily Timer and Recording Timer
You can set the timer whether the unit is on or off.
How the timer actually works
When the ![]() [timer] indicator flashes just before the on- time and continues flashing while the timer is operating). Then, when the
[timer] indicator flashes just before the on- time and continues flashing while the timer is operating). Then, when the
The timer setting remains in memory until you change
On the remote control:
1)Press ![]() UP or
UP or ![]() DOWN to set the hour, then press
DOWN to set the hour, then press
CLOCK/TIMER.
2)Press ![]() UP or
UP or ![]() DOWN to set the minute, then press
DOWN to set the minute, then press
CLOCK/TIMER.
On the unit:
1)Press ¢ or 4 to set the hour, then press TIMER/ SNOOZE.
2)Press ¢ or 4 to set the minute, then press
TIMER/SNOOZE.
![]() DOWN
DOWN
CLOCK / TIMER
TIMER/SNOOZE
it.
•When the ![]() (timer) indicator is lit on the display, the timer acts as the Daily Timer. Once the timer has been set, it will be activated at the same time everyday until the timer is turned off.
(timer) indicator is lit on the display, the timer acts as the Daily Timer. Once the timer has been set, it will be activated at the same time everyday until the timer is turned off.
•When the ![]() (timer) and the REC indicators are lit on the display, the timer acts as the Recording Timer. After the
(timer) and the REC indicators are lit on the display, the timer acts as the Recording Timer. After the
Before you start...
When using “ TUNER” as the source to play, make sure to select the desired station before turning off the power.
•There is a time limit in doing the following steps. If the setting is canceled before you finish, start over from step 1.
The OFF indicator lights up and the unit enters
OFF
3Set the off-time when you want the unit
to turn off (standby).
On the remote control:
1)Press ![]() UP or
UP or ![]() DOWN to set the hour, then press CLOCK/TIMER.
DOWN to set the hour, then press CLOCK/TIMER.
2)Press ![]() UP or
UP or ![]() DOWN to set the minute, then press CLOCK/TIMER.
DOWN to set the minute, then press CLOCK/TIMER.
On the unit:
1) Press ¢ or 4 to set the hour, then press |
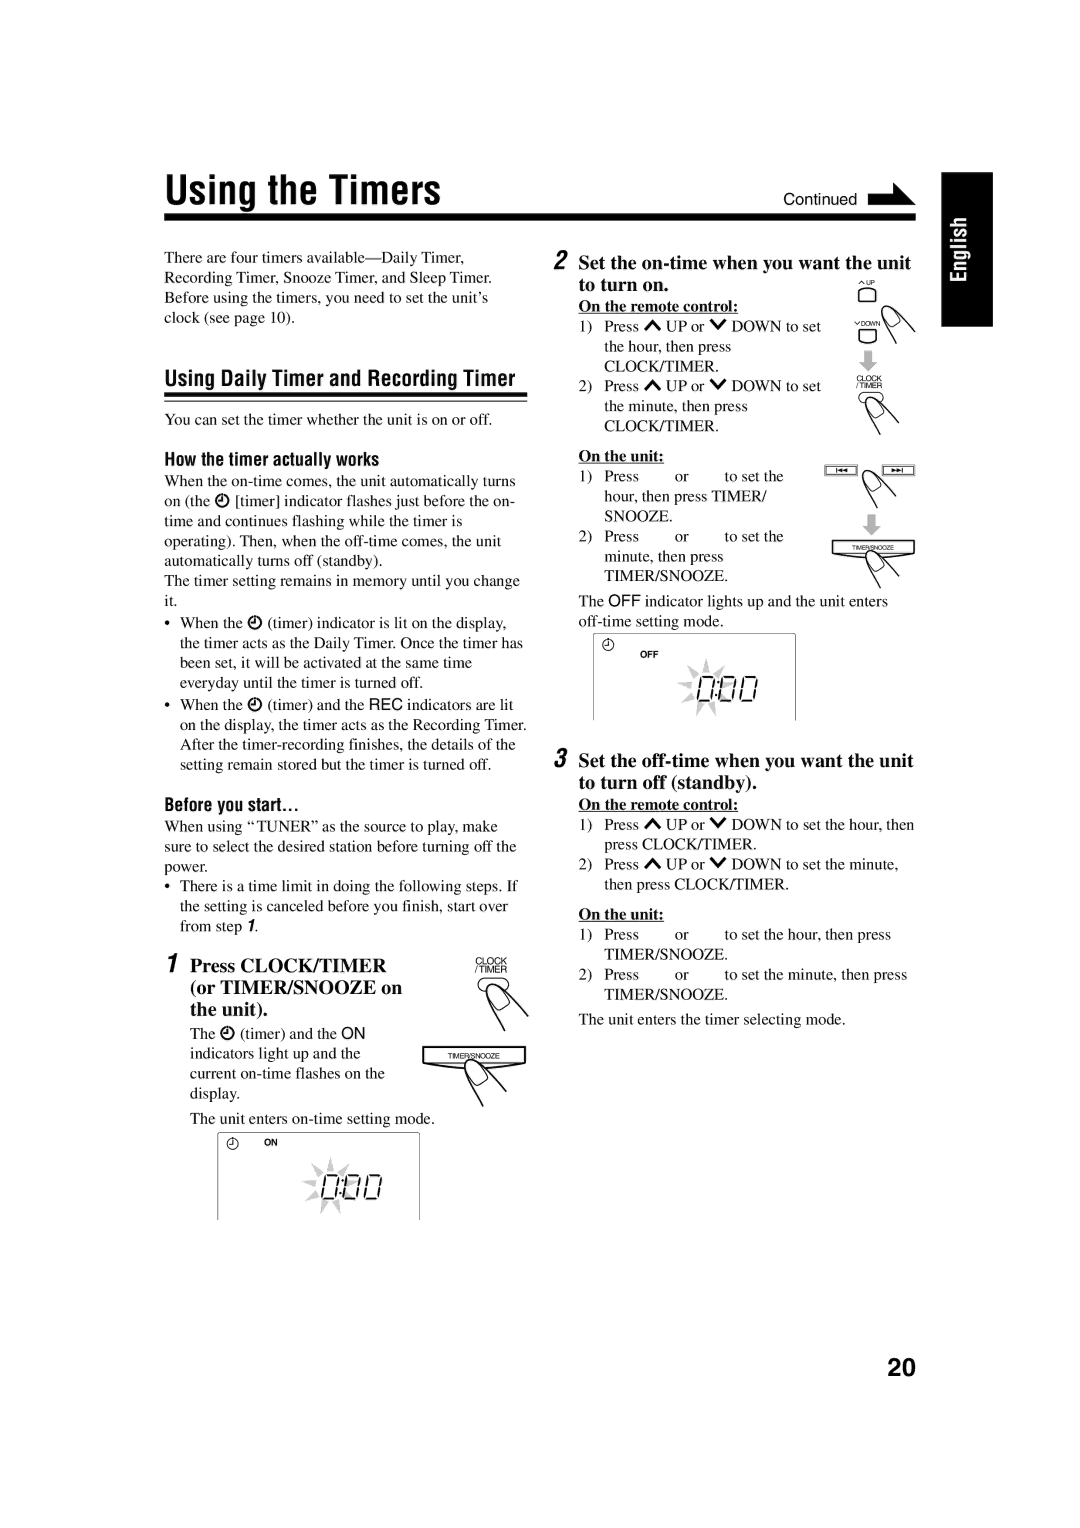
1Press CLOCK/TIMER (or TIMER/SNOOZE on the unit).
The ![]() (timer) and the ON indicators light up and the current
(timer) and the ON indicators light up and the current
The unit enters
CLOCK / TIMER
TIMER/SNOOZE
TIMER/SNOOZE. |
2) Press ¢ or 4 to set the minute, then press |
TIMER/SNOOZE. |
The unit enters the timer selecting mode.
ON
20