Recording | Continued |
IMPORTANT:
•It may be unlawful to record or play back copyrighted material without the consent of the copyright owner.
•The recording level is automatically set correctly, so it is not affected by the other sound settings. Thus, during recording you can adjust the sound you are actually listening to without affecting the recording level.
•If recordings you have made have excessive noise or static, the unit may be too close to a TV. Increase the distance between the TV and the unit.
•You can use type I tape for recording.
2Close the cassette holder gently and check the recording direction for the tape.
•If the tape direction is not correct, press 2 3 TAPE twice then 7 to change the tape direction.
•If you want to record on both sides of a tape, see “To record on both
3Start playing the
•When the source is the CD player, see “Disc Direct Recording” on page 19.
English
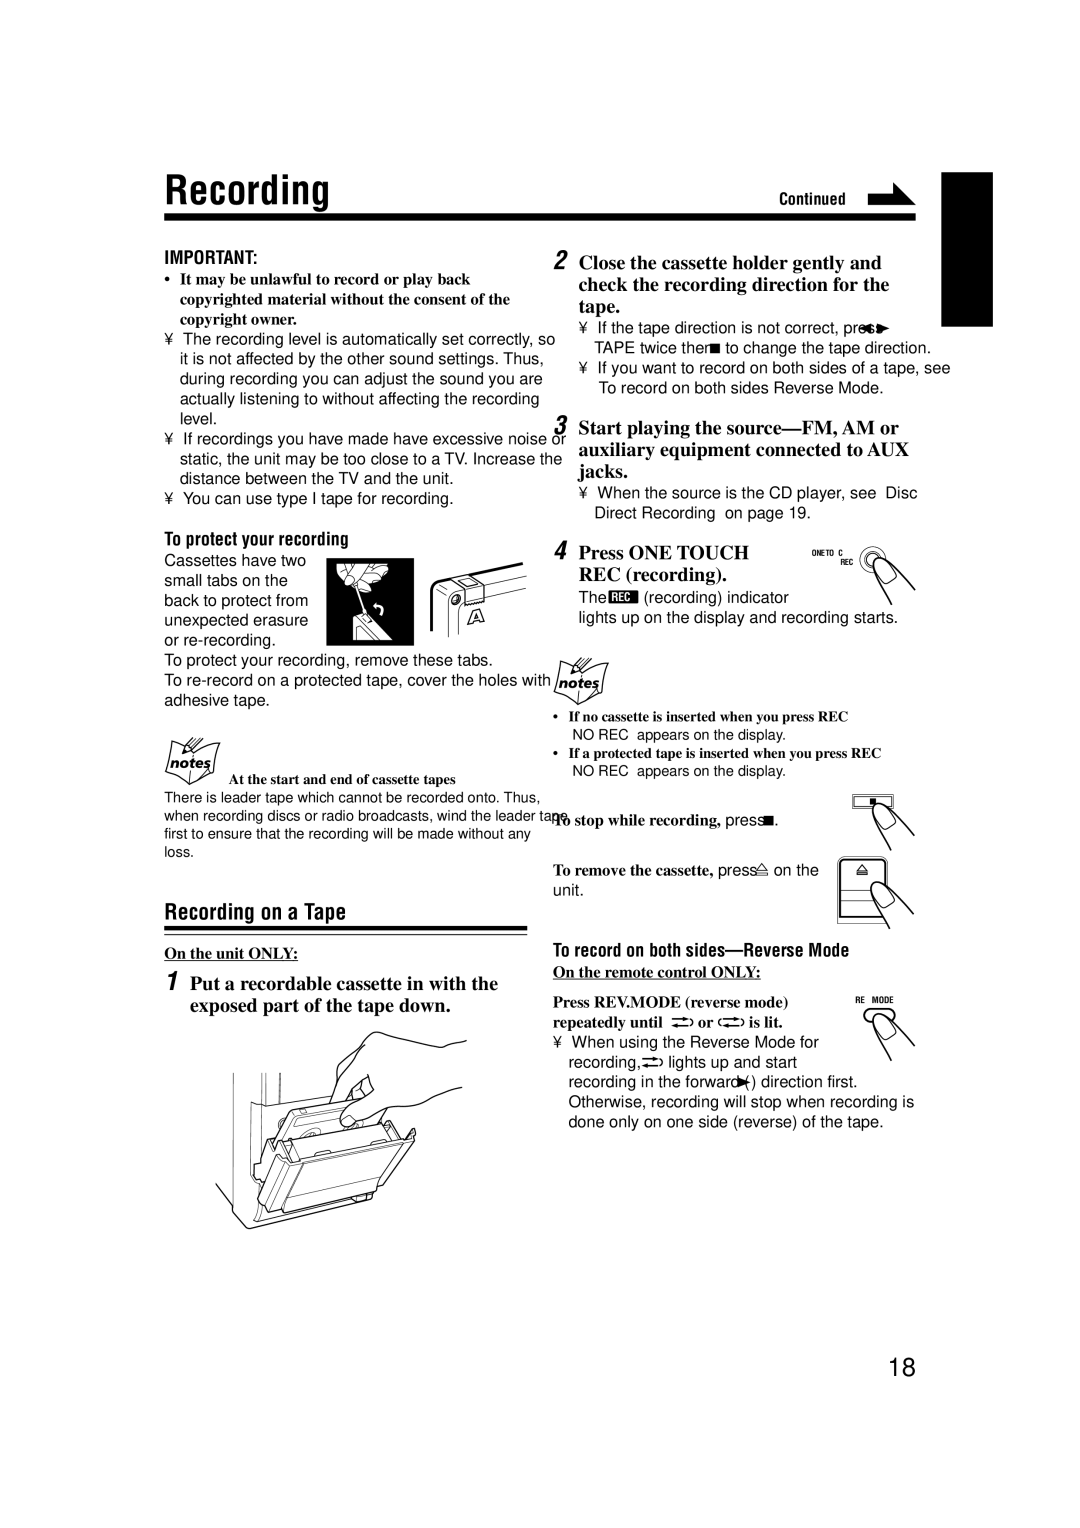
To protect your recording
Cassettes have two
small tabs on the
back to protect from unexpected erasure
or
To protect your recording, remove these tabs.
To
At the start and end of cassette tapes
There is leader tape which cannot be recorded onto. Thus, when recording discs or radio broadcasts, wind the leader tape first to ensure that the recording will be made without any loss.
Recording on a Tape
On the unit ONLY:
1Put a recordable cassette in with the exposed part of the tape down.
4 Press ONE TOUCH | REC |
| ONE TOUCH |
REC (recording). |
|
The REC (recording) indicator
lights up on the display and recording starts.
•If no cassette is inserted when you press REC “NO REC” appears on the display.
•If a protected tape is inserted when you press REC “NO REC” appears on the display.
To stop while recording, press 7.
To remove the cassette, press ) on the
unit.
To record on both sides—Reverse Mode
On the remote control ONLY:
Press REV.MODE (reverse mode) | REV.MODE | ||
|
|
| |
repeatedly until | or | is lit. |
|
•When using the Reverse Mode for
recording, ![]()
![]() lights up and start recording in the forward (3) direction first. Otherwise, recording will stop when recording is done only on one side (reverse) of the tape.
lights up and start recording in the forward (3) direction first. Otherwise, recording will stop when recording is done only on one side (reverse) of the tape.
18