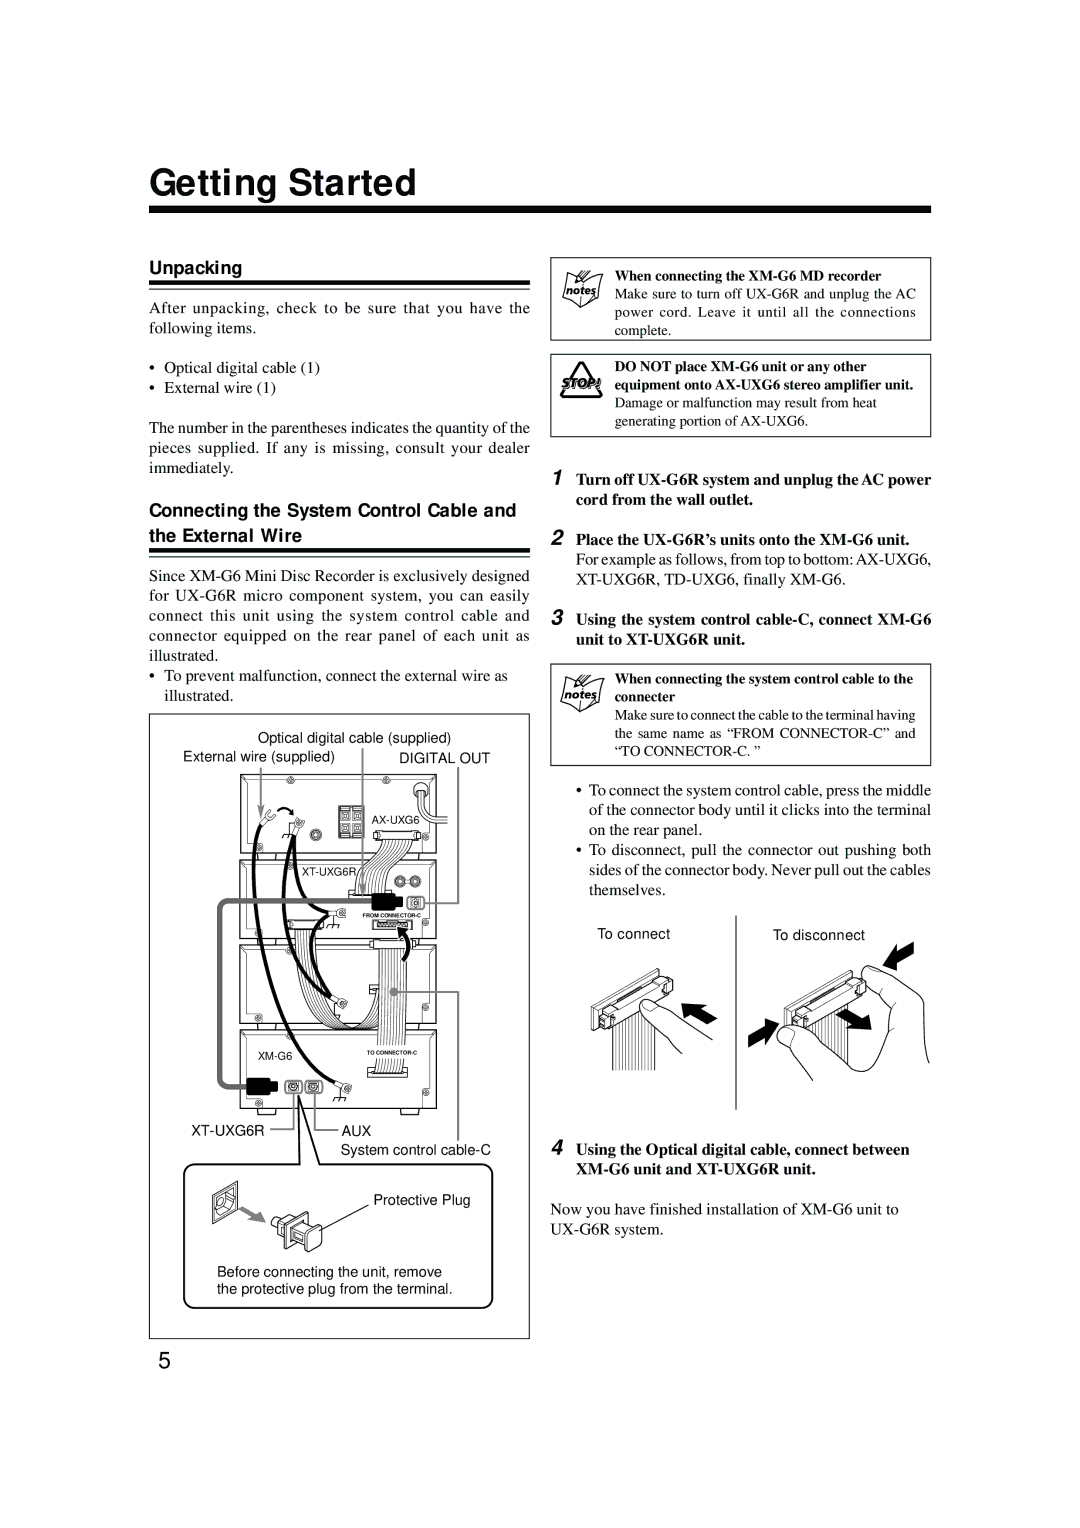
XM-G6 specifications
The JVC XM-G6 is a high-performance amplifier that has made its mark in the world of car audio equipment, particularly among enthusiasts looking to enhance their audio experience on the road. Designed with versatility and power in mind, the XM-G6 boasts a range of features that cater to both casual listeners and audiophiles alike.One of the standout features of the JVC XM-G6 is its robust power output. It delivers an impressive 600 watts of maximum power, enabling users to achieve a dynamic and impactful sound performance. This power output is structured to provide a clean and distortion-free signal, ensuring that even at high volumes, the audio remains clear and enjoyable.
The amplifier operates on a Class D topology, which contributes to its efficiency and compact design. Class D amplifiers are known for their ability to produce high power output with minimal heat generation, allowing for smaller chassis sizes without compromising on performance. This means that the XM-G6 can easily fit into tight spaces within the vehicle without sacrificing audio quality.
Another noteworthy characteristic of the JVC XM-G6 is its adjustable low-pass and high-pass filters. These filters allow users to customize the audio output to their specific preferences, enabling the integration of various speaker setups. Users can easily tune the amplifier to work optimally with subwoofers or full-range speakers, ensuring that each component of the audio system performs to its fullest potential.
The amplifier is also equipped with a bridgeable design, allowing for flexibility in system configuration. Users can connect multiple speakers and subwoofers to create a more complex audio setup, or bridge two channels to drive a single, more powerful subwoofer. This versatility makes the XM-G6 an excellent choice for those looking to build or upgrade their car audio system.
In terms of durability, the JVC XM-G6 features a robust construction designed to withstand the rigors of automotive environments. The amplifier is built with high-quality components that ensure long-lasting performance, reducing the likelihood of failure over time.
In summary, the JVC XM-G6 is a feature-rich amplifier that combines powerful output, efficiency, and versatility. Its Class D design, adjustable filters, and bridgeable channels make it an ideal choice for anyone serious about car audio. With its solid construction and reliable performance, the XM-G6 is a valuable addition to any vehicle's audio system.

