Press WATER/ICE to manually turn off the Measured Fill feature.
NOTE: The dispenser will automatically turn off Measured Fill after 1 minute of inactivity. When Measured Fill is turned off, any changes you have made will be lost and all defaults will be restored.
2.You can dispense water by the ounce, cup, or liter. The default unit is ounces. To switch to cups or liters while the Measured Fill feature is already on, press the MEASURED FILL button to toggle through the available units.
Default, minimum, and maximum volumes are listed below.
Units | Default | Minimum | Maximum |
Ounces | 8 | 1 | 128 |
Cups | 1 | 1/4 | 16 |
Liters | 0.25 | 0.05 | 4.00 |
3.Press the SETTINGS and TEMPERATURE buttons to adjust the volume as desired. The SETTINGS button increases the
volume, and the TEMPERATURE button lowers the volume.
NOTE: Most coffee cups (commonly 4 to 6 oz [118 to
177 mL] per cup) are not the same size as a measuring cup (8 oz [237 mL]). You may need to adjust the volume to avoid unintentionally overfilling coffee cups.
4.You can save one "favorite" volume for repeated use. Adjust the settings until the desired volume is displayed, then press LOCI< to save the volume. In future Measured Fill use, press LOCI< to access the saved volume setting.
NOTE: You can only save one "favorite." Saving a new volume will overwrite the
5.To dispense water, press a sturdy glass against the dispenser
pad OR place the glass below the dispenser opening and
press either the DISPENSE WATER button or the LIGHT button.
NOTE: While dispensing water, the digital display will count down how much water remains to be dispensed, according to the volume you selected. The flow of water will
automatically stop once the desired volume has been dispensed.
6.To stop dispensing before the selected volume has been dispensed, remove the glass from the dispenser pad OR press either the DISPENSE WATER button or the LIGHT button a second time.
NOTE: If you stop dispensing before the desired volume has been dispensed, the digital display will continue to show how much water remains to be dispensed. The display will turn off after 1 minute of inactivity.
The Ice Dispenser
Ice dispenses from the ice maker storage bin in the freezer when the dispenser pad is pressed. To turn off the ice maker, see "Ice Maker and Storage Bin."
Your ice maker can produce both crushed and cubed ice. Before dispensing ice, select which type of ice you prefer by pressing
the WATER/ICE button.
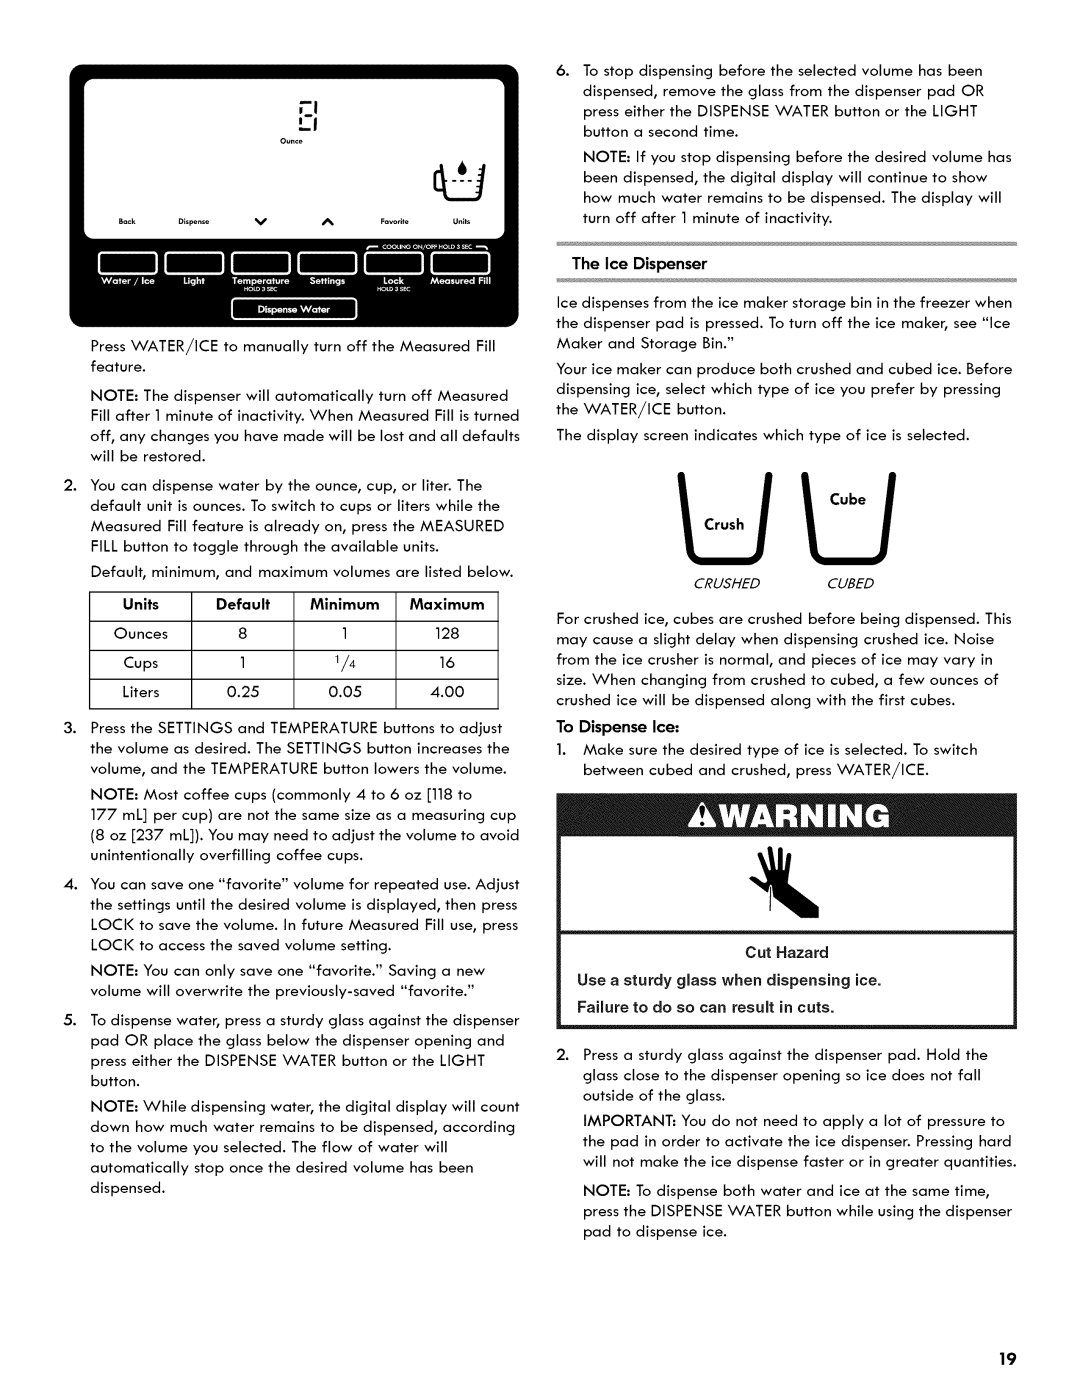
The display screen indicates which type of ice is selected.
CRUSHEDCUBED
For crushed ice, cubes are crushed before being dispensed. This may cause a slight delay when dispensing crushed ice. Noise from the ice crusher is normal, and pieces of ice may vary in size. When changing from crushed to cubed, a few ounces of crushed ice will be dispensed along with the first cubes.
To Dispense Ice:
1.Make sure the desired type of ice is selected. To switch between cubed and crushed, press WATER/ICE.
Cut Hazard
Use a sturdy glass when dispensing ice.
Failure to do so can result in cuts.
2.Press a sturdy glass against the dispenser pad. Hold the glass close to the dispenser opening so ice does not fall outside of the glass.
IMPORTANT: You do not need to apply a lot of pressure to the pad in order to activate the ice dispenser. Pressing hard will not make the ice dispense faster or in greater quantities.
NOTE: To dispense both water and ice at the same time, press the DISPENSE WATER button while using the dispenser pad to dispense ice.
19