Service and Adjustment (cont'd)
Element Cleaning/
Replacement
l | A IMPORTANT | I |
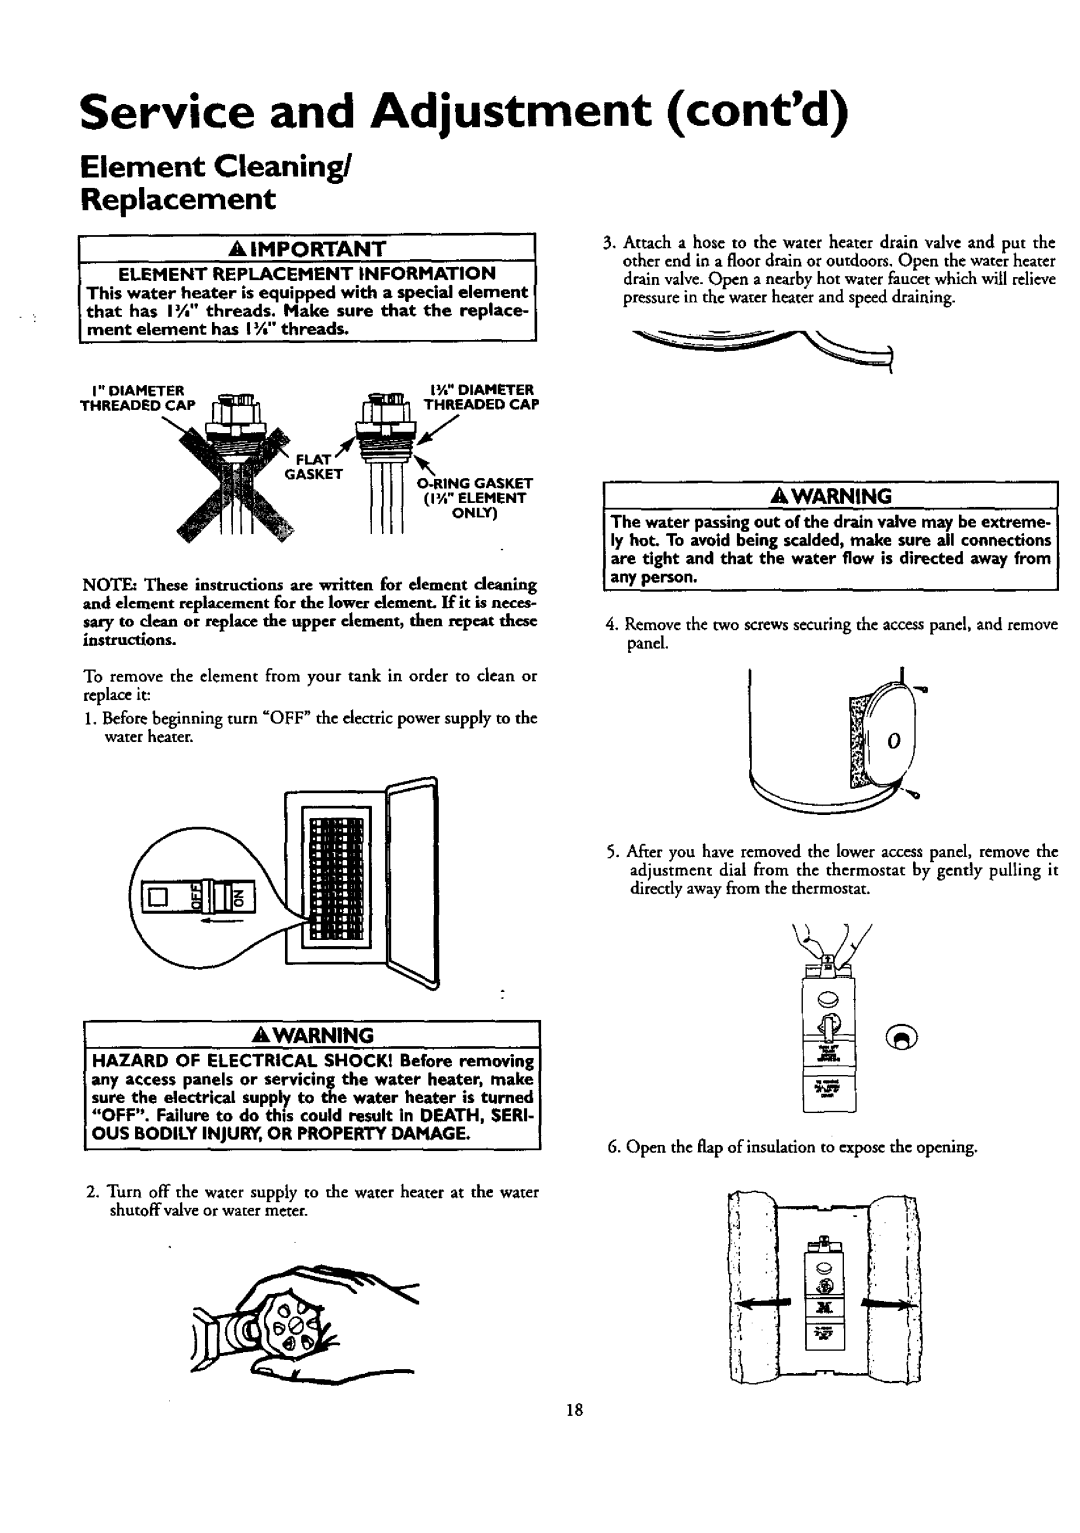
ELEMENT REPLACEMENT INFORMATION I This water heater is equipped with a special element
that has I%" threads. Make sure that the replace- ment element has I_ threads.
I" DIAMETER | lY*" DIAMETER |
THREADED CAP | THREADED CAP |
| |
| (1_" ELEMENT |
| ONLY) |
NOTE." These instructions are written for element deanlng
and element replacement for the lower element. ][fit is neces-
sary to clean or replace the upper element, thee repeat these instructions.
To remove the element from your tank in order to clean or replace it:
1.Before beginning turn "OFF" the electric power supply to the water heater.
AWARNING
HAZARD OF ELECTRICAL SHOCK! Before removing I any access panels or servicing the water heater, make
I sure the electrical suppl.yto the water heater is tumed I "OFF". Failure to do thin could result in DEATH, SERI- I
I OUS BODILY INJURY,OR PROPERTY DAMAGE. | I |
2.Turn off the water supply to the water heater at the water shutoffvalve or water meter.
3.Attach a hose to the water heater drain valve and put the other end in a floor drain or outdoors. Open the water heater drain valve. Open a nearby hot water faucet which will relieve pressure in the water heater and speed draining.
AWARNINGI
The water passingout of the drain valve may be extreme- ly hot. To avoid being scalded, make sure all connectionsI are tight and that the water flow is directed away from any person.
4.Remove the two screws securing the access panel, and remove panel.
5.After you have removed the lower access panel, remove the adjustment dial from the thermostat by gently pulling it directly away from the thermostat.
6. Open the flap of insulation to expose the opening.
.14
18