Setting Oven Controls

Setting Clock

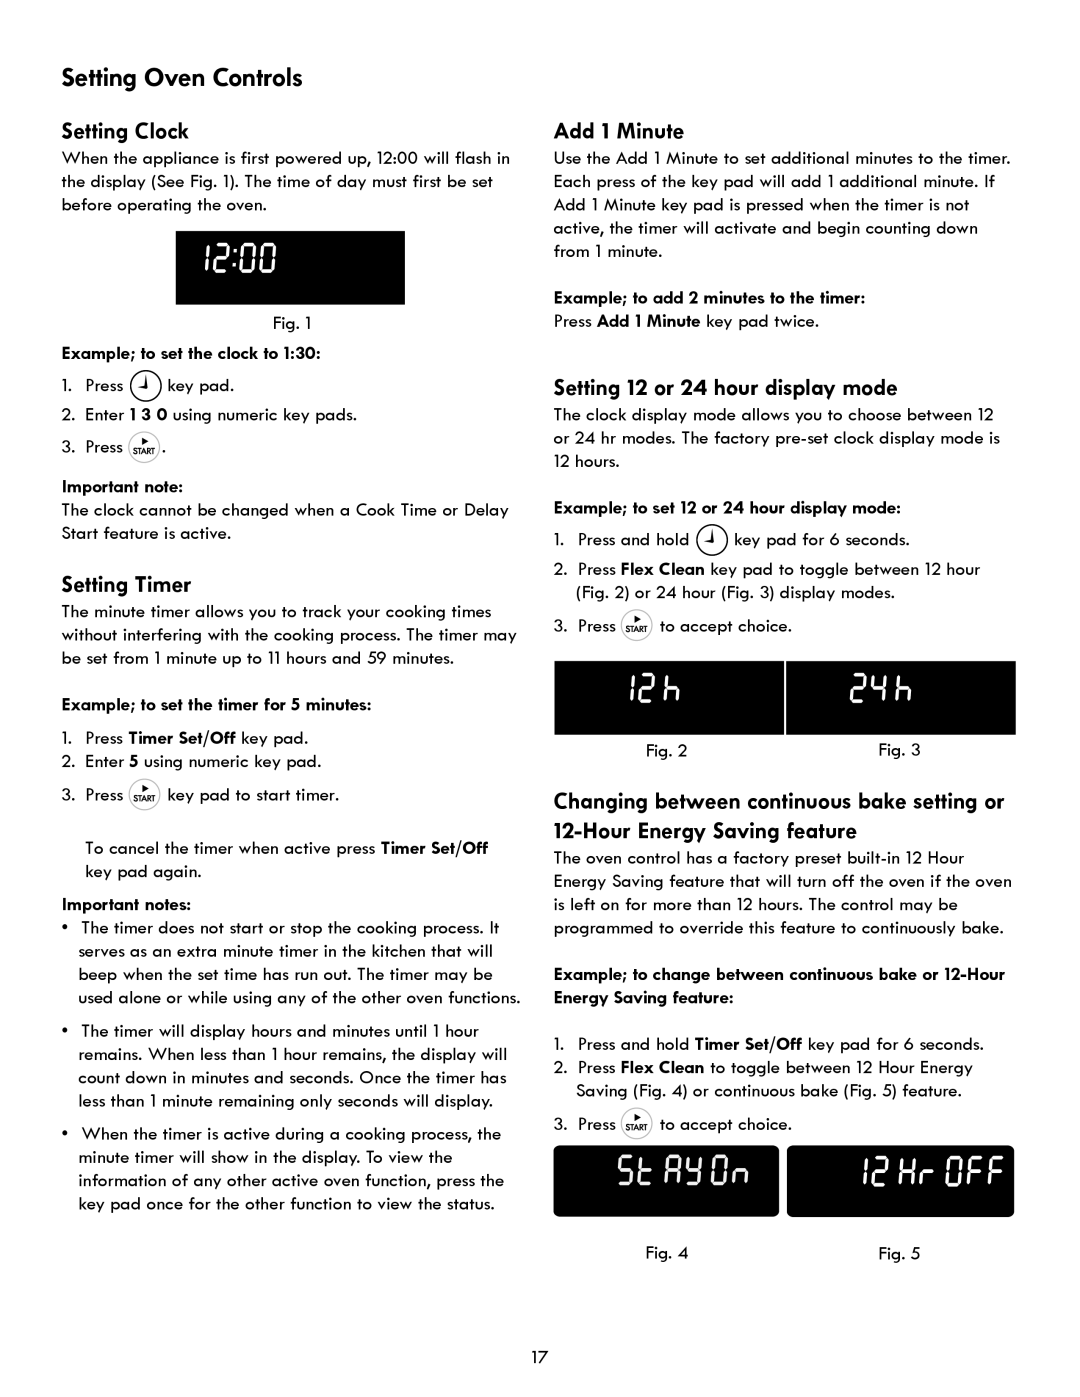
When the appliance is first powered up, 12:00 will flash in the display (See Fig. 1). The time of day must first be set before operating the oven.

Fig. 1

Example; to set the clock to 1:30:

1.Press key pad.

2.Enter 1 3 0 using numeric key pads.

3.Press .

Important note:

The clock cannot be changed when a Cook Time or Delay Start feature is active.

Setting Timer

The minute timer allows you to track your cooking times without interfering with the cooking process. The timer may be set from 1 minute up to 11 hours and 59 minutes.

Example; to set the timer for 5 minutes:

1.Press Timer Set/Off key pad.

2.Enter 5 using numeric key pad.

3.Press key pad to start timer.

To cancel the timer when active press Timer Set/Off key pad again.

Important notes:

The timer does not start or stop the cooking process. It serves as an extra minute timer in the kitchen that will beep when the set time has run out. The timer may be used alone or while using any of the other oven functions.

The timer will display hours and minutes until 1 hour remains. When less than 1 hour remains, the display will count down in minutes and seconds. Once the timer has less than 1 minute remaining only seconds will display.

When the timer is active during a cooking process, the minute timer will show in the display. To view the information of any other active oven function, press the key pad once for the other function to view the status.

Add 1 Minute

Use the Add 1 Minute to set additional minutes to the timer. Each press of the key pad will add 1 additional minute. If Add 1 Minute key pad is pressed when the timer is not active, the timer will activate and begin counting down from 1 minute.

Example; to add 2 minutes to the timer:

Press Add 1 Minute key pad twice.

Setting 12 or 24 hour display mode

The clock display mode allows you to choose between 12 or 24 hr modes. The factory pre-set clock display mode is 12 hours.

Example; to set 12 or 24 hour display mode:

1.Press and hold key pad for 6 seconds.

2.Press Flex Clean key pad to toggle between 12 hour (Fig. 2) or 24 hour (Fig. 3) display modes.

3.Press to accept choice.

Fig. 2

Fig. 3

Changing between continuous bake setting or 12-Hour Energy Saving feature

The oven control has a factory preset built-in 12 Hour Energy Saving feature that will turn off the oven if the oven is left on for more than 12 hours. The control may be programmed to override this feature to continuously bake.

Example; to change between continuous bake or 12-Hour Energy Saving feature:

1.Press and hold Timer Set/Off key pad for 6 seconds.

2.Press Flex Clean to toggle between 12 Hour Energy Saving (Fig. 4) or continuous bake (Fig. 5) feature.

3.Press to accept choice.

Fig. 4

Fig. 5

17

Page 17
Image 17
Kenmore 790 manual Setting Oven Controls, Setting Clock, Setting Timer, Add 1 Minute, Setting 12 or 24 hour display mode

790 specifications

The Kenmore 790 series is a versatile and efficient line of kitchen ranges designed to meet the needs of modern home chefs. With a reputation for quality and innovation, Kenmore has ensured that the 790 models are equipped with features that enhance cooking performance, convenience, and safety.

One of the standout characteristics of the Kenmore 790 series is its powerful oven technology. Many models come with True Convection cooking, which utilizes a fan and additional heating element to circulate hot air throughout the oven cavity. This technology promotes even cooking and browning, making it ideal for baking and roasting. Users can enjoy perfectly cooked meals with consistent results.

The Kenmore 790 ranges often feature a variety of cooktop options, including gas burners and electric elements. Models with gas cooktops provide precise temperature control, allowing for quick adjustments during cooking. The burners vary in size and power, accommodating dishes that require low simmering or high-heat searing. For those who prefer electric cooking, induction cooktops are available, providing fast heating and energy efficiency.

Ease of use is another focal point in the design of the Kenmore 790 series. Many models include an intuitive digital control panel that simplifies oven operation, offering features like programmable cooking times and temperature settings. Additionally, the ranges often incorporate self-cleaning options, saving users time and effort in maintaining a clean cooking environment.

Safety features are paramount in the Kenmore 790 series, with options such as oven lockout settings and auto shut-off functions. These features ensure peace of mind while cooking, especially in households with children.

In terms of aesthetics, the Kenmore 790 models present a sleek and modern design. They typically come in a variety of finishes, including stainless steel, allowing them to seamlessly blend with different kitchen styles.

Lastly, energy efficiency is a key consideration in the design of the Kenmore 790 ranges. Many models are Energy Star certified, ensuring that they consume less electricity or gas without compromising performance, thus benefiting both the environment and household budgets.

In summary, the Kenmore 790 series stands out for its array of cooking technologies, safety features, and user-friendly interfaces, making it a reliable choice for anyone looking to elevate their culinary experience at home. Whether for everyday cooking or special occasions, the Kenmore 790 promises to deliver convenience and impressive performance.