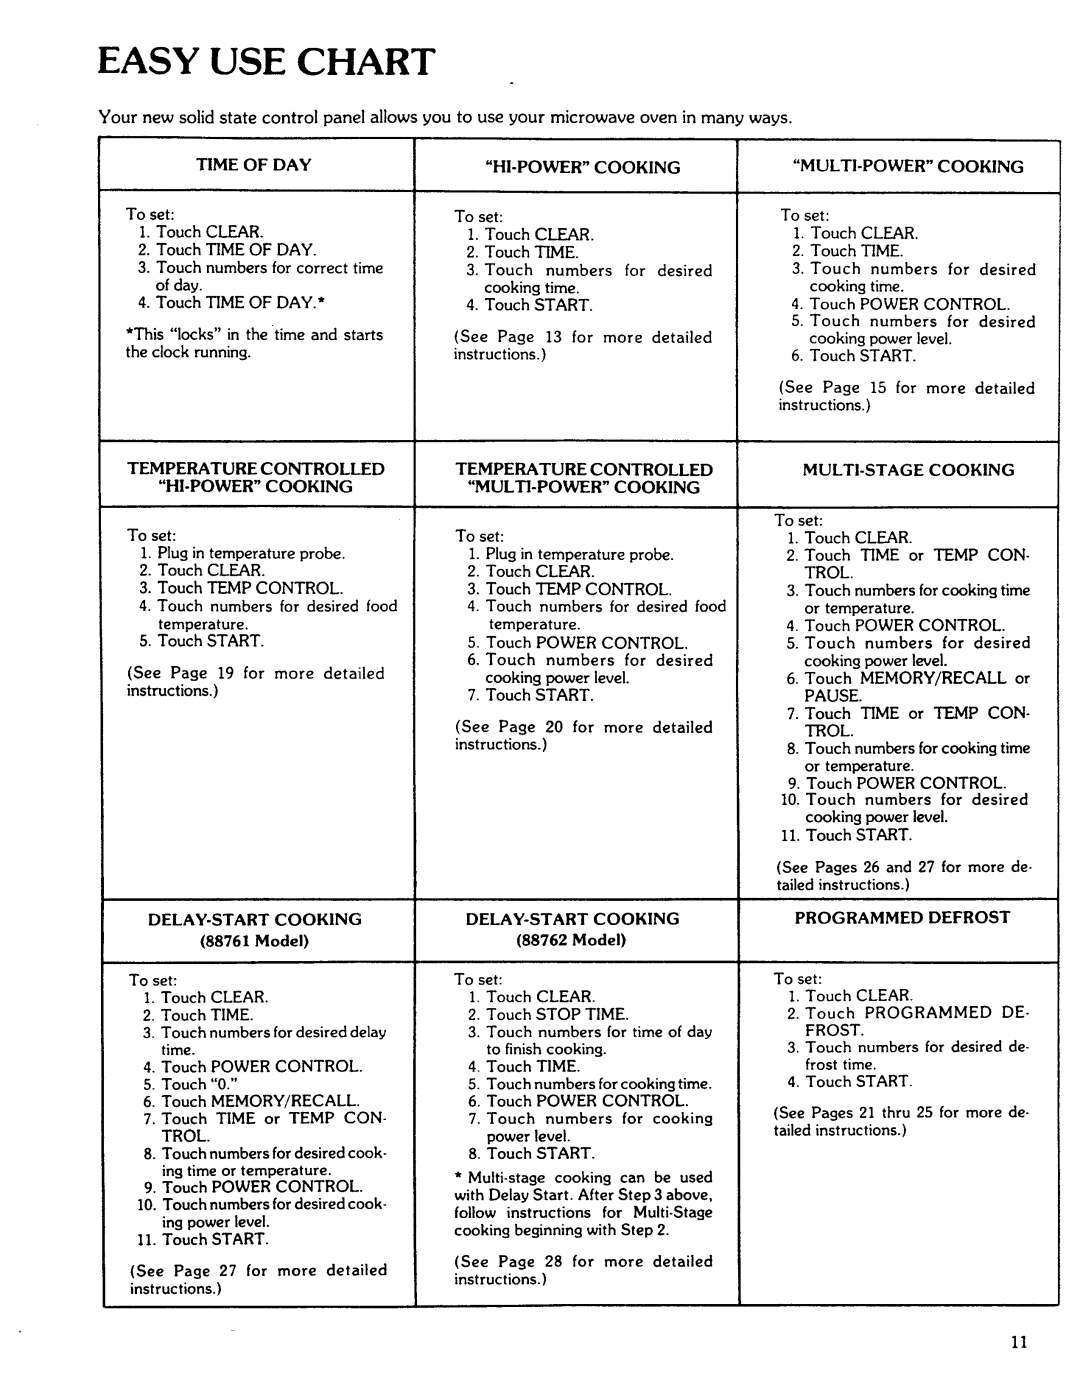
EASY USE CHART
Your new solid state control panel allows you to use your microwave oven in many ways.
TIME OF DAY
To set:
I. Touch CLEAR.
2.Touch TIME OF DAY.
3.Touch numbers for correct time of day.
4.Touch TIME OF DAY.*
*This "locks" in the time and starts
the clock running.
TEMPERATURE CONTROLLED "HI-POWER" COOKING
To set:
1.Plug in temperature probe.
2.Touch CLEAR.
3.Touch TEMP CONTROL.
4.Touch numbers for desired food temperature.
5.Touch START.
(See Page 19 for more detailed instructions.)
To set:
1.Touch CLEAR.
2.Touch TIME.
3.Touch numbers for desired
cooking time.
4. Touch START.
(See Page 13 for more detailed instructions.)
TEMPERATURE CONTROLLED
"MULTI-POWER" COOKING
To set:
I. Plug in temperature probe.
2.Touch CLEAR.
3.Touch TEMP CONTROL.
4.Touch numbers for desired food temperature.
5.Touch POWER CONTROL.
6.Touch numbers for desired cooking power level.
7.Touch START.
(See Page 20 for more detailed instructions.)
To set:
I. Touch CLEAR.
2.Touch TIME.
3.Touch numbers for desired cooking time.
4.Touch POWER CONTROL.
5.Touch numbers for desired cooking power level.
6.Touch START.
(See Page 15 for more detailed instructions.)
MULTI-STAGE COOKING
To set:
I. Touch CLEAR.
2.Touch TIME or TEMP CON- TROL.
3.Touch numbers for cooking time or temperature.
4.Touch POWER CONTROL.
5.Touch numbers for desired cooking power level.
6.Touch MEMORY/RECALL or
PAUSE.
7.Touch TIME or TEMP CON- TROL.
8.Touch numbers for cooking time or temperature.
9.Touch POWER CONTROL.
I0. Touch numbers for desired cooking power level.
II. Touch START.
DELAY-START COOKING
(88761 Model)
To set:
I. Touch CLEAR.
2.Touch TIME.
3.Touch numbers for desired delay time.
4.Touch POWER CONTROL.
5.Touch "0."
6.Touch MEMORY/RECALL
7.Touch TIME or TEMP CON- TROL.
8.Touch numbers for desired cook- ing time or temperature.
9.Touch POWER CONTROL.
10.Touch numbers for desired cook- ing power level.
11.Touch START.
(See Page 27 for more detailed
instructions.)
(88762 Model)
To set'.
I. Touch CLEAR.
2.Touch STOP TIME.
3.Touch numbers for time of day to finish cooking.
4.Touch TIME.
5.Touch numbers for cooking time.
6.Touch POWER CONTROL.
7.Touch numbers for cooking power level.
8.Touch START.
*
(See Page 28 for more detailed
instructions.)
(See Pages 26 and 27 for more de- tailed instructions.)
PROGRAMMED DEFROST
To set:
I. Touch CLEAR.
2. Touch PROGRAMMED DE-
FROST.
3.Touch numbers for desired de- frost time.
4.Touch START.
(See Pages 21 thru 25 for more de- tailed instructions.)
11
