KMACS 5 MANUAL
Section 2.0
OPERATING INSTRUCTIONS
2.1 UNPACKING THE KMACS 5
When you first receive your KMACS 5, carefully unpack it and examine it for any damage that may have occurred during shipment. Be sure to complete the enclosed warranty card and return it to KMDSI immediately. No warranty claims will be honored without a satisfactorily completed warranty card on file at KMDSI.
Visually check the KMACS 5 to ensure that it has not been damaged in transport.
2.2 FIRST USE OF THE KMACS 5
Place the Dive Control System on a firm surface. The KMDSI logo should be right side up. Release the latches and lift up the lid to expose the panels.
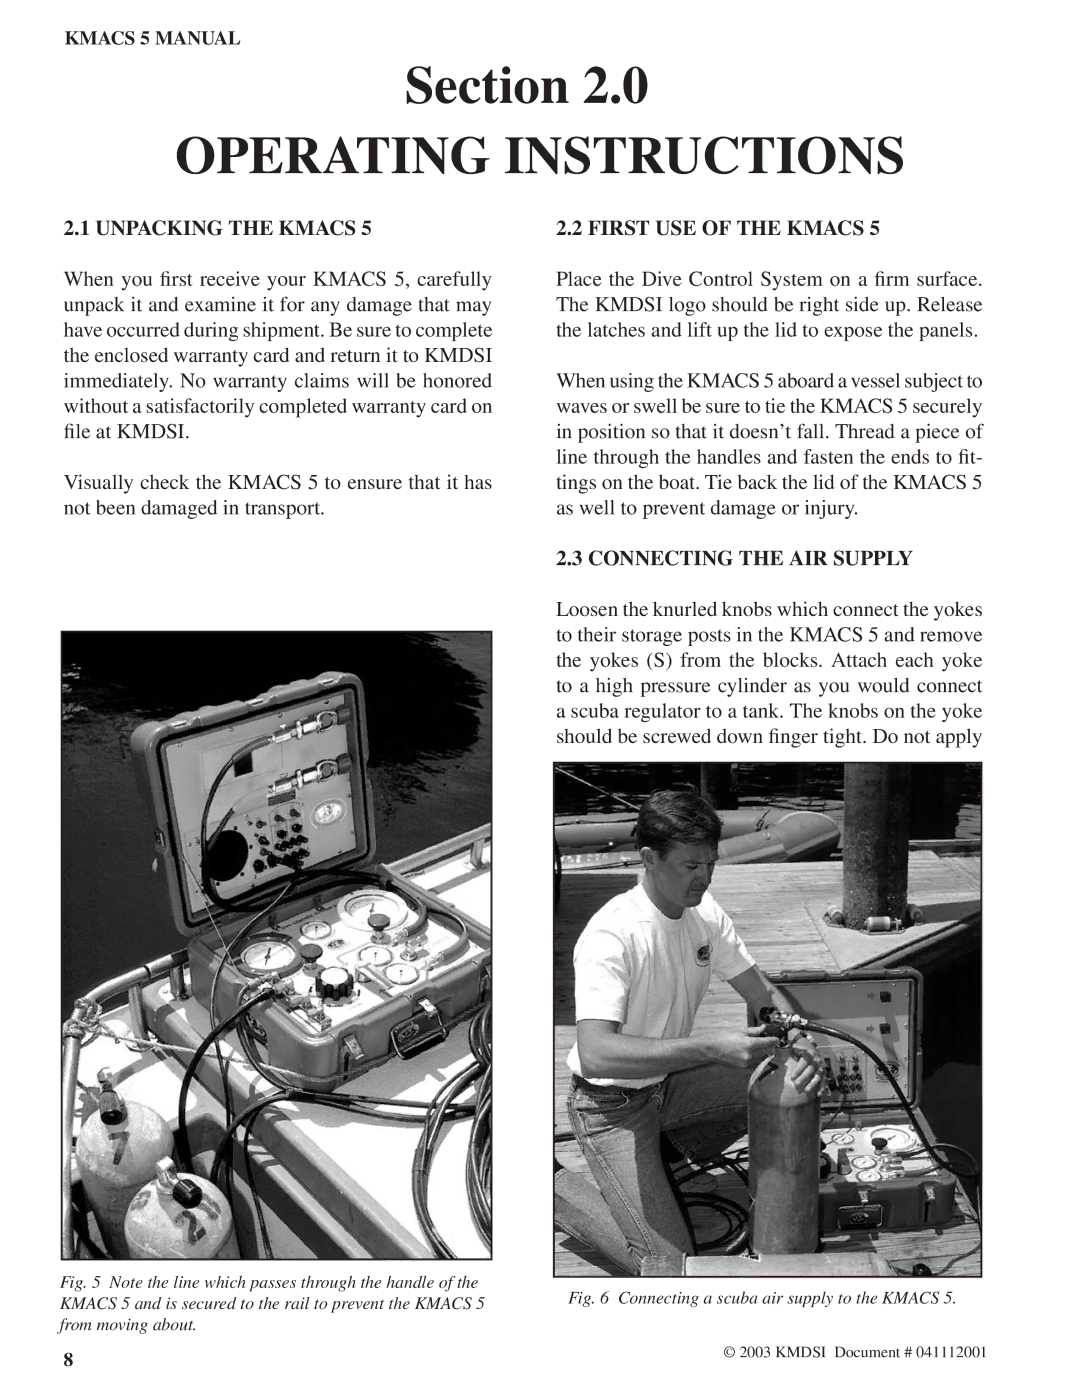
When using the KMACS 5 aboard a vessel subject to waves or swell be sure to tie the KMACS 5 securely in position so that it doesn’t fall. Thread a piece of line through the handles and fasten the ends to fit- tings on the boat. Tie back the lid of the KMACS 5 as well to prevent damage or injury.
2.3 CONNECTING THE AIR SUPPLY
Loosen the knurled knobs which connect the yokes to their storage posts in the KMACS 5 and remove the yokes (S) from the blocks. Attach each yoke to a high pressure cylinder as you would connect a scuba regulator to a tank. The knobs on the yoke should be screwed down finger tight. Do not apply
Fig. 5 Note the line which passes through the handle of the KMACS 5 and is secured to the rail to prevent the KMACS 5 from moving about.
Fig. 6 Connecting a scuba air supply to the KMACS 5.
© 2003 KMDSI Document # 041112001