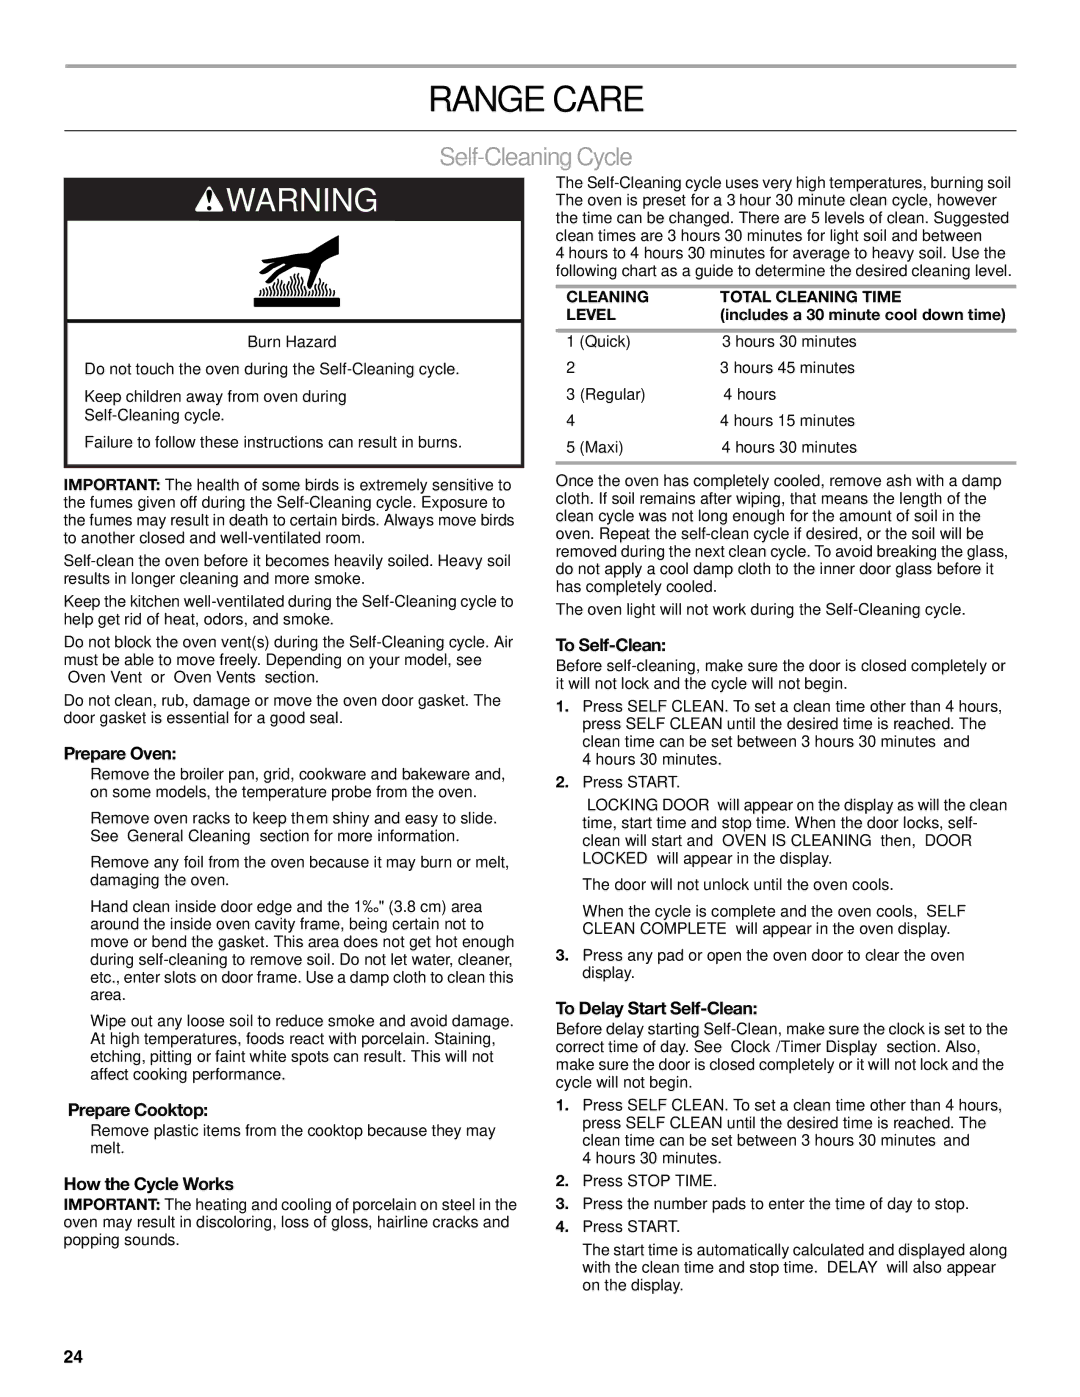
RANGE CARE

Self-Cleaning Cycle

WARNING

Burn Hazard

Do not touch the oven during the Self-Cleaning cycle.

Keep children away from oven during

Self-Cleaning cycle.

Failure to follow these instructions can result in burns.

IMPORTANT: The health of some birds is extremely sensitive to the fumes given off during the Self-Cleaning cycle. Exposure to the fumes may result in death to certain birds. Always move birds to another closed and well-ventilated room.

Self-clean the oven before it becomes heavily soiled. Heavy soil results in longer cleaning and more smoke.

Keep the kitchen well-ventilated during the Self-Cleaning cycle to help get rid of heat, odors, and smoke.

Do not block the oven vent(s) during the Self-Cleaning cycle. Air must be able to move freely. Depending on your model, see “Oven Vent” or “Oven Vents” section.

Do not clean, rub, damage or move the oven door gasket. The door gasket is essential for a good seal.

Prepare Oven:

Remove the broiler pan, grid, cookware and bakeware and, on some models, the temperature probe from the oven.

Remove oven racks to keep them shiny and easy to slide. See “General Cleaning” section for more information.

Remove any foil from the oven because it may burn or melt, damaging the oven.

Hand clean inside door edge and the 1½" (3.8 cm) area around the inside oven cavity frame, being certain not to move or bend the gasket. This area does not get hot enough during self-cleaning to remove soil. Do not let water, cleaner, etc., enter slots on door frame. Use a damp cloth to clean this area.

Wipe out any loose soil to reduce smoke and avoid damage. At high temperatures, foods react with porcelain. Staining, etching, pitting or faint white spots can result. This will not affect cooking performance.

Prepare Cooktop:

Remove plastic items from the cooktop because they may melt.

How the Cycle Works

IMPORTANT: The heating and cooling of porcelain on steel in the oven may result in discoloring, loss of gloss, hairline cracks and popping sounds.

The Self-Cleaning cycle uses very high temperatures, burning soil The oven is preset for a 3 hour 30 minute clean cycle, however the time can be changed. There are 5 levels of clean. Suggested clean times are 3 hours 30 minutes for light soil and between

4 hours to 4 hours 30 minutes for average to heavy soil. Use the following chart as a guide to determine the desired cleaning level.

CLEANING

TOTAL CLEANING TIME

LEVEL

(includes a 30 minute cool down time)


1

(Quick)

3 hours 30 minutes

2


3 hours 45 minutes

3

(Regular)

4 hours

4


4 hours 15 minutes

5

(Maxi)

4 hours 30 minutes


Once the oven has completely cooled, remove ash with a damp cloth. If soil remains after wiping, that means the length of the clean cycle was not long enough for the amount of soil in the oven. Repeat the self-clean cycle if desired, or the soil will be removed during the next clean cycle. To avoid breaking the glass, do not apply a cool damp cloth to the inner door glass before it has completely cooled.

The oven light will not work during the Self-Cleaning cycle.

To Self-Clean:

Before self-cleaning, make sure the door is closed completely or it will not lock and the cycle will not begin.

1.Press SELF CLEAN. To set a clean time other than 4 hours, press SELF CLEAN until the desired time is reached. The clean time can be set between 3 hours 30 minutes and

4 hours 30 minutes.

2.Press START.

“LOCKING DOOR” will appear on the display as will the clean time, start time and stop time. When the door locks, self- clean will start and “OVEN IS CLEANING” then, “DOOR LOCKED” will appear in the display.

The door will not unlock until the oven cools.

When the cycle is complete and the oven cools, “SELF CLEAN COMPLETE” will appear in the oven display.

3.Press any pad or open the oven door to clear the oven display.

To Delay Start Self-Clean:

Before delay starting Self-Clean, make sure the clock is set to the correct time of day. See “Clock/Timer Display” section. Also, make sure the door is closed completely or it will not lock and the cycle will not begin.

1.Press SELF CLEAN. To set a clean time other than 4 hours, press SELF CLEAN until the desired time is reached. The clean time can be set between 3 hours 30 minutes and

4 hours 30 minutes.

2.Press STOP TIME.

3.Press the number pads to enter the time of day to stop.

4.Press START.

The start time is automatically calculated and displayed along with the clean time and stop time. “DELAY” will also appear on the display.

24

Page 24
Image 24
KitchenAid KDRS462, KDRS467, KDRS463, KDRS483, KDRS407 manual Range Care, Self-Cleaning Cycle

KDRS467, KDRS462, KDRS407, KDRS463, KDRS483 specifications

KitchenAid has long been synonymous with high-quality kitchen appliances, and their line of ranges, particularly the KDRS series, is no exception. Models such as the KDRS483, KDRS462, KDRS463, KDRS467, and KDRS407 offer an exceptional blend of performance, design, and versatility, making them ideal for both amateur cooks and seasoned chefs alike.

The KDRS483 features a spacious 48-inch design, allowing for ample cooking space with its six burners and a separate double oven. Undoubtedly, the standout feature of this range is its powerful dual fuel system, which combines the precision of gas cooking with the consistent and even heating of an electric oven. This model also includes a unique Even-Heat True Convection Oven that ensures your baked goods rise perfectly, distributing heat evenly throughout.

Similarly, the KDRS462 and KDRS463 models bring their distinct flair to the kitchen. The KDRS462 boasts four burners and an infrared broiler, allowing for quick heating and diverse cooking options. The KDRS463 elevates this design with an added simmer burner, making delicate sauces and soups easier to prepare. Both models promote efficiency and ease-of-use with intuitive controls, ensuring that even novice cooks can achieve gourmet results.

The KDRS467 offers exceptional versatility through its powerful burners, including a high-heat burner that reaches up to 20,000 BTUs, perfect for stir-frying and searing. It also features a convenient warming drawer, allowing food to stay hot until you’re ready to serve.

On the other hand, the KDRS407 focuses on space-saving without compromising on functionality. This 30-inch model is an excellent choice for smaller kitchens. Despite its compact size, it includes four versatile burners and a spacious oven that is built to accommodate multiple dishes at once, thanks to its intelligent design.

All models in the KDRS series are equipped with the advanced KitchenAid technology that includes EasyConvect conversion, Smart Oven controls, and a self-cleaning function, keeping maintenance seamless. In addition, their sleek stainless steel finishes and professional-grade looks add an aesthetic appeal that fits beautifully into any modern kitchen.

In conclusion, whether you opt for the robust KDRS483 or the more compact KDRS407, each KitchenAid range in this series provides the perfect blend of culinary power, style, and innovative features, redefining the cooking experience and elevating every meal.