ElectronicControlPads

When pressing any control pad function on the Electronic Oven Control, use the pad of your finger to press the desired function. Hold down the pad a few seconds, or until the desired function appears in the display.

When entering multiple functions within one setting, pause briefly between each control pad command. If a command pad is pressed several times repeatedly, the pad may briefly stop working. Wait a few seconds, and the pad should function again as normal.

OvenDisplays

When the oven is in use, this display shows the oven temperature, heat source(s) and start time. During Timed Cooking, this display also shows a timed countdown and the stop time (if entered).

If “Err” appears on the display, an invalid pad was pressed. Press OFF and retry your entry.

When the oven is not in use this display is blank, except for the clock display.

Start

The START pad begins any oven function except the Timer, Control Lock and Sabbath Mode. If not pressed within 5 seconds after pressing a pad, “START?” will appear on the oven display as a reminder. If not pressed within 5 minutes after pressing a pad, the oven display will return to inactive mode (blank) and the programmed function will be canceled.

If a function has been started and a different function is selected, “START?” will appear in the display after 5 seconds. If the START pad is not pressed within 5 seconds, the oven display will return to the active/already started function.

ControlLock

The Control Lock feature shuts down the control panel pads to avoid unintended use of the oven.

The Control Lock feature may be used either when the range is in use or turned off (for example, during cleaning).

The Control Lock is preset unlocked, but can be locked.

When the control is locked, only the TIMER SET/START, TIMER OFF and OVEN LIGHT pads will function.

To Lock/Unlock Control: Before locking, make sure the oven, the Timer and Timed Cooking are off. Press and hold the START pad for 5 seconds until “CONTROL LOCK” appears on the display. Repeat to unlock and remove “CONTROL LOCK” from the display.

Off

The OFF pad stops any oven function except for the Clock, Timer and Control Lock.

Clock/TimerDisplay

This is a 12-hour clock.

To Set Clock:

1.Press CLOCK SET/START.

2.Press number pads to set time of day.

3.Press CLOCK SET/START.

Timer

The Timer can be set in minutes and seconds or hours and minutes and counts down the set time.

NOTE: The Timer does not start or stop the oven.

To Set Timer:

1.Press TIMER SET/START.

Press again to switch from MIN/SEC and HR/MIN.

2.Press the number pads to set length of time.

3.Press TIMER SET/START to start the timer.

When the set time ends, timer completion tones will sound, then reminder tones will sound approximately every

10 seconds.

4.Press TIMER OFF anytime to cancel the Timer and/or stop reminder tones.

If OFF is pressed, the oven will turn off.

The time can be reset during the countdown by repeating the above steps.

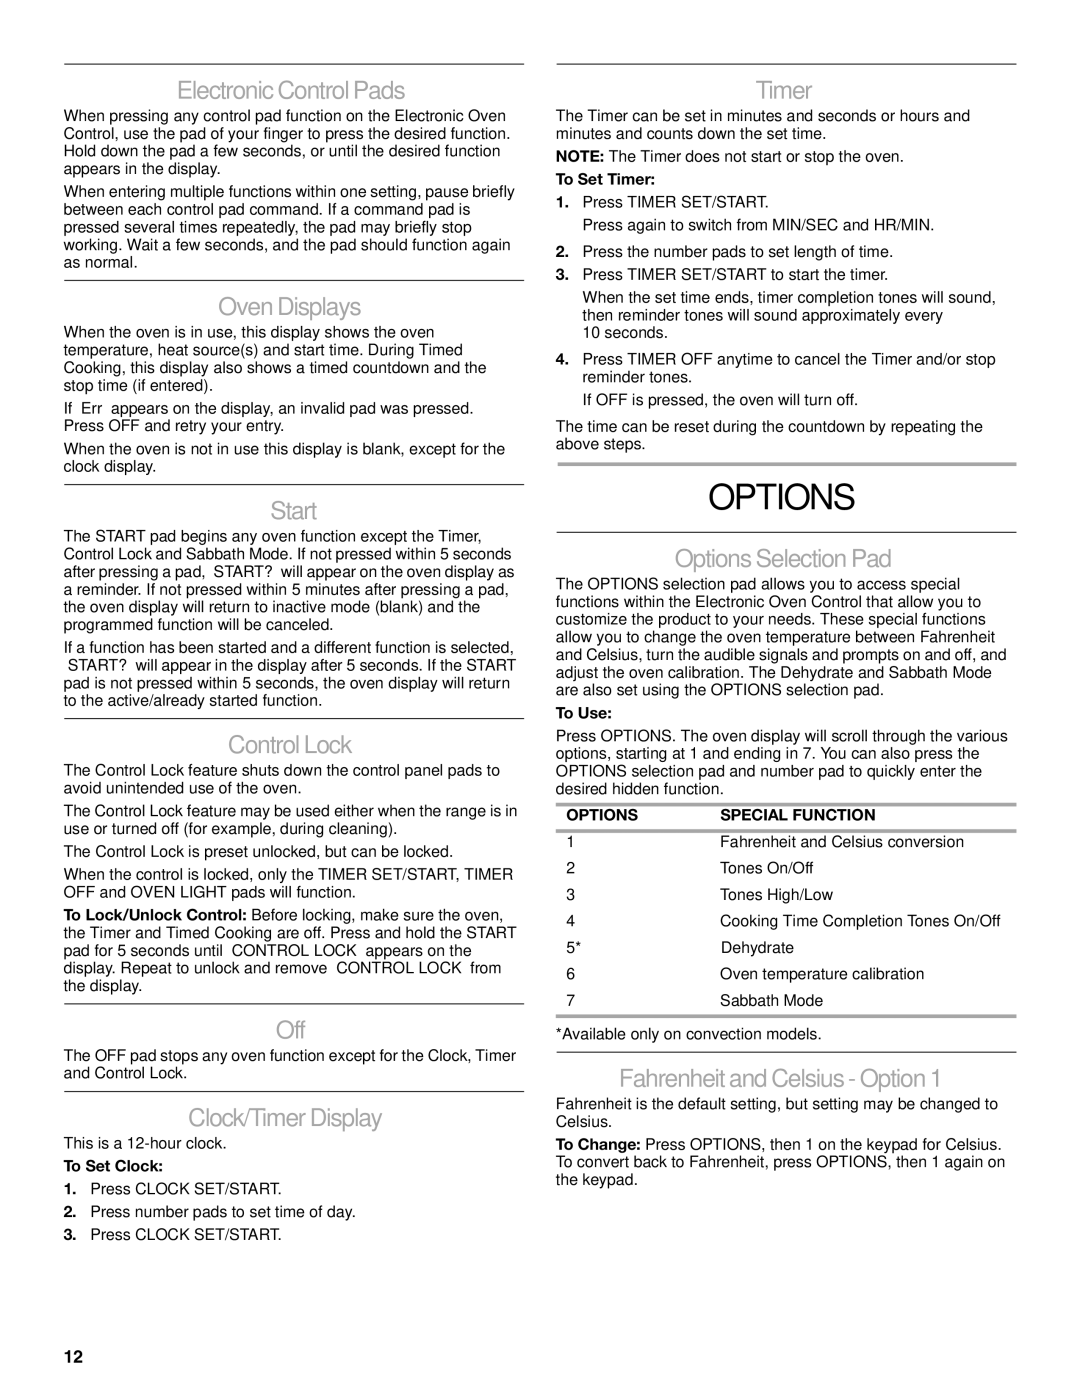
OPTIONS

OptionsSelection Pad

The OPTIONS selection pad allows you to access special functions within the Electronic Oven Control that allow you to customize the product to your needs. These special functions allow you to change the oven temperature between Fahrenheit and Celsius, turn the audible signals and prompts on and off, and adjust the oven calibration. The Dehydrate and Sabbath Mode are also set using the OPTIONS selection pad.

To Use:

Press OPTIONS. The oven display will scroll through the various options, starting at 1 and ending in 7. You can also press the OPTIONS selection pad and number pad to quickly enter the desired hidden function.

OPTIONS

SPECIAL FUNCTION

1

Fahrenheit and Celsius conversion

2

Tones On/Off

3

Tones High/Low

4

Cooking Time Completion Tones On/Off

5*

Dehydrate

6

Oven temperature calibration

7

Sabbath Mode


*Available only on convection models.

Fahrenheitand Celsius- Option 1

Fahrenheit is the default setting, but setting may be changed to Celsius.

To Change: Press OPTIONS, then 1 on the keypad for Celsius. To convert back to Fahrenheit, press OPTIONS, then 1 again on the keypad.

12

Page 12
Image 12
KitchenAid KGSS907, KGSK901 manual Options

KGSK901, KGSS907 specifications

The KitchenAid KGSS907 and KGSK901 represent the pinnacle of cooking technology and design, catering to both professional chefs and home cooking enthusiasts. These ranges are engineered to deliver precision cooking, exceptional performance, and a stylish aesthetic that complements any modern kitchen.

One of the standout features of the KitchenAid KGSS907 is its powerful dual-fuel system. This range seamlessly combines the efficiency of a gas cooktop with the consistent baking power of an electric oven. This dual-fuel configuration not only offers precise temperature control but also enriches the cooking experience, enabling users to achieve optimal results for a variety of dishes.

The KGSK901 model emphasizes versatility, boasting a spacious oven with a generous capacity that is ideal for large meal preparations. It incorporates the Even-Heat True Convection technology, which ensures that hot air circulates throughout the oven for evenly baked, golden results. This feature is especially beneficial for baking multiple trays of cookies or roasting large cuts of meat, as it prevents hot spots that can lead to uneven cooking.

Both models are equipped with the innovative AquaLift technology for easy cleaning. This self-cleaning feature uses steam to loosen baked-on food and spills, making the task of maintaining a pristine oven much more manageable. Simply add water to the bottom of the oven, select the AquaLift cleaning option, and the range will work to simplify the cleaning process.

The KitchenAid KGSS907 and KGSK901 also come with a suite of cooking modes, including options like Bake, Broil, and Roast, providing users with the flexibility to cook their favorite recipes to perfection. The oven's intuitive digital controls further facilitate ease of use, allowing for precise temperature adjustments with minimal effort.

These ranges are designed with an eye for aesthetics as well. With a sleek stainless steel finish and professional-style knobs, they add a touch of elegance to any kitchen. The high-performance burners provide varying heat levels, which is ideal for simmering sauces or boiling pasta.

In summary, the KitchenAid KGSS907 and KGSK901 ranges are superb choices for anyone seeking high performance, innovative technology, and timeless design in their kitchen appliances. With features that prioritize ease of use, cleaner cooking, and perfectly achieved results, these ranges elevate the home cooking experience to a professional level. Whether you are a novice cook or a seasoned chef, these KitchenAid models are sure to impress with their functionality and style.