Drain Connection
Gravity drain system
Connect the ice maker drain to your drain in accordance with the International Plumbing Code and any local codes and ordinances. The ice maker is provided with a gravity drain system, follow these guidelines when installing drain lines. This will help keep water from flowing back into the ice maker storage bin and potentially flowing onto the floor causing water damage.
■Drain lines must have a minimum of ⁵⁄₈" (15.88 mm) inside diameter.
■Drain lines must have a 1" drop per 48" (2.54 cm drop per 122 cm) of run or ¹⁄₄" drop per 12" (6.35 mm per 30.48 cm) and must not have low points where water can settle.
■The floor drains must be large enough to accommodate drainage from all drains.
■You must maintain a 2" (5.08 cm) air gap between the drain tube outlet and the floor drain.
Connecting the Drain
After ensuring that the drain system is adequate, follow these steps to properly place the ice maker:
![]() WARNING
WARNING
Electrical Shock Hazard
Plug into a grounded 3 prong outlet.
Do not remove ground prong.
Do not use an adapter.
Do not use an extension cord.
Failure to follow these instructions can result in death, fire, or electrical shock.
1.Plug in ice maker or reconnect power.
Normal Sounds
Your new ice maker may make sounds that are not familiar to you. Because the sounds are new to you, you might be concerned about them. Most of the new sounds are normal. Hard surfaces, such as the floor, walls and cabinets, can make the sounds seem louder than they actually are. The following describes the kinds of sounds that might be new to you and what may be making them.
■When you first start the ice maker, you may hear water running. The ice maker is programmed to fill the water reservoir before it begins to make ice.
■You will hear a buzzing sound when the water valve opens to fill the water reservoir for each cycle.
■Rattling noises may come from the flow of the refrigerant or the water line. Items stored on top of the ice maker can also make noises.
■The
■Water running over the evaporator plate may make a splashing sound.
■Water running from the evaporator plate to the water reservoir may make a splashing sound.
■As each cycle ends, you may hear a gurgling sound due to the refrigerant flowing in your ice maker.
■You may hear air being forced over the condenser by the condenser fan.
■During the harvest cycle you may hear low popping sounds as the ice drops into the bin.
ICE MAKER USE
Using the Controls
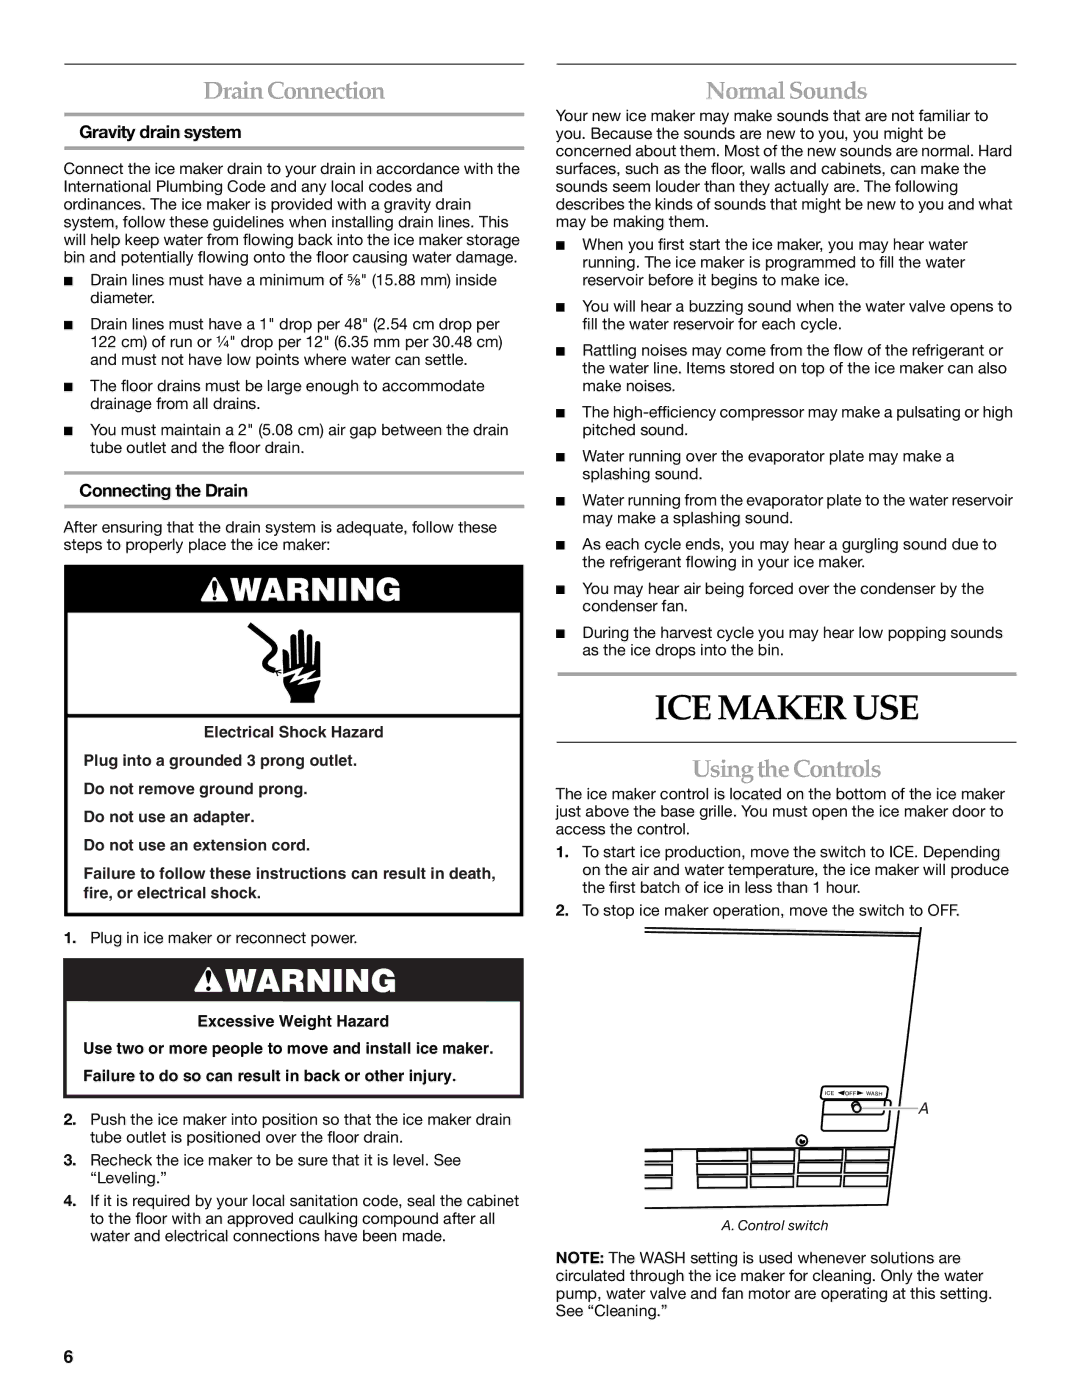
The ice maker control is located on the bottom of the ice maker just above the base grille. You must open the ice maker door to access the control.
1.To start ice production, move the switch to ICE. Depending on the air and water temperature, the ice maker will produce the first batch of ice in less than 1 hour.
2.To stop ice maker operation, move the switch to OFF.
![]() WARNING
WARNING
Excessive Weight Hazard
Use two or more people to move and install ice maker. Failure to do so can result in back or other injury.
2.Push the ice maker into position so that the ice maker drain tube outlet is positioned over the floor drain.
3.Recheck the ice maker to be sure that it is level. See “Leveling.”
4.If it is required by your local sanitation code, seal the cabinet to the floor with an approved caulking compound after all water and electrical connections have been made.
![]() OFF
OFF ![]()
A
A. Control switch
NOTE: The WASH setting is used whenever solutions are circulated through the ice maker for cleaning. Only the water pump, water valve and fan motor are operating at this setting. See “Cleaning.”
6