2.Slide the cartridge cap off the end of the filter cartridge. DO NOT DISCARD THE CAP. With the cartridge cap in the vertical position, insert the cap into the base grille until it stops.
3.Rotate the cartridge cap to a horizontal position. The cartridge cap might not be even with the base grille.
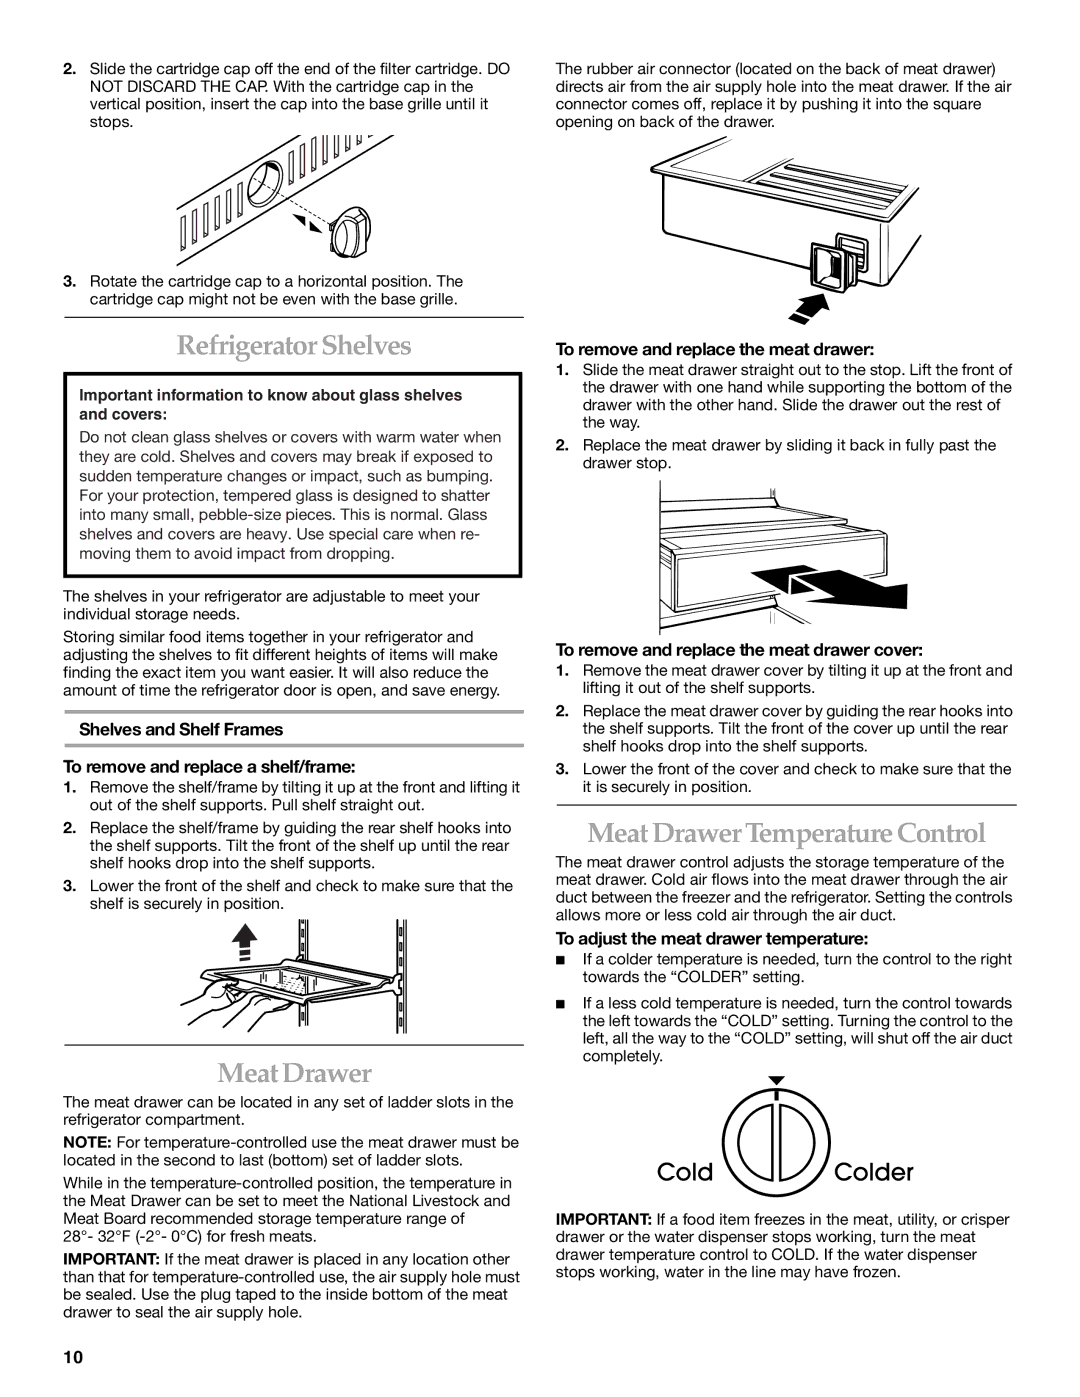
The rubber air connector (located on the back of meat drawer) directs air from the air supply hole into the meat drawer. If the air connector comes off, replace it by pushing it into the square opening on back of the drawer.
Refrigerator Shelves
Important information to know about glass shelves and covers:
Do not clean glass shelves or covers with warm water when they are cold. Shelves and covers may break if exposed to sudden temperature changes or impact, such as bumping. For your protection, tempered glass is designed to shatter into many small,
The shelves in your refrigerator are adjustable to meet your individual storage needs.
Storing similar food items together in your refrigerator and adjusting the shelves to fit different heights of items will make finding the exact item you want easier. It will also reduce the amount of time the refrigerator door is open, and save energy.
Shelves and Shelf Frames
To remove and replace a shelf/frame:
1.Remove the shelf/frame by tilting it up at the front and lifting it out of the shelf supports. Pull shelf straight out.
2.Replace the shelf/frame by guiding the rear shelf hooks into the shelf supports. Tilt the front of the shelf up until the rear shelf hooks drop into the shelf supports.
3.Lower the front of the shelf and check to make sure that the shelf is securely in position.
Meat Drawer
The meat drawer can be located in any set of ladder slots in the refrigerator compartment.
NOTE: For
While in the
28°- 32°F
IMPORTANT: If the meat drawer is placed in any location other than that for
To remove and replace the meat drawer:
1.Slide the meat drawer straight out to the stop. Lift the front of the drawer with one hand while supporting the bottom of the drawer with the other hand. Slide the drawer out the rest of the way.
2.Replace the meat drawer by sliding it back in fully past the drawer stop.
To remove and replace the meat drawer cover:
1.Remove the meat drawer cover by tilting it up at the front and lifting it out of the shelf supports.
2.Replace the meat drawer cover by guiding the rear hooks into the shelf supports. Tilt the front of the cover up until the rear shelf hooks drop into the shelf supports.
3.Lower the front of the cover and check to make sure that the it is securely in position.
Meat Drawer Temperature Control
The meat drawer control adjusts the storage temperature of the meat drawer. Cold air flows into the meat drawer through the air duct between the freezer and the refrigerator. Setting the controls allows more or less cold air through the air duct.
To adjust the meat drawer temperature:
■If a colder temperature is needed, turn the control to the right towards the “COLDER” setting.
■If a less cold temperature is needed, turn the control towards the left towards the “COLD” setting. Turning the control to the left, all the way to the “COLD” setting, will shut off the air duct completely.
IMPORTANT: If a food item freezes in the meat, utility, or crisper drawer or the water dispenser stops working, turn the meat drawer temperature control to COLD. If the water dispenser stops working, water in the line may have frozen.
10