4.Check that the front panel is parallel with the cabinet front when the screen is pushed in. Slide the screen forward. Tighten the mounting bracket screws so that the range hood is secured to the cabinet.
A
B
A. Mounting bracket screw
B.
5.Align the range hood front panel with the cabinet. Slide the screen forward. Locate the 2 screws on each side and turn them counterclockwise to loosen the screws. Adjust the front of the vent vertically, ³⁄₈" (9.5 mm) up or down, or horizontally, ³⁄₄" (19 mm) front to back, until the front is flush with the cabinet. Tighten the screws. If it is necessary to adjust the given dimensions, lower and add or remove the filler strips or redrill mounting holes.
A
B
A. Phillips screwdriver
B. Adjustment screws
Electrical Connection
![]() WARNING
WARNING
Electrical Shock Hazard
Disconnect power before servicing.
Replace all parts and panels before operating.
Failure to do so can result in death or electrical shock.
1.Disconnect power.
2.Remove terminal box cover.
3.Remove knockout from top of the terminal box and install a UL listed or CSA approved ½" strain relief.
4.Determine the location and mount the terminal box to the inside of the cabinet or wall using the 4 mounting holes in the back of the terminal box. (The mounting screws are not supplied.)
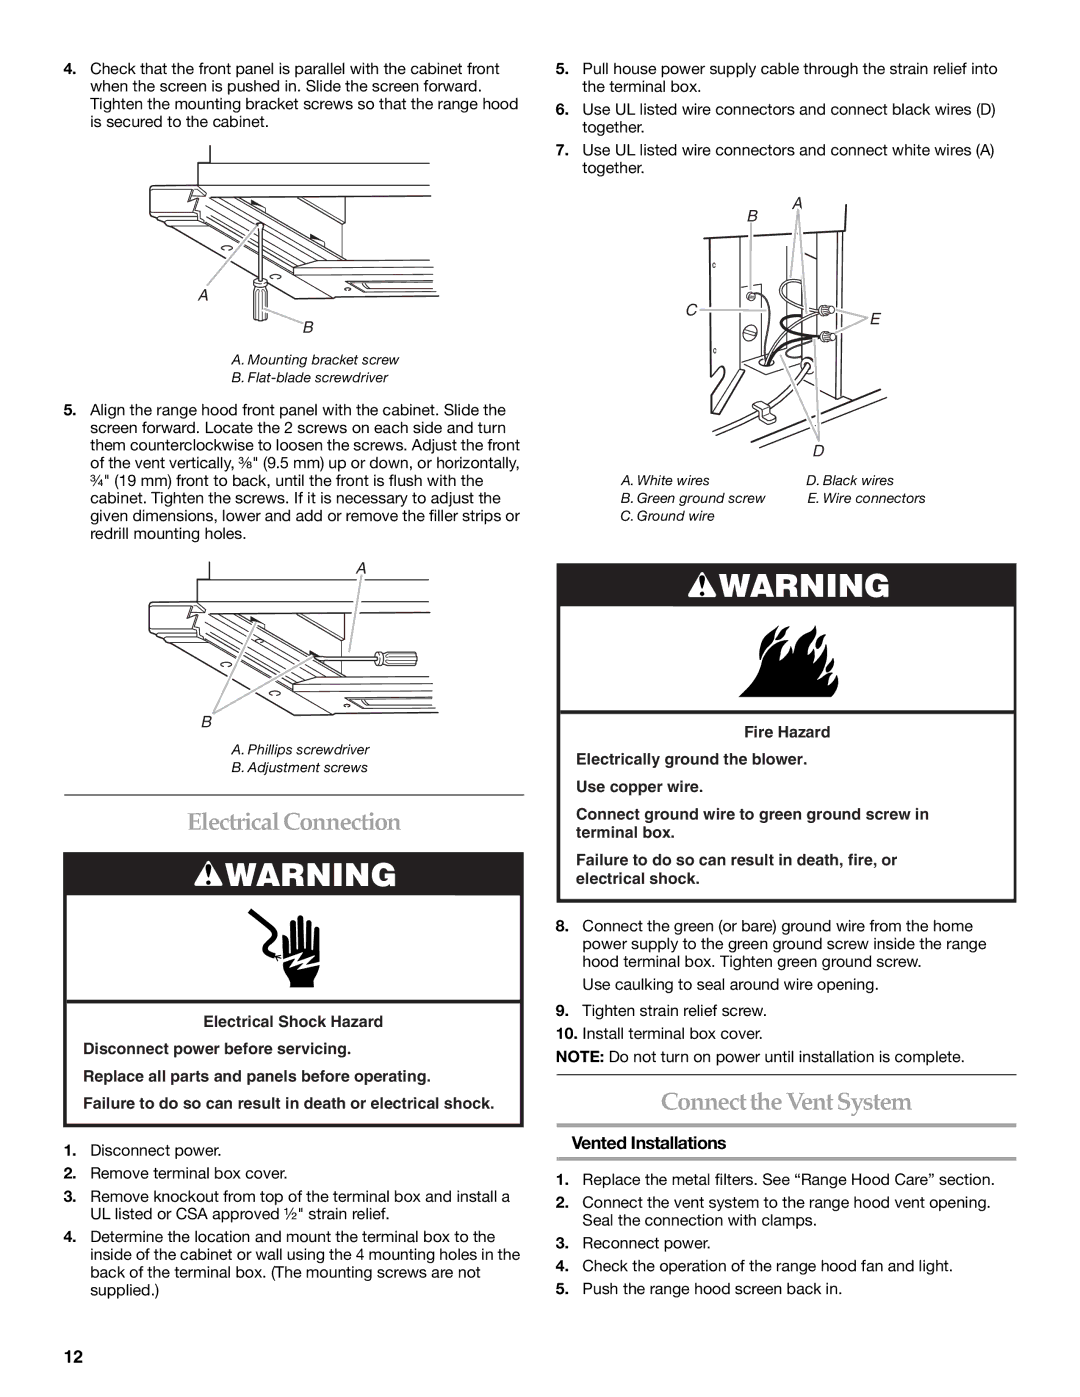
5.Pull house power supply cable through the strain relief into the terminal box.
6.Use UL listed wire connectors and connect black wires (D) together.
7.Use UL listed wire connectors and connect white wires (A) together.
A
| B |
C | E |
|
| D |
A. White wires | D. Black wires |
B. Green ground screw | E. Wire connectors |
C. Ground wire |
|
![]() WARNING
WARNING
Fire Hazard
Electrically ground the blower.
Use copper wire.
Connect ground wire to green ground screw in terminal box.
Failure to do so can result in death, fire, or electrical shock.
8.Connect the green (or bare) ground wire from the home power supply to the green ground screw inside the range hood terminal box. Tighten green ground screw.
Use caulking to seal around wire opening.
9.Tighten strain relief screw.
10.Install terminal box cover.
NOTE: Do not turn on power until installation is complete.
ConnecttheVentSystem
Vented Installations
1.Replace the metal filters. See “Range Hood Care” section.
2.Connect the vent system to the range hood vent opening. Seal the connection with clamps.
3.Reconnect power.
4.Check the operation of the range hood fan and light.
5.Push the range hood screen back in.
12