Upgrading the KODAK OMS Imaging Software
Upgrading the Software on a Workstation
To upgrade the Kodak OMS imaging software on a workstation, follow these steps:
1.Exit any applications running on this computer.
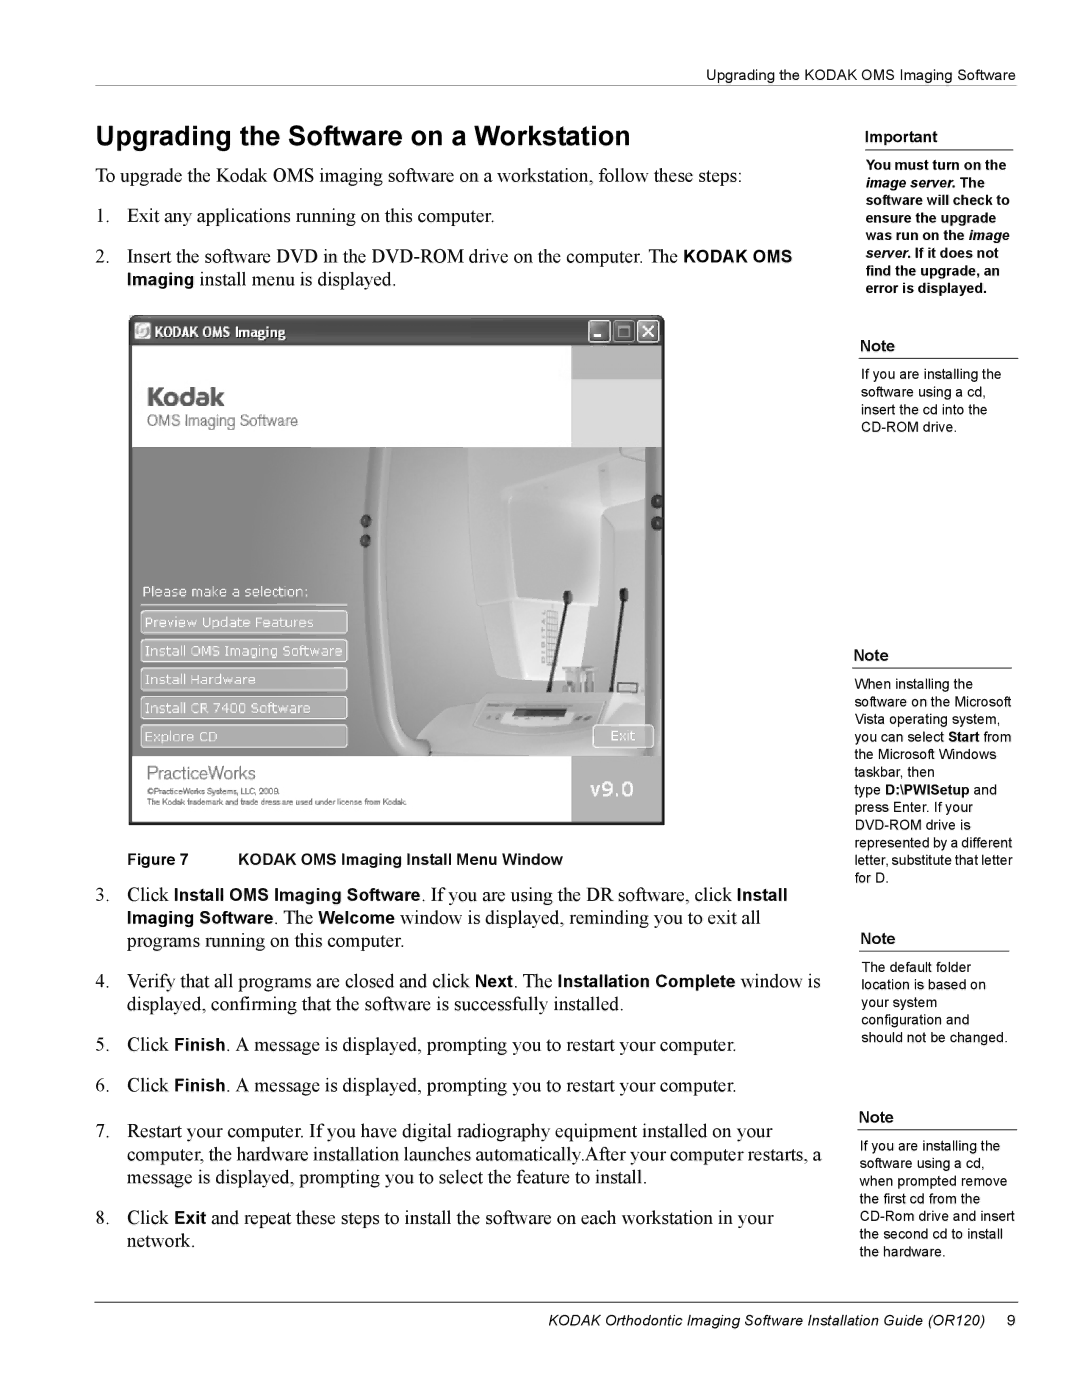
2.Insert the software DVD in the
Important
You must turn on the image server. The software will check to ensure the upgrade was run on the image server. If it does not find the upgrade, an error is displayed.
Note
If you are installing the software using a cd, insert the cd into the
Figure 7 KODAK OMS Imaging Install Menu Window
3.Click Install OMS Imaging Software. If you are using the DR software, click Install Imaging Software. The Welcome window is displayed, reminding you to exit all programs running on this computer.
4.Verify that all programs are closed and click Next. The Installation Complete window is displayed, confirming that the software is successfully installed.
5.Click Finish. A message is displayed, prompting you to restart your computer.
6.Click Finish. A message is displayed, prompting you to restart your computer.
7.Restart your computer. If you have digital radiography equipment installed on your computer, the hardware installation launches automatically.After your computer restarts, a message is displayed, prompting you to select the feature to install.
8.Click Exit and repeat these steps to install the software on each workstation in your network.
Note
When installing the software on the Microsoft Vista operating system, you can select Start from the Microsoft Windows taskbar, then
type D:\PWISetup and press Enter. If your
Note
The default folder location is based on your system configuration and should not be changed.
Note
If you are installing the software using a cd, when prompted remove the first cd from the
KODAK Orthodontic Imaging Software Installation Guide (OR120) 9