Installing the KODAK OMS Imaging Software
4.Select Image Server and click OK. The Welcome window is displayed, reminding you to exit all programs running on this computer.
5.Verify that all programs are closed and click Next. The Choose Destination Location window is displayed.
6.Click Next. The software is installed.
7.Click Finish. A message is displayed, prompting you to restart your computer.
8.Restart your computer.
Registering a New Software Installation
To register a new software installation, follow these steps:
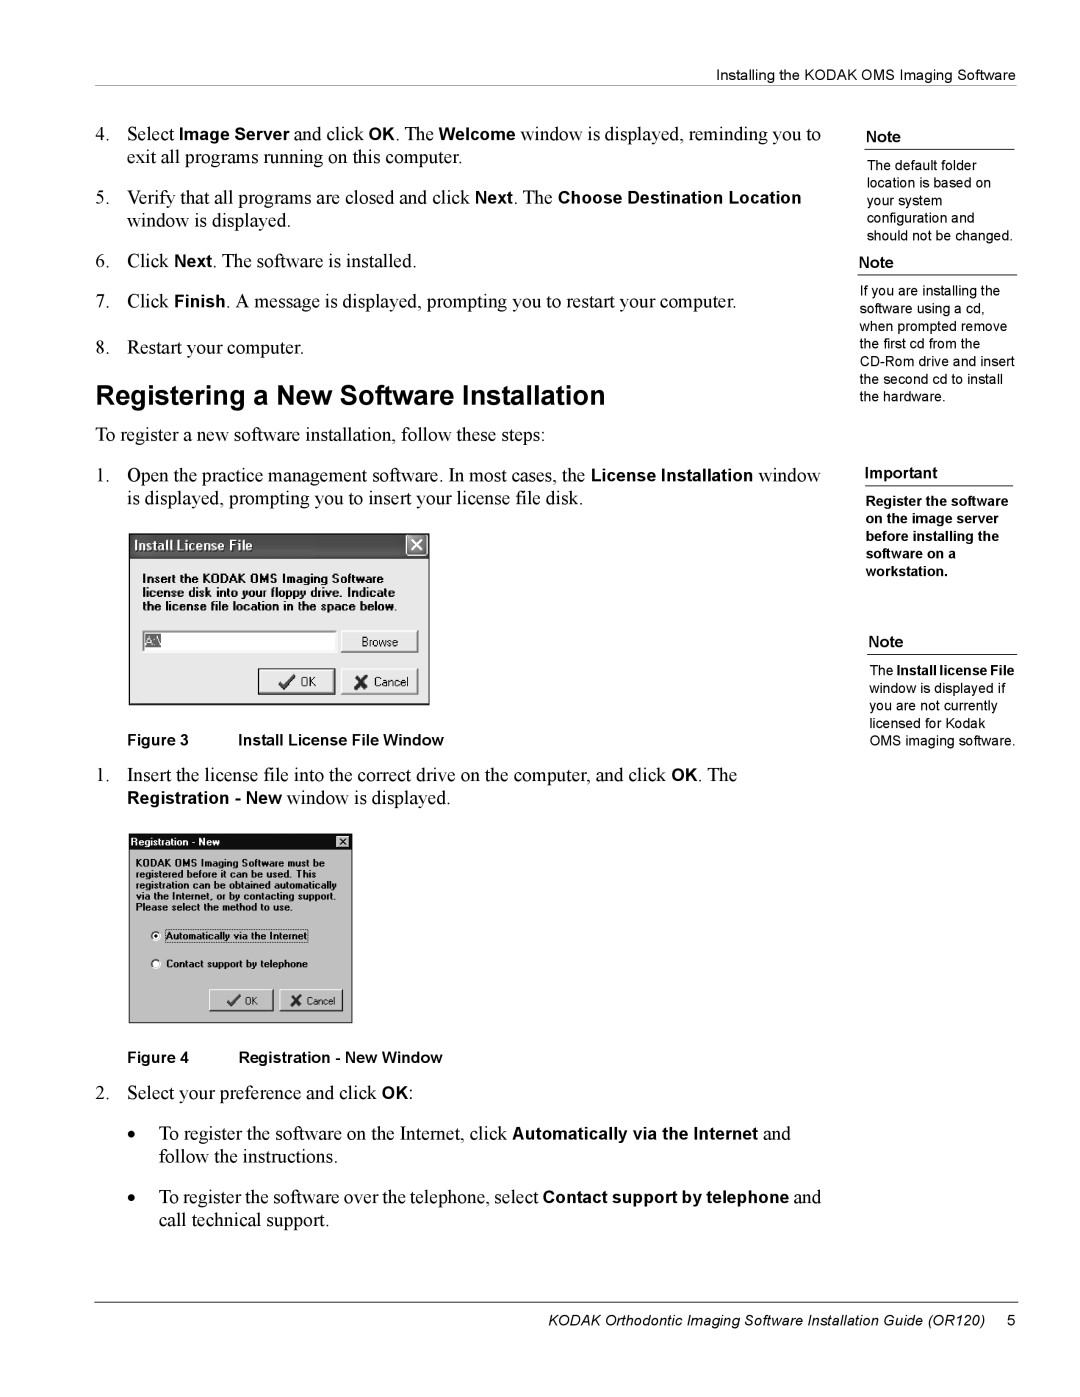
1.Open the practice management software. In most cases, the License Installation window is displayed, prompting you to insert your license file disk.
Figure 3 Install License File Window
1.Insert the license file into the correct drive on the computer, and click OK. The Registration - New window is displayed.
Figure 4 Registration - New Window
2.Select your preference and click OK:
•To register the software on the Internet, click Automatically via the Internet and follow the instructions.
•To register the software over the telephone, select Contact support by telephone and call technical support.
Note
The default folder location is based on your system configuration and should not be changed.
Note
If you are installing the software using a cd, when prompted remove the first cd from the
Important
Register the software on the image server before installing the software on a workstation.
Note
The Install license File window is displayed if you are not currently licensed for Kodak OMS imaging software.
KODAK Orthodontic Imaging Software Installation Guide (OR120) 5