Upgrading the KODAK OMS Imaging Software
8.Click Finish. A message is displayed, prompting you to restart your computer.
9.Click OK to restart your computer. After your computer restarts, a message is displayed, prompting you to select the feature to install.
10.Click Exit and repeat these steps to install the software on each workstation in your network.
Upgrading the KODAK OMS Imaging Software
To upgrade the Kodak OMS imaging software, follow these procedures:
•Upgrade the software on the image server.
•Register the software on the image server.
•Upgrade the software on each workstation.
•Connect and install any imaging hardware.
Upgrading the Software on the Image Server
To upgrade the Kodak OMS imaging software on an image server, follow these steps:
1.Exit any applications running on this computer and on each network computer containing the imaging software.
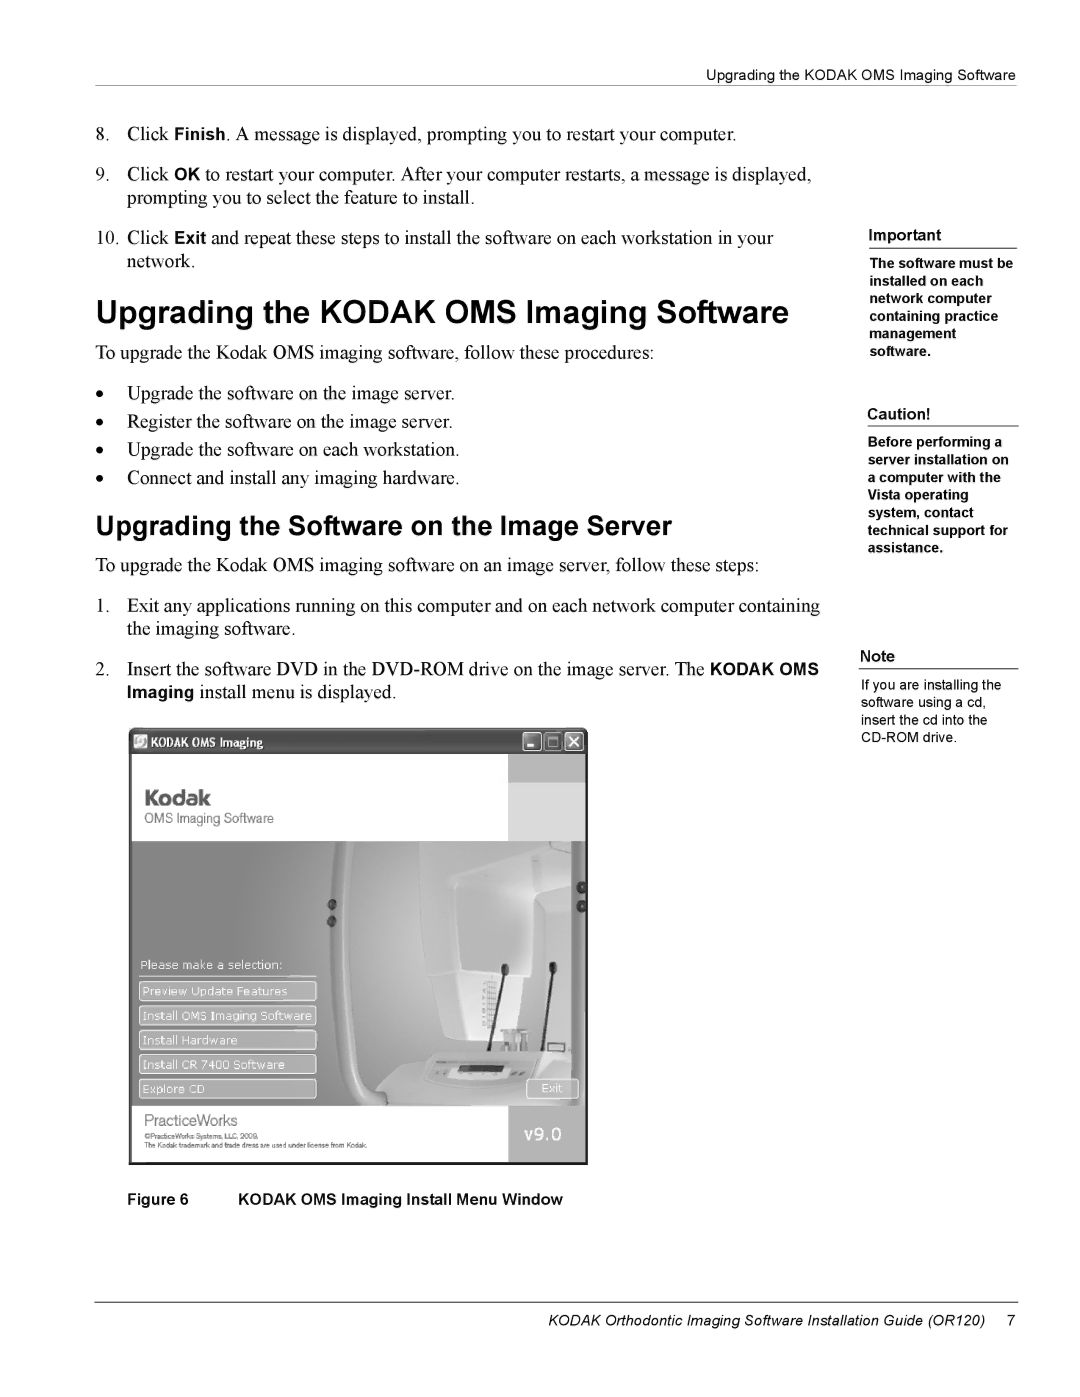
2.Insert the software DVD in the
Important
The software must be installed on each network computer containing practice management software.
Caution!
Before performing a server installation on a computer with the Vista operating system, contact technical support for assistance.
Note
If you are installing the software using a cd, insert the cd into the
Figure 6 KODAK OMS Imaging Install Menu Window
KODAK Orthodontic Imaging Software Installation Guide (OR120) 7