Installing the KODAK OMS Imaging Software
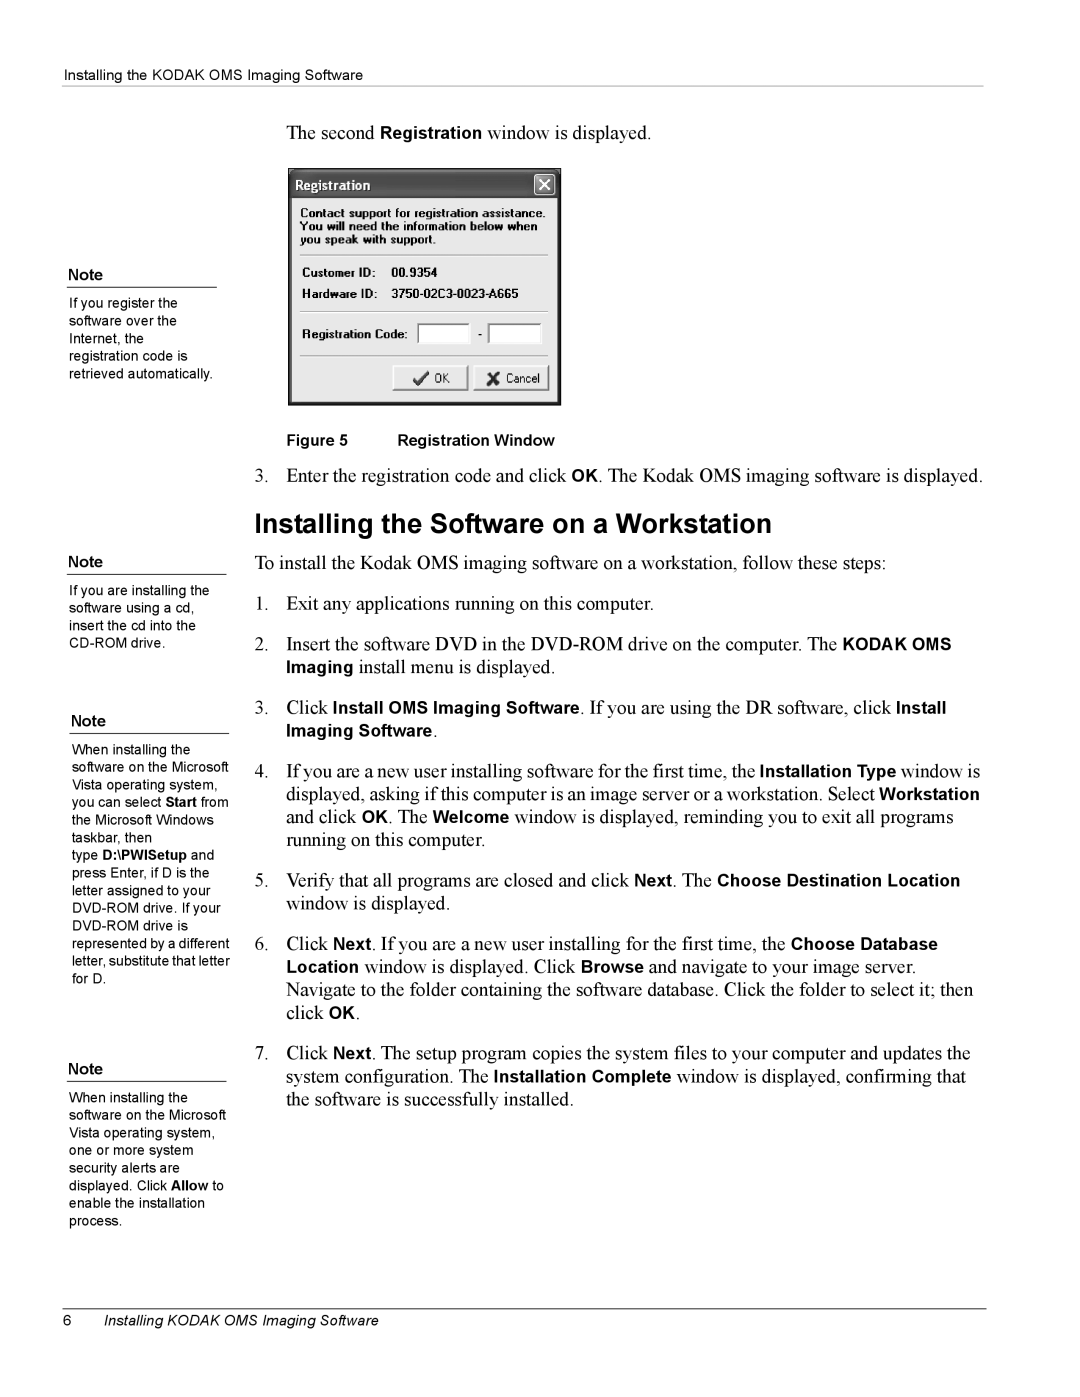
The second Registration window is displayed.
Note
If you register the software over the Internet, the registration code is retrieved automatically.
Figure 5 Registration Window
3. Enter the registration code and click OK. The Kodak OMS imaging software is displayed.
Note
If you are installing the software using a cd, insert the cd into the
Note
When installing the software on the Microsoft Vista operating system, you can select Start from the Microsoft Windows taskbar, then
type D:\PWISetup and press Enter, if D is the letter assigned to your
Note
When installing the software on the Microsoft Vista operating system, one or more system security alerts are displayed. Click Allow to enable the installation process.
Installing the Software on a Workstation
To install the Kodak OMS imaging software on a workstation, follow these steps:
1.Exit any applications running on this computer.
2.Insert the software DVD in the
3.Click Install OMS Imaging Software. If you are using the DR software, click Install Imaging Software.
4.If you are a new user installing software for the first time, the Installation Type window is displayed, asking if this computer is an image server or a workstation. Select Workstation and click OK. The Welcome window is displayed, reminding you to exit all programs running on this computer.
5.Verify that all programs are closed and click Next. The Choose Destination Location window is displayed.
6.Click Next. If you are a new user installing for the first time, the Choose Database Location window is displayed. Click Browse and navigate to your image server. Navigate to the folder containing the software database. Click the folder to select it; then click OK.
7.Click Next. The setup program copies the system files to your computer and updates the system configuration. The Installation Complete window is displayed, confirming that the software is successfully installed.
6Installing KODAK OMS Imaging Software
