Frame the subject as described in the basic operation section and press the shutter-release button partway down. Confirm the image has stabilized on the monitor and press the shutter-release but- ton all the way down to take the picture.
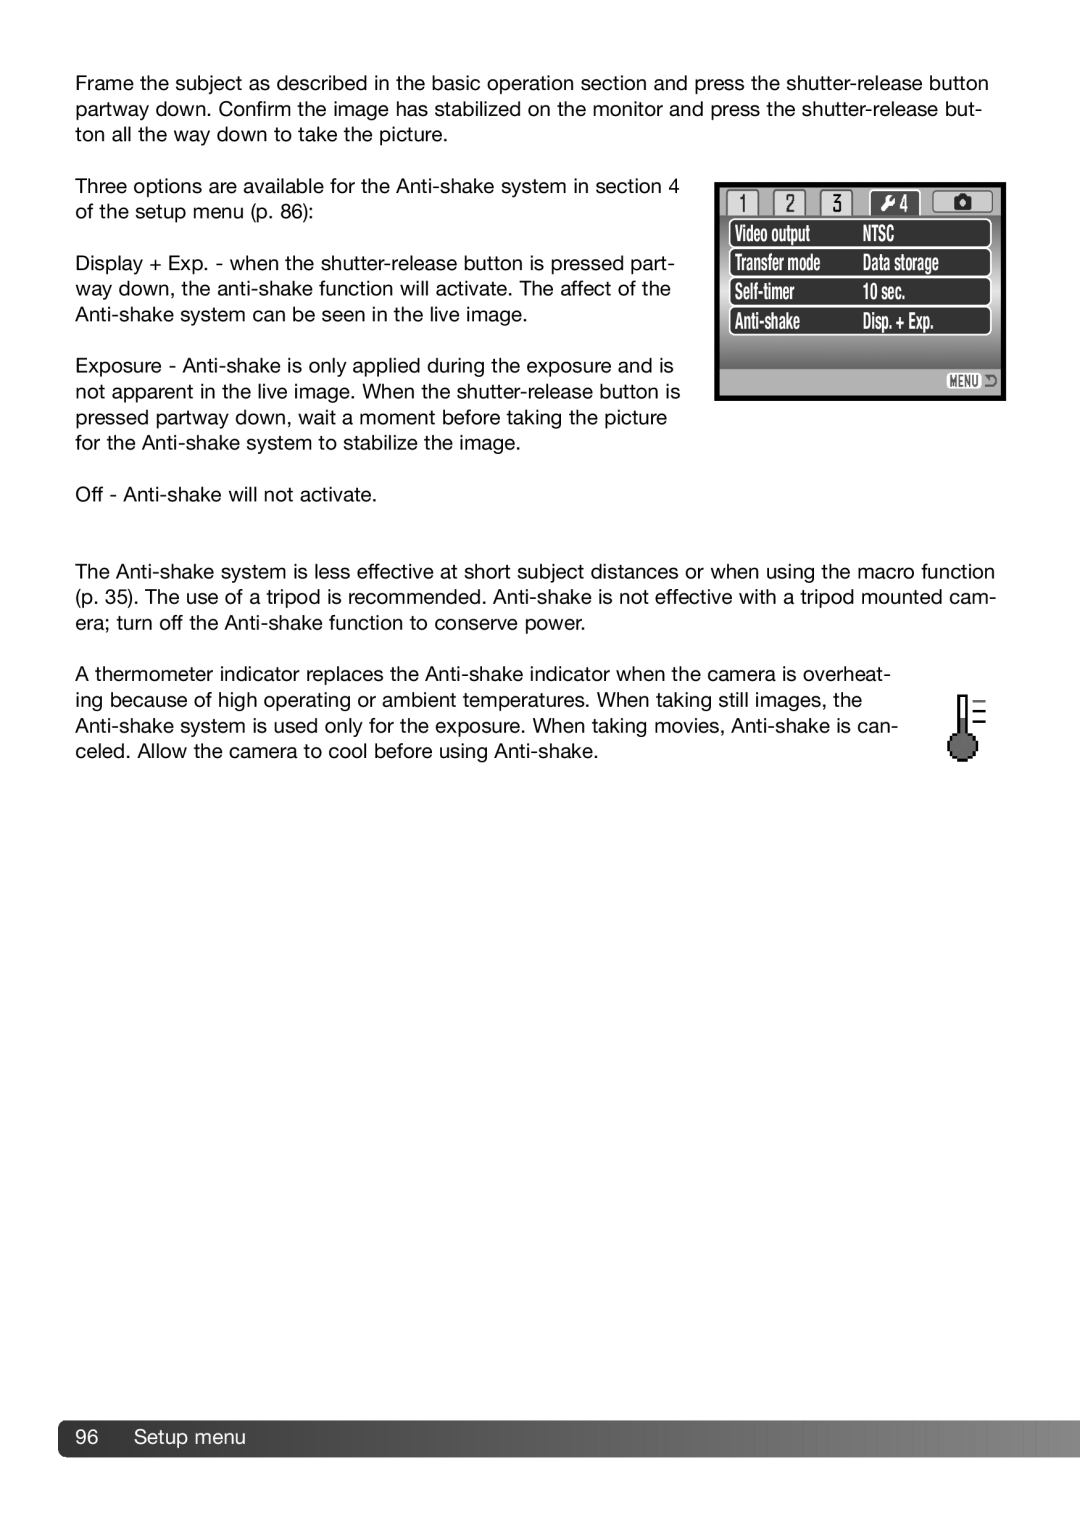
Three options are available for the Anti-shake system in section 4 of the setup menu (p. 86):
Display + Exp. - when the shutter-release button is pressed part- way down, the anti-shake function will activate. The affect of the Anti-shake system can be seen in the live image.
Exposure - Anti-shake is only applied during the exposure and is not apparent in the live image. When the shutter-release button is pressed partway down, wait a moment before taking the picture for the Anti-shake system to stabilize the image.
Video output | NTSC |
Transfer mode | Data storage |
Self-timer | 10 sec. |
Anti-shake | Disp. + Exp. |
Off - Anti-shake will not activate.
The Anti-shake system is less effective at short subject distances or when using the macro function (p. 35). The use of a tripod is recommended. Anti-shake is not effective with a tripod mounted cam- era; turn off the Anti-shake function to conserve power.
A thermometer indicator replaces the Anti-shake indicator when the camera is overheat- ing because of high operating or ambient temperatures. When taking still images, the Anti-shake system is used only for the exposure. When taking movies, Anti-shake is can- celed. Allow the camera to cool before using Anti-shake.

![]() 96
96![]()
![]() Setup menu
Setup menu![]()
![]()
![]()
![]()
![]()
![]()
![]()
![]()
![]()
![]()
![]()
![]()
![]()
![]()
![]()
![]()
![]()
![]()
![]()
![]()
![]()
![]()
![]()
![]()
![]()
![]()
![]()
![]()
![]()
![]()
![]()
![]()
![]()
![]()
![]()
![]()
![]()
![]()
![]()
![]()
![]()
![]()
![]()
![]()
![]()
![]()
