The Virtual Device – an Application Example
The VIRTUAL DEVICE Screen
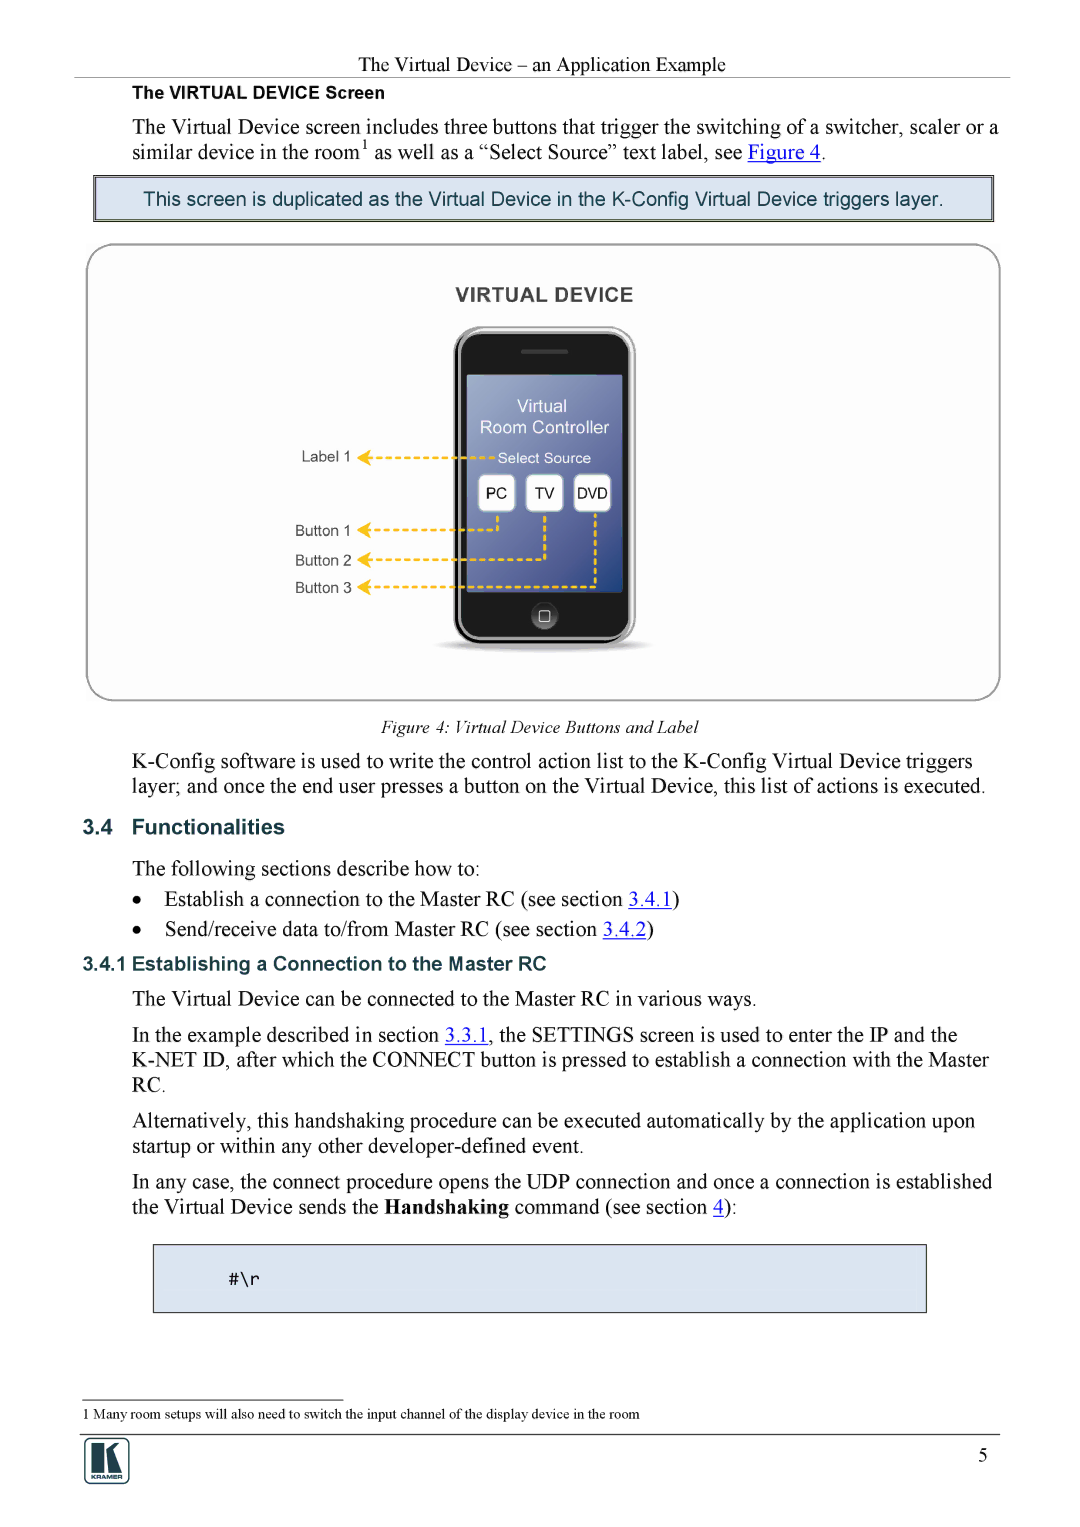
The Virtual Device screen includes three buttons that trigger the switching of a switcher, scaler or a similar device in the room1 as well as a “Select Source” text label, see Figure 4.
This screen is duplicated as the Virtual Device in the
Figure 4: Virtual Device Buttons and Label
3.4Functionalities
The following sections describe how to:
•Establish a connection to the Master RC (see section 3.4.1)
•Send/receive data to/from Master RC (see section 3.4.2)
3.4.1Establishing a Connection to the Master RC
The Virtual Device can be connected to the Master RC in various ways.
In the example described in section 3.3.1, the SETTINGS screen is used to enter the IP and the
Alternatively, this handshaking procedure can be executed automatically by the application upon startup or within any other
In any case, the connect procedure opens the UDP connection and once a connection is established the Virtual Device sends the Handshaking command (see section 4):
#\r
1 Many room setups will also need to switch the input channel of the display device in the room
5