Kramer Electronics Securing the RK-1UTB/T Enclosure to the Table, Installing the Cables

Models: rk-1utb t

1 14
Download 14 pages 25.13 Kb
Page 10
Image 10

Install the Kramer RK-1UTB/T Under the Table Enclosure

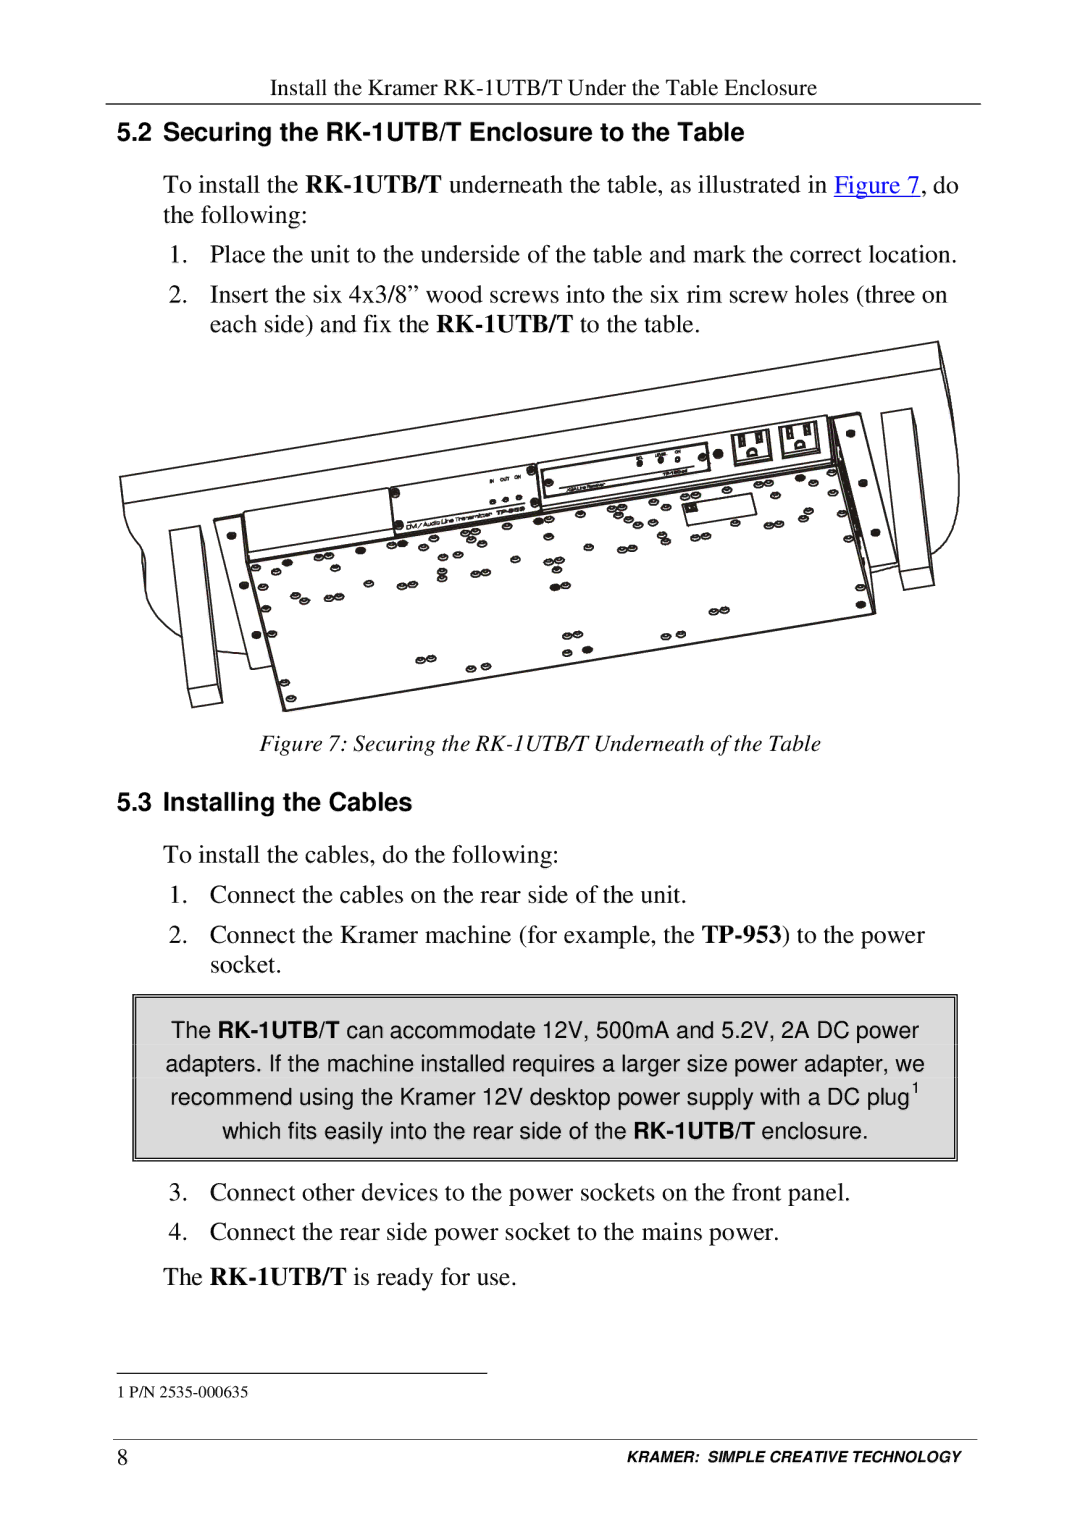
5.2Securing the RK-1UTB/T Enclosure to the Table

To install the RK-1UTB/Tunderneath the table, as illustrated in Figure 7, do the following:

1.Place the unit to the underside of the table and mark the correct location.

2.Insert the six 4x3/8” wood screws into the six rim screw holes (three on each side) and fix the RK-1UTB/Tto the table.

Figure 7: Securing the RK-1UTB/T Underneath of the Table

5.3Installing the Cables

To install the cables, do the following:

1.Connect the cables on the rear side of the unit.

2.Connect the Kramer machine (for example, the TP-953) to the power socket.

The RK-1UTB/Tcan accommodate 12V, 500mA and 5.2V, 2A DC power adapters. If the machine installed requires a larger size power adapter, we recommend using the Kramer 12V desktop power supply with a DC plug1 which fits easily into the rear side of the RK-1UTB/Tenclosure.

3.Connect other devices to the power sockets on the front panel.

4.Connect the rear side power socket to the mains power.

The RK-1UTB/Tis ready for use.

1 P/N 2535-000635

8

KRAMER: SIMPLE CREATIVE TECHNOLOGY

Page 10
Image 10
Kramer Electronics rk-1utb user manual Securing the RK-1UTB/T Enclosure to the Table, Installing the Cables