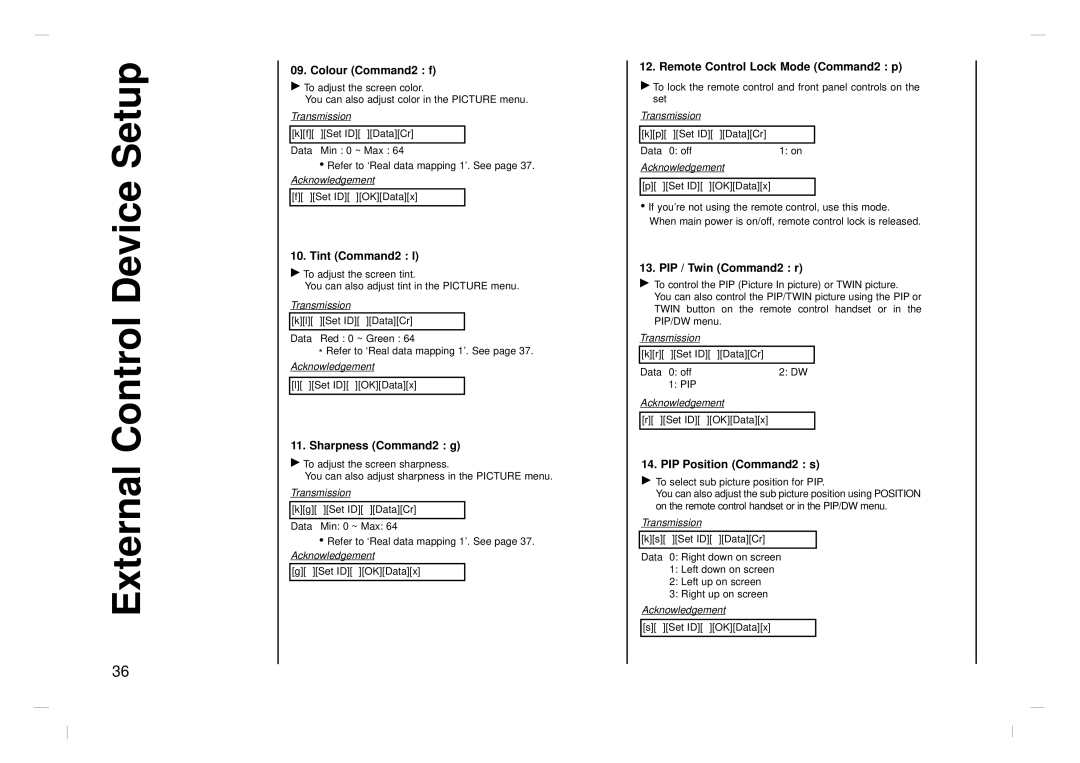
External Control Device Setup
09. Colour (Command2 : f)
GTo adjust the screen color.
You can also adjust color in the PICTURE menu. Transmission
[k][f][ ][Set ID][ ][Data][Cr]
Data Min : 0 ~ Max : 64
•Refer to ‘Real data mapping 1’. See page 37. Acknowledgement
[f][ ][Set ID][ ][OK][Data][x]
10. Tint (Command2 : l)
GTo adjust the screen tint.
You can also adjust tint in the PICTURE menu. Transmission
[k][l][ ][Set ID][ ][Data][Cr]
Data Red : 0 ~ Green : 64
*Refer to ‘Real data mapping 1’. See page 37.
Acknowledgement
[l][ ][Set ID][ ][OK][Data][x]
11. Sharpness (Command2 : g)
GTo adjust the screen sharpness.
You can also adjust sharpness in the PICTURE menu. Transmission
[k][g][ ][Set ID][ ][Data][Cr]
Data Min: 0 ~ Max: 64
•Refer to ‘Real data mapping 1’. See page 37. Acknowledgement
[g][ ][Set ID][ ][OK][Data][x]
12. Remote Control Lock Mode (Command2 : p)
GTo lock the remote control and front panel controls on the set
Transmission
[k][p][ ][Set ID][ ][Data][Cr]
Data 0: off | 1: on |
Acknowledgement
[p][ ][Set ID][ ][OK][Data][x]
•If you’re not using the remote control, use this mode. When main power is on/off, remote control lock is released.
13. PIP / Twin (Command2 : r)
GTo control the PIP (Picture In picture) or TWIN picture.
You can also control the PIP/TWIN picture using the PIP or TWIN button on the remote control handset or in the PIP/DW menu.
Transmission
[k][r][ | ][Set ID][ | ][Data][Cr] |
|
|
|
Data | 0: off | 2: DW |
| 1: PIP |
|
Acknowledgement
[r][ ][Set ID][ ][OK][Data][x]
14. PIP Position (Command2 : s)
GTo select sub picture position for PIP.
You can also adjust the sub picture position using POSITION on the remote control handset or in the PIP/DW menu.
Transmission
[k][s][ ][Set ID][ ][Data][Cr]
Data 0: Right down on screen
1:Left down on screen
2:Left up on screen
3:Right up on screen
Acknowledgement
[s][ ][Set ID][ ][OK][Data][x]
36
