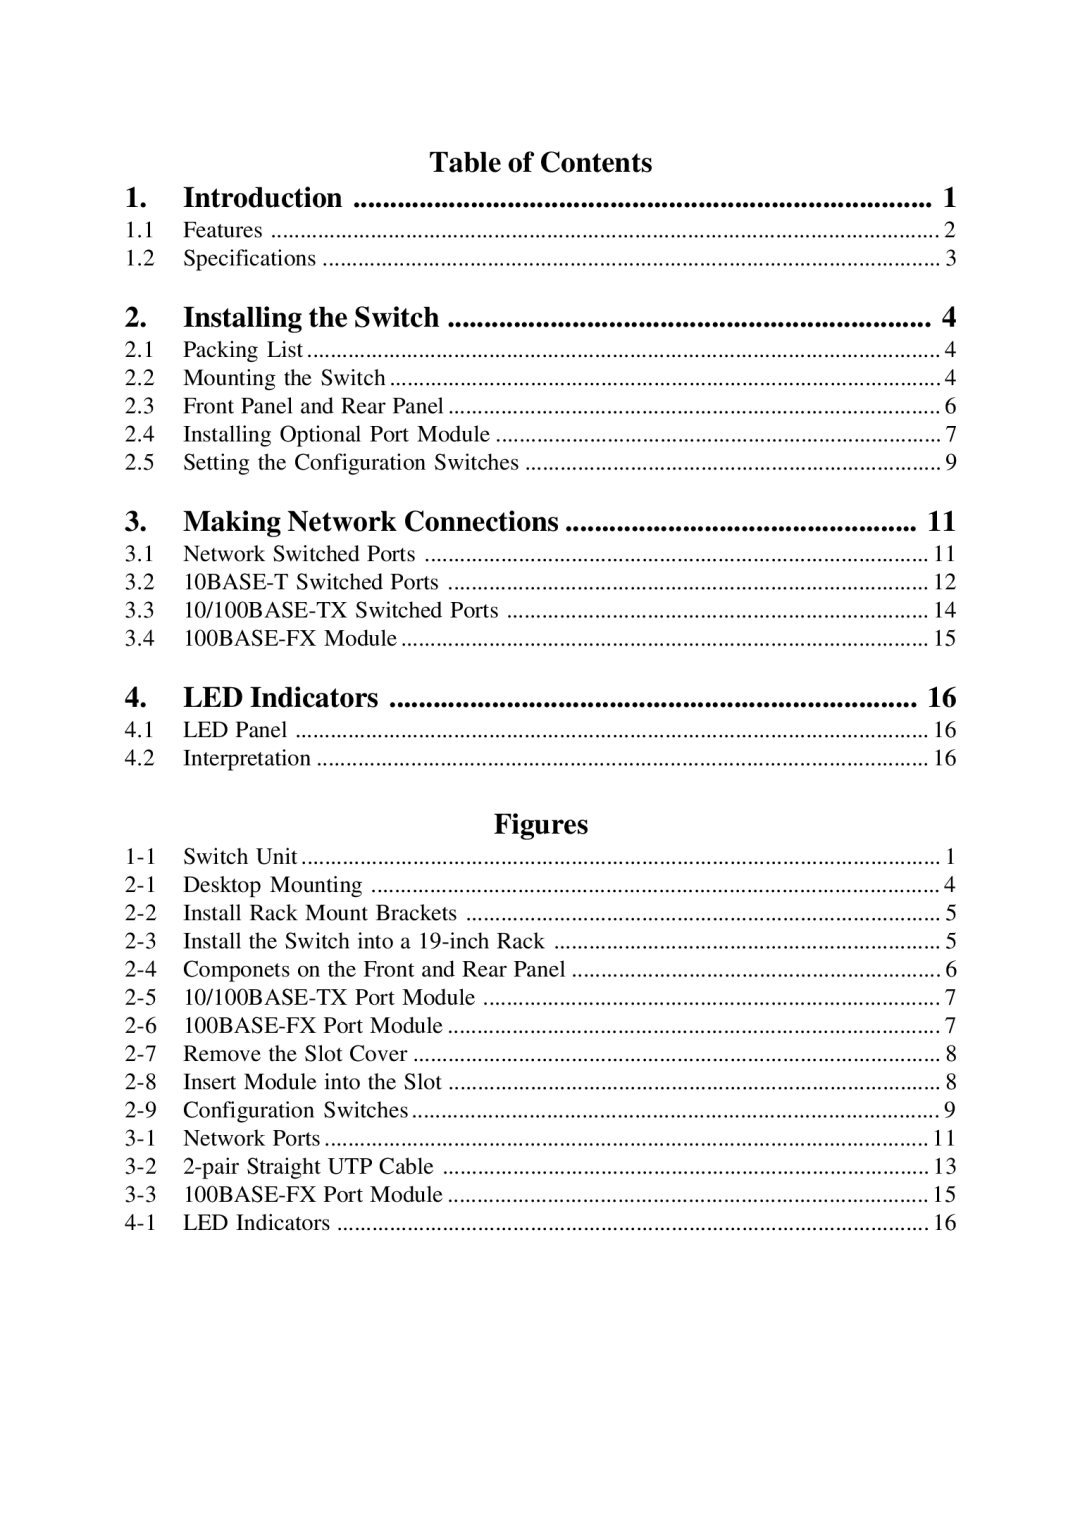
| Table of Contents |
|
1. | Introduction | 1 |
1.1 | Features | 2 |
1.2 | Specifications | 3 |
2. | Installing the Switch | 4 |
2.1 | Packing List | 4 |
2.2 | Mounting the Switch | 4 |
2.3 | Front Panel and Rear Panel | 6 |
2.4 | Installing Optional Port Module | 7 |
2.5 | Setting the Configuration Switches | 9 |
3. | Making Network Connections | 11 |
3.1 | Network Switched Ports | 11 |
3.2 | 12 | |
3.3 | 14 | |
3.4 | 15 | |
4. | LED Indicators | 16 |
4.1 | LED Panel | 16 |
4.2 | Interpretation | 16 |
| Figures |
|
Switch Unit | 1 | |
Desktop Mounting | 4 | |
Install Rack Mount Brackets | 5 | |
Install the Switch into a | 5 | |
Componets on the Front and Rear Panel | 6 | |
7 | ||
7 | ||
Remove the Slot Cover | 8 | |
Insert Module into the Slot | 8 | |
Configuration Switches | 9 | |
Network Ports | 11 | |
13 | ||
15 | ||
LED Indicators | 16 |
Page 5
Image 5
