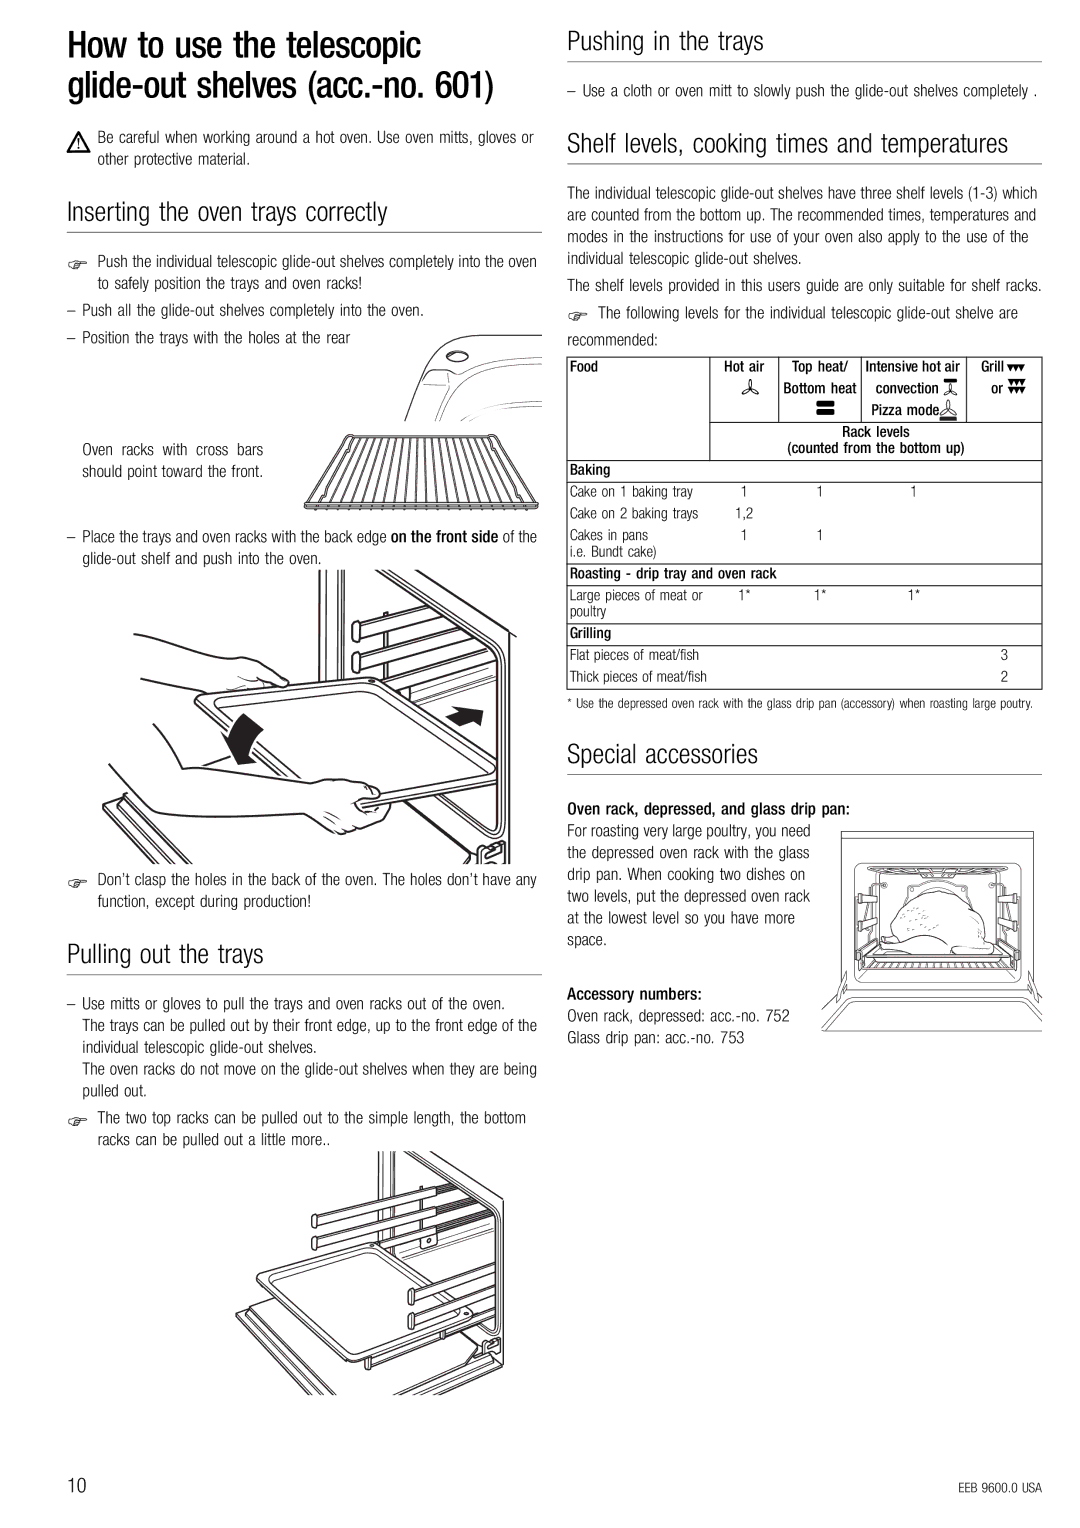
How to use the telescopic glide-out shelves (acc.-no. 601)
[Be careful when working around a hot oven. Use oven mitts, gloves or other protective material.
Inserting the oven trays correctly
ΦPush the individual telescopic
–Push all the
–Position the trays with the holes at the rear
Oven racks with cross bars should point toward the front.
–Place the trays and oven racks with the back edge on the front side of the
ΦDon’t clasp the holes in the back of the oven. The holes don’t have any function, except during production!
Pulling out the trays
–Use mitts or gloves to pull the trays and oven racks out of the oven.
The trays can be pulled out by their front edge, up to the front edge of the individual telescopic
The oven racks do not move on the
ΦThe two top racks can be pulled out to the simple length, the bottom racks can be pulled out a little more..
Pushing in the trays
– Use a cloth or oven mitt to slowly push the
Shelf levels, cooking times and temperatures
The individual telescopic
The shelf levels provided in this users guide are only suitable for shelf racks.
ΦThe following levels for the individual telescopic
Food | Hot air | Top heat/ | Intensive hot air | Grill * |
| # | Bottom heat | convection 0 | or + |
|
| $ | Pizza mode |
|
|
|
|
|
|
|
| Rack levels |
| |
|
| (counted from the bottom up) |
| |
Baking |
|
|
|
|
Cake on 1 baking tray | 1 | 1 | 1 |
|
Cake on 2 baking trays | 1,2 |
|
|
|
Cakes in pans | 1 | 1 |
|
|
i.e. Bundt cake) |
|
|
|
|
Roasting - drip tray and oven rack |
|
|
| |
Large pieces of meat or | 1* | 1* | 1* |
|
poultry |
|
|
|
|
Grilling |
|
|
|
|
Flat pieces of meat/fish |
|
|
| 3 |
Thick pieces of meat/fish |
|
|
| 2 |
|
|
|
|
|
* Use the depressed oven rack with the glass drip pan (accessory) when roasting large poutry.
Special accessories
Oven rack, depressed, and glass drip pan:
For roasting very large poultry, you need the depressed oven rack with the glass drip pan. When cooking two dishes on two levels, put the depressed oven rack at the lowest level so you have more space.
Accessory numbers:
Oven rack, depressed:
Glass drip pan:
10 | EEB 9600.0 USA |
