4.Press and release the “SET” button to confirm the LCD contrast setting and continue to the Time Zone setting.
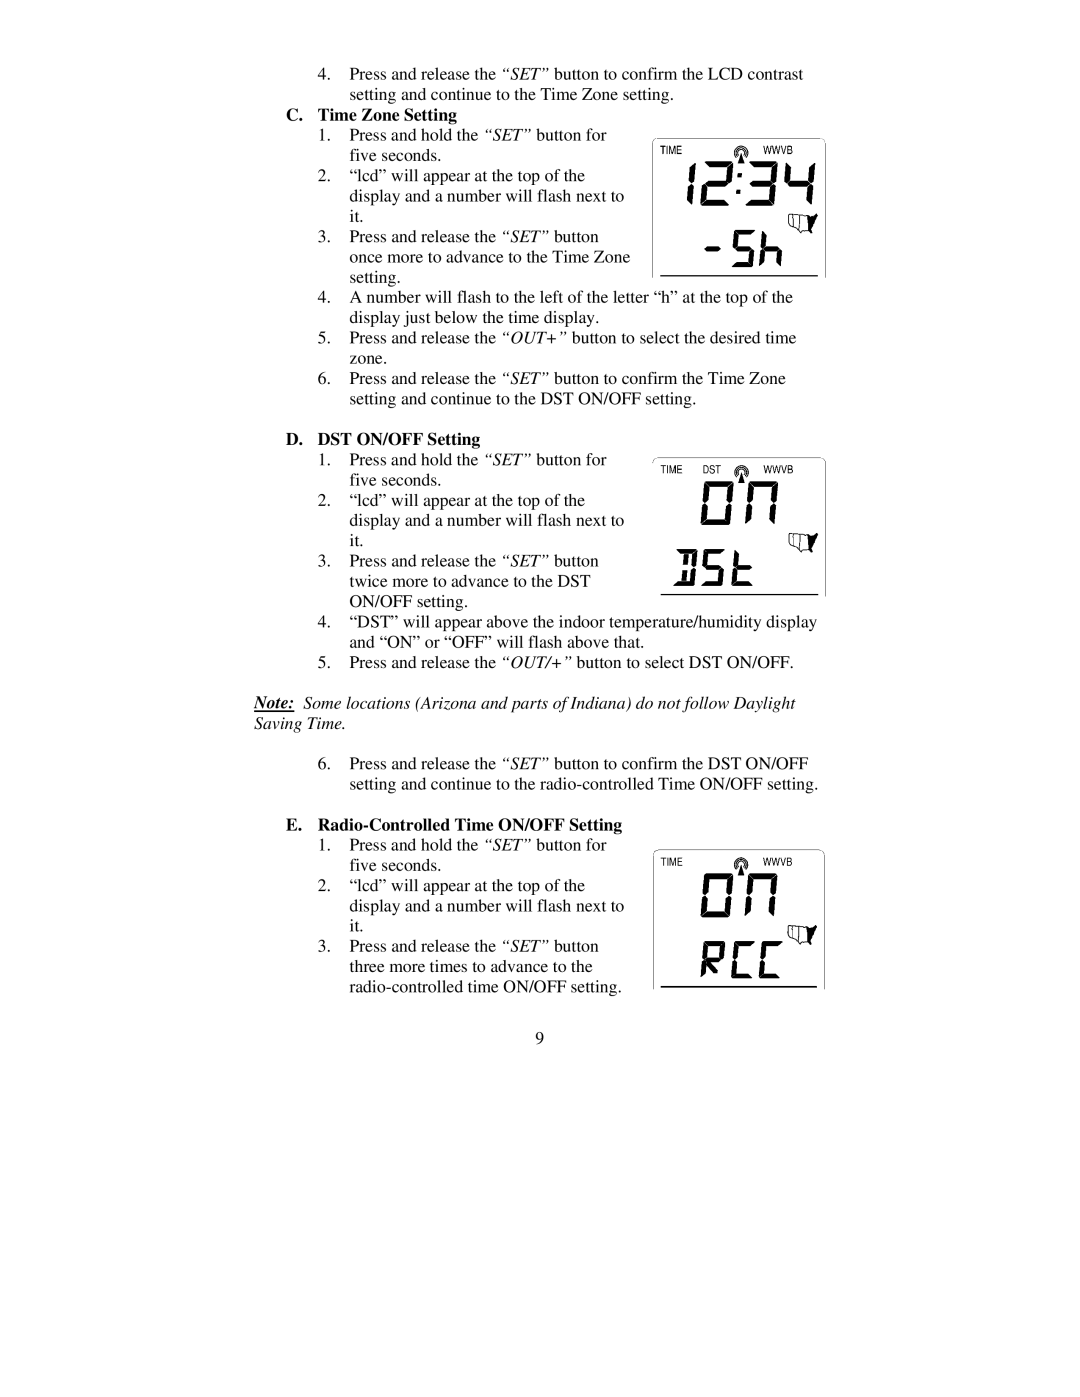
C.Time Zone Setting
1.Press and hold the “SET” button for five seconds.
2.“lcd” will appear at the top of the display and a number will flash next to it.
3.Press and release the “SET” button once more to advance to the Time Zone setting.
4.A number will flash to the left of the letter “h” at the top of the display just below the time display.
5.Press and release the “OUT+” button to select the desired time zone.
6.Press and release the “SET” button to confirm the Time Zone setting and continue to the DST ON/OFF setting.
D.DST ON/OFF Setting
1.Press and hold the “SET” button for five seconds.
2.“lcd” will appear at the top of the display and a number will flash next to it.
3.Press and release the “SET” button twice more to advance to the DST ON/OFF setting.
4.“DST” will appear above the indoor temperature/humidity display and “ON” or “OFF” will flash above that.
5.Press and release the “OUT/+” button to select DST ON/OFF.
Note: Some locations (Arizona and parts of Indiana) do not follow Daylight Saving Time.
6.Press and release the “SET” button to confirm the DST ON/OFF setting and continue to the
E.Radio-Controlled Time ON/OFF Setting
1.Press and hold the “SET” button for five seconds.
2.“lcd” will appear at the top of the display and a number will flash next to it.
3.Press and release the “SET” button three more times to advance to the
9