arrow, sliding the battery cover off.
3.Observing the correct polarity install 2 AA batteries. The batteries will fit tightly (avoid
4.Replace the battery cover, and place the rain cover snugly onto the sensor.
B.WEATHER CENTER
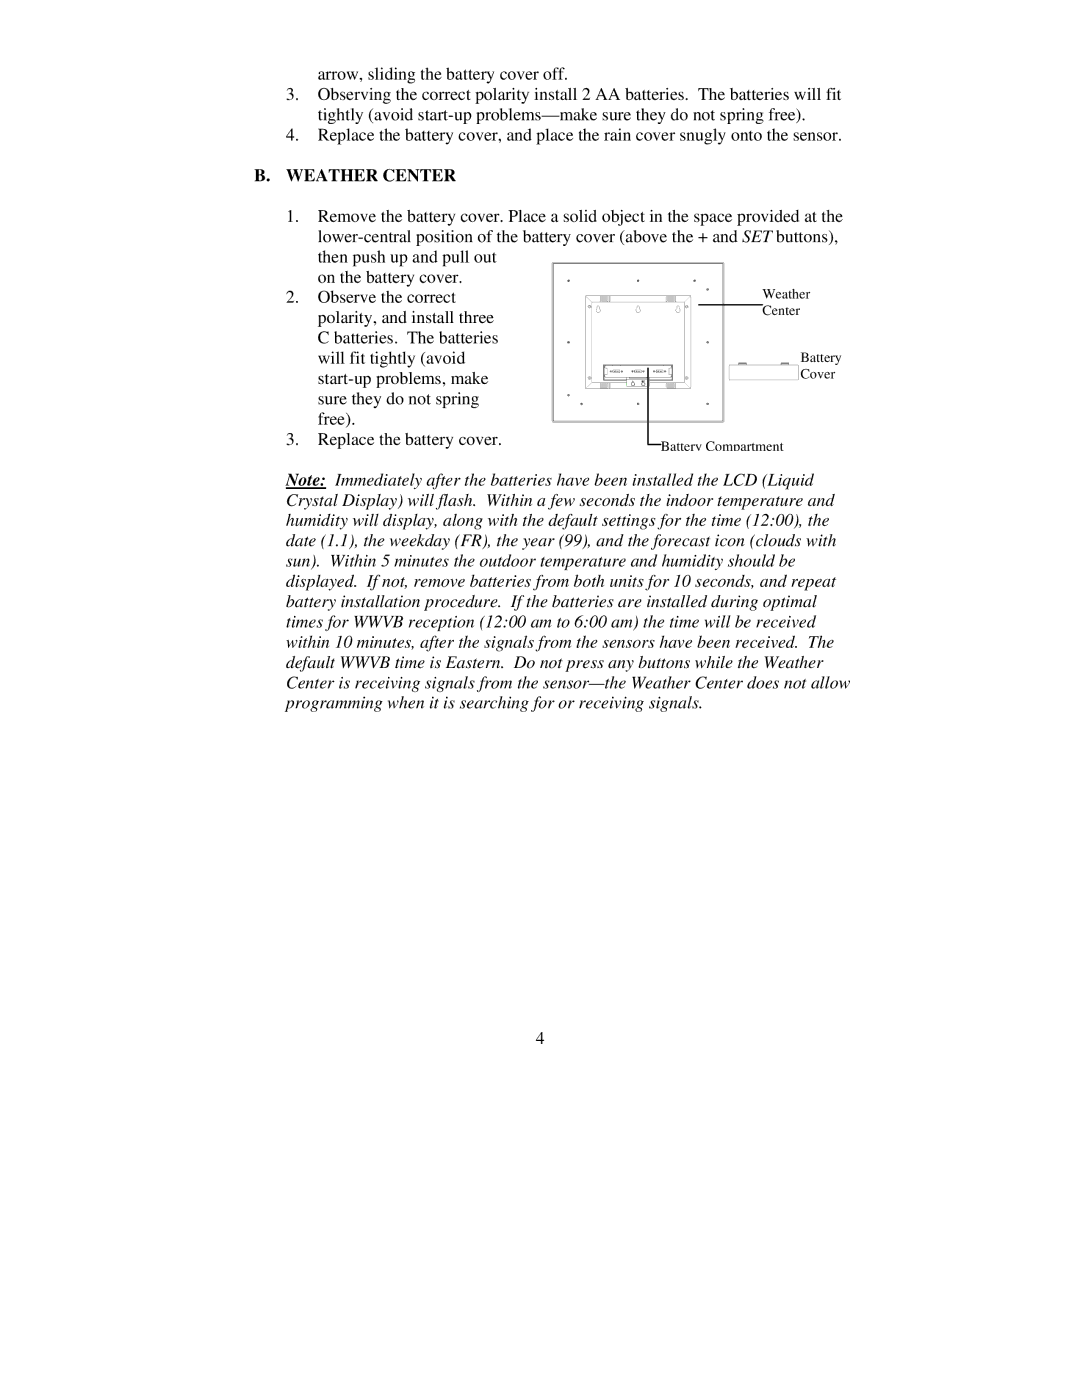
1.Remove the battery cover. Place a solid object in the space provided at the
on the battery cover. | Weather |
2. Observe the correct | |
polarity, and install three | Center |
C batteries. The batteries |
|
will fit tightly (avoid | Battery |
Cover | |
sure they do not spring |
|
free). |
|
3. Replace the battery cover. | Battery Compartment |
|
Note: Immediately after the batteries have been installed the LCD (Liquid Crystal Display) will flash. Within a few seconds the indoor temperature and humidity will display, along with the default settings for the time (12:00), the date (1.1), the weekday (FR), the year (99), and the forecast icon (clouds with sun). Within 5 minutes the outdoor temperature and humidity should be displayed. If not, remove batteries from both units for 10 seconds, and repeat battery installation procedure. If the batteries are installed during optimal times for WWVB reception (12:00 am to 6:00 am) the time will be received within 10 minutes, after the signals from the sensors have been received. The default WWVB time is Eastern. Do not press any buttons while the Weather Center is receiving signals from the
4