LaCie Data Bank | 3. Installing Your LaCie Drive |
User’s Manual | page 12 |
|
|
3.1. Connecting The LaCie Drive To Your Computer
Tech Note: *The LaCie Data Bank does not require a power supply for computers equipped with a standard bus- powered USB port. Some USB hubs or boards are not powered; if your computer’s USB hub or bus does not provide the necessary power to operate your drive, use the optional power sharing cable to turn on your drive. See section 3.2 Connecting the Optional Power Sharing Cable for instructions.
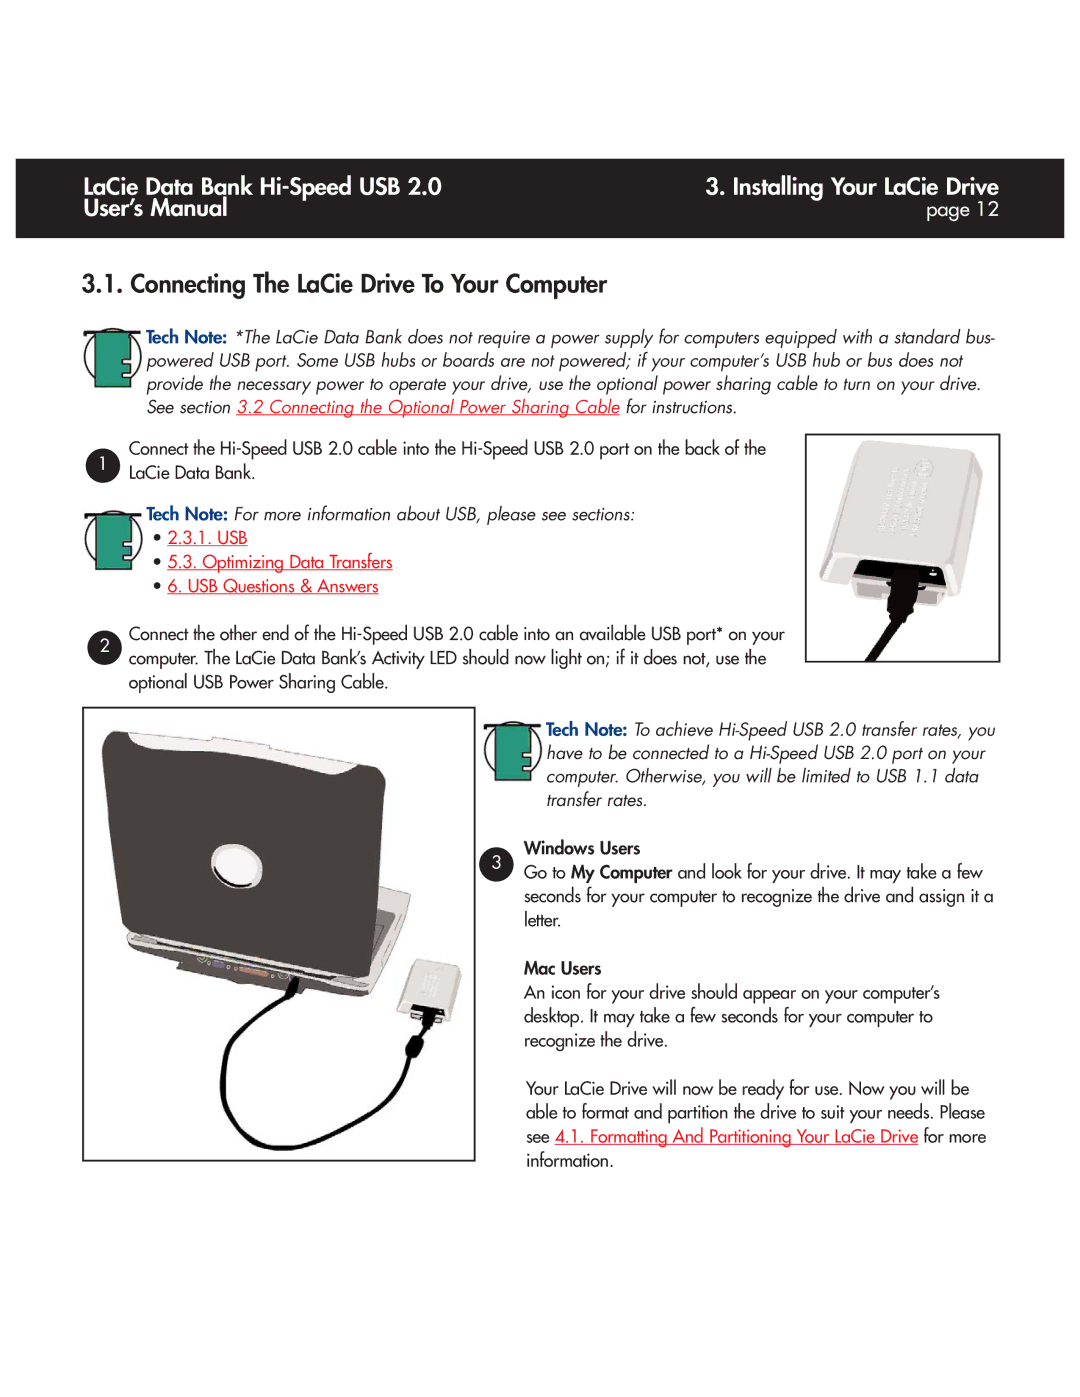
Connect the
1LaCie Data Bank.
2
Tech Note: For more information about USB, please see sections:
•2.3.1. USB
•5.3. Optimizing Data Transfers
•6. USB Questions & Answers
Connect the other end of the
Tech Note: To achieve
Windows Users
3Go to My Computer and look for your drive. It may take a few seconds for your computer to recognize the drive and assign it a letter.
Mac Users
An icon for your drive should appear on your computer’s desktop. It may take a few seconds for your computer to recognize the drive.
Your LaCie Drive will now be ready for use. Now you will be able to format and partition the drive to suit your needs. Please see 4.1. Formatting And Partitioning Your LaCie Drive for more information.