PC400 Terminal Installation & User’s Guide - 5
Note: The PC400 back box is designed to align with mounting holes if you are replacing a PC2000, PC1000 or PC100 terminal.
♦Drill the 3 holes noted using a 5/16” drill bit.
♦Insert a wall anchor (not included) in each hole and tap with a hammer until flush with the wall.
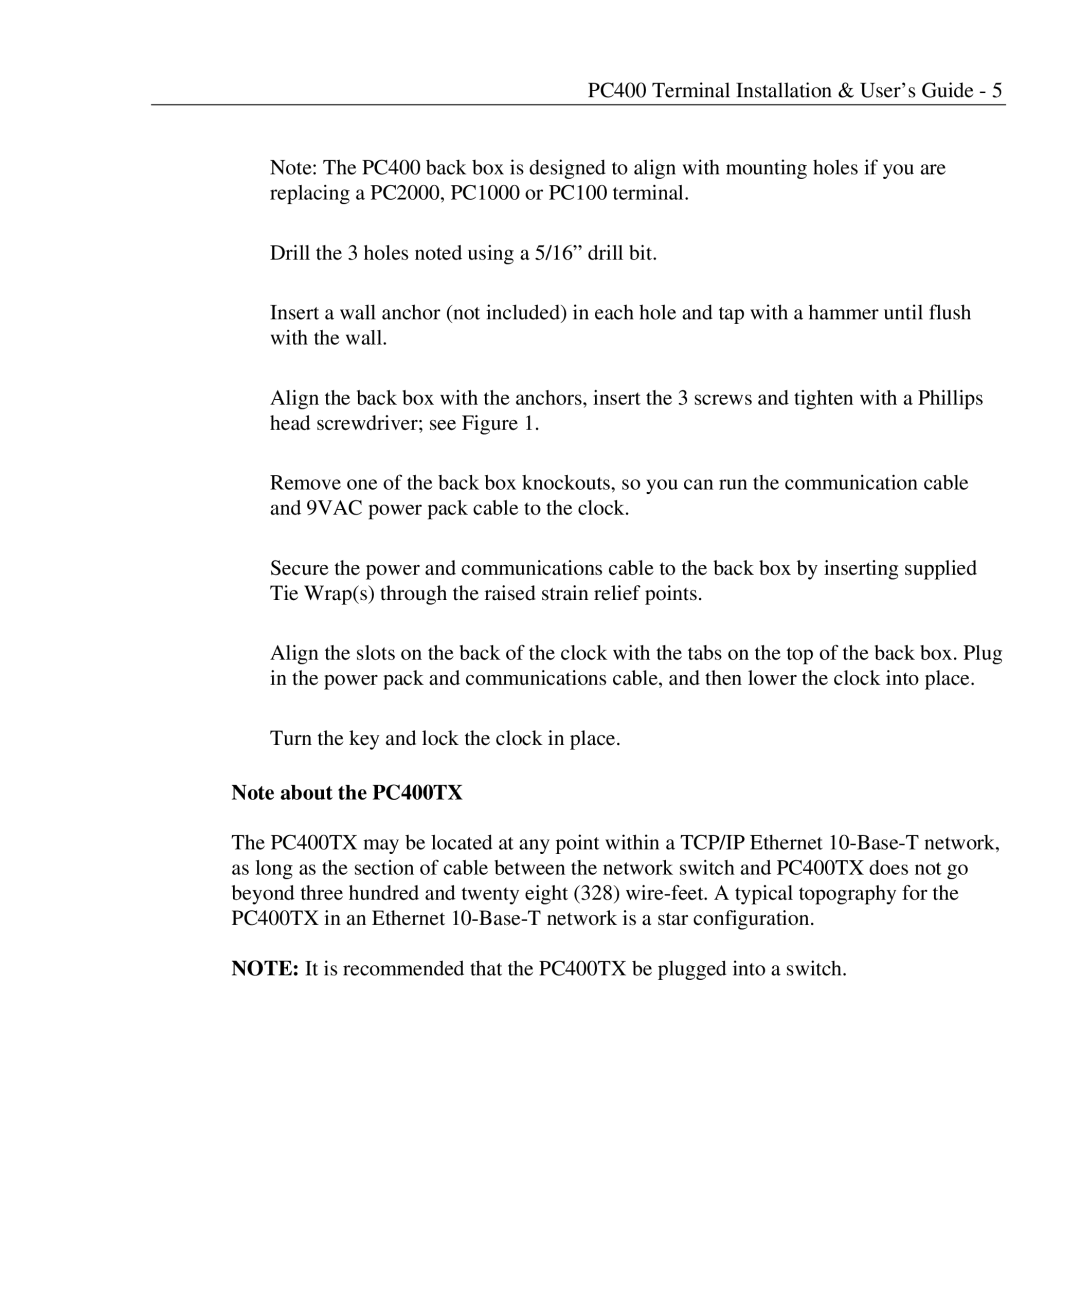
♦Align the back box with the anchors, insert the 3 screws and tighten with a Phillips head screwdriver; see Figure 1.
♦Remove one of the back box knockouts, so you can run the communication cable and 9VAC power pack cable to the clock.
♦Secure the power and communications cable to the back box by inserting supplied Tie Wrap(s) through the raised strain relief points.
♦Align the slots on the back of the clock with the tabs on the top of the back box. Plug in the power pack and communications cable, and then lower the clock into place.
♦Turn the key and lock the clock in place.
Note about the PC400TX
The PC400TX may be located at any point within a TCP/IP Ethernet
NOTE: It is recommended that the PC400TX be plugged into a switch.