8.Press ENTER to complete the site information input. The display will go back to Display 3.
9.Press MODE to go back to Display 2.
10.Press MODE again to go back to Display 1.
It is important to note that the longitude standard used in the LX200 starts at 0 degrees in Greenwich U.K. and increases Westerly only to 359 degrees 59 minutes. Many maps will show Easterly longitudes which cannot be entered into the keypad display. As an example, if your map indicates that you are at an Easterly longitude of 18 degrees 27 minutes, then you would enter 341 degrees 33 minutes.
Do not concern yourself with differences in longitude and latitude as they pertain to different map spheroid projections, those minor differences are too small to adversely affect the longitude and latitude data input.
c. Local Time and Date.
NOTE: The Time function on the 16" LX200 telescope is a standard quartz clock. Like nearly any timepiece, the internal clock of the telescope should be periodically checked and updated to keep it as accurate as possible.
The local time should be set as accurately as possible, using the 24 hour format. The local time and date are used to determine sidereal time (star time) and the pointing accuracy of the telescope will depend on the accuracy of the time entered. Choose a reliable source as a reference for accurate time such as your local airport, or telephone company. In the U.S.A. you can double check the accuracy of the exact minutes by dialing WWV for the universal coordinated time at (303) 499-7111 (be sure to enter your local time hour information, not the U.T. hour). For the example, we will use 2:40:00 P.M. on August 5, 1998.
1.The display should look like Display 1. If it does not, press the MODE key until it does.
2.Press the MODE key twice. The display will look like Display 8, but with a random LOCAL and SIDE times.
3.Press and HOLD the ENTER key until the keypad hand controller beeps (display like Display 9).
4.Using the number keys, enter the current local time to within 5 seconds. (Remember, 2:40:00 P.M. is 14:40:00 in the 24 hour format.) Corrections can be made by moving the flashing cursor using the W and E keys. The display should look like Display 10. (NOTE: The time should be checked and reset about once a month.)
5.Press the ENTER key when the time is correct. The display will change to Display 11.
The next step is to enter the Greenwich Mean Time (GMT) time zone shift (This procedure is a lot easier than it sounds). Simply look up your time zone in the table below to find the GMT time zone shift.
| U.S.A. TIME ZONES | |
| | | |
TIME ZONE | | STANDARD TIME | DAYLIGHT TIME |
| | | |
HAWAII | | +10 Hours | +9 Hours |
| |
| | | |
PACIFIC | | +8 Hours | +7 Hours |
MOUNTAIN | | +7 Hours | +6 Hours |
| | | |
CENTRAL | | +6 Hours | +5 Hours |
| | | |
EASTERN | | +5 Hours | + 4 Hours |
| | | |
ATLANTIC | | +4 Hours | +3 Hours |
| | | |
For example: You live in the Pacific Time Zone and you are on Daylight Time. The GMT time shift is +7 hours.
6.Use the number keys to enter the GMT time zone shift determined from the table above. Press ENTER when done; the display will go back to Display 8. If you are using the LX200 East of Greenwich U.K., then you must enter a - (minus) GMT time zone shift by moving the blinking cursor backwards in the display with the W key and then pressing the NEXT key. The + (plus) sign will change to -(minus). Use the number keys to enter the Westerly (+) GMT time zone shift determined from the table above or your calculated Easterly (-) time zone shift.
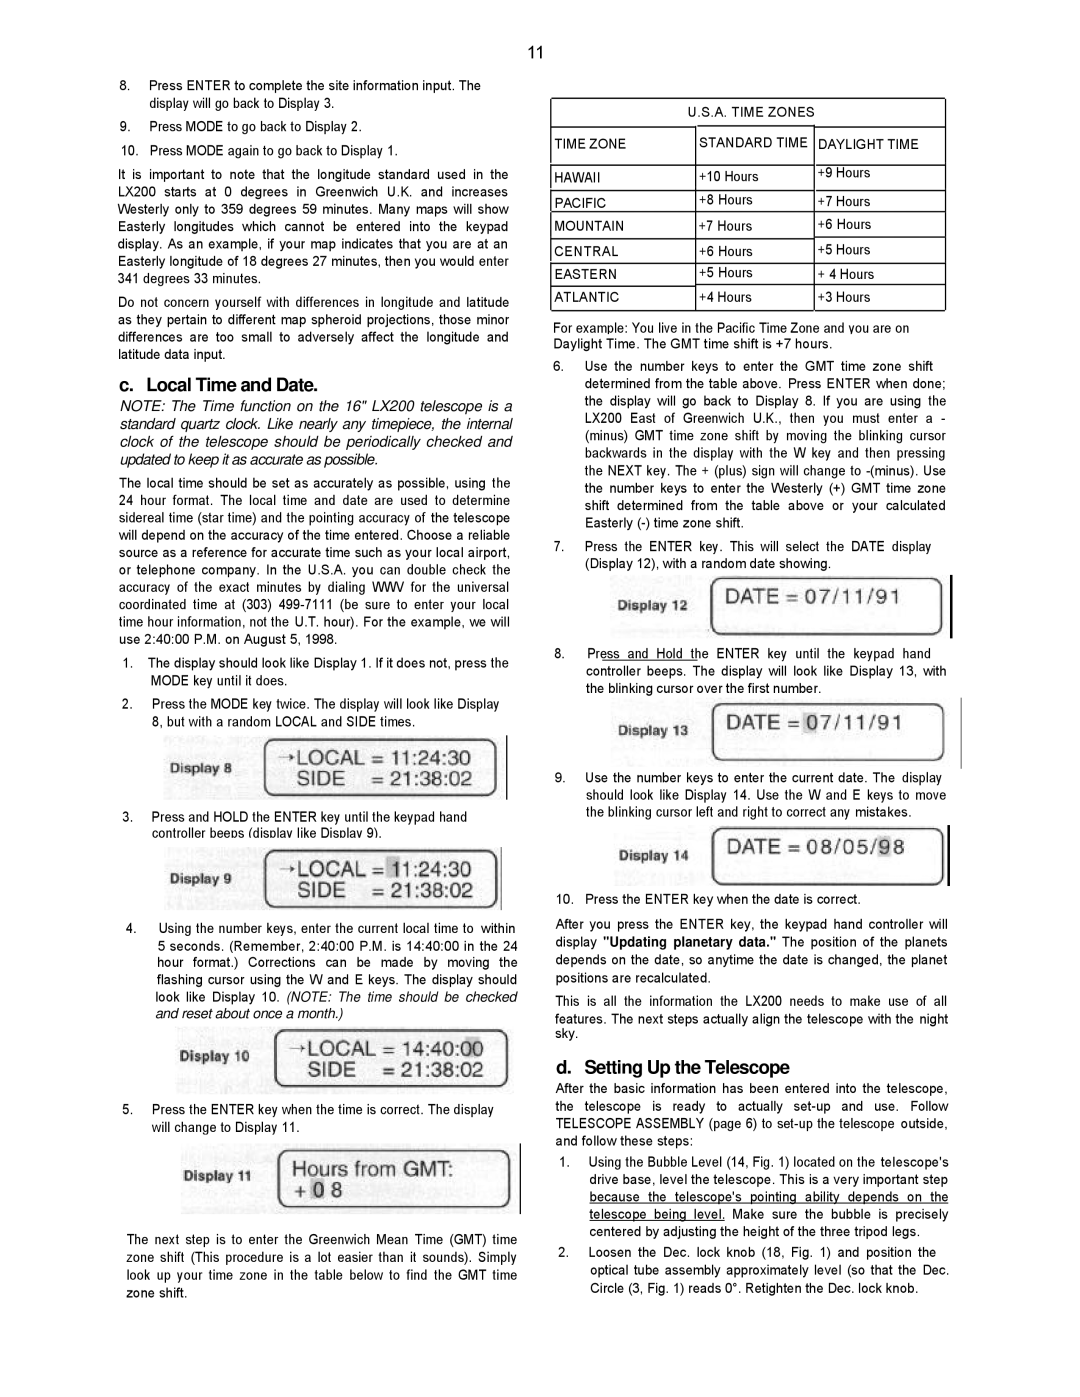
7.Press the ENTER key. This will select the DATE display (Display 12), with a random date showing.
8.Press and Hold the ENTER key until the keypad hand controller beeps. The display will look like Display 13, with the blinking cursor over the first number.
9.Use the number keys to enter the current date. The display should look like Display 14. Use the W and E keys to move the blinking cursor left and right to correct any mistakes.
10.Press the ENTER key when the date is correct.
After you press the ENTER key, the keypad hand controller will display "Updating planetary data." The position of the planets depends on the date, so anytime the date is changed, the planet positions are recalculated.
This is all the information the LX200 needs to make use of all
features. The next steps actually align the telescope with the night sky.
d. Setting Up the Telescope
After the basic information has been entered into the telescope, the telescope is ready to actually set-up and use. Follow TELESCOPE ASSEMBLY (page 6) to set-up the telescope outside, and follow these steps:
1.Using the Bubble Level (14, Fig. 1) located on the telescope's drive base, level the telescope. This is a very important step because the telescope's pointing ability depends on the telescope being level. Make sure the bubble is precisely centered by adjusting the height of the three tripod legs.
2.Loosen the Dec. lock knob (18, Fig. 1) and position the optical tube assembly approximately level (so that the Dec. Circle (3, Fig. 1) reads 0°. Retighten the Dec. lock knob.