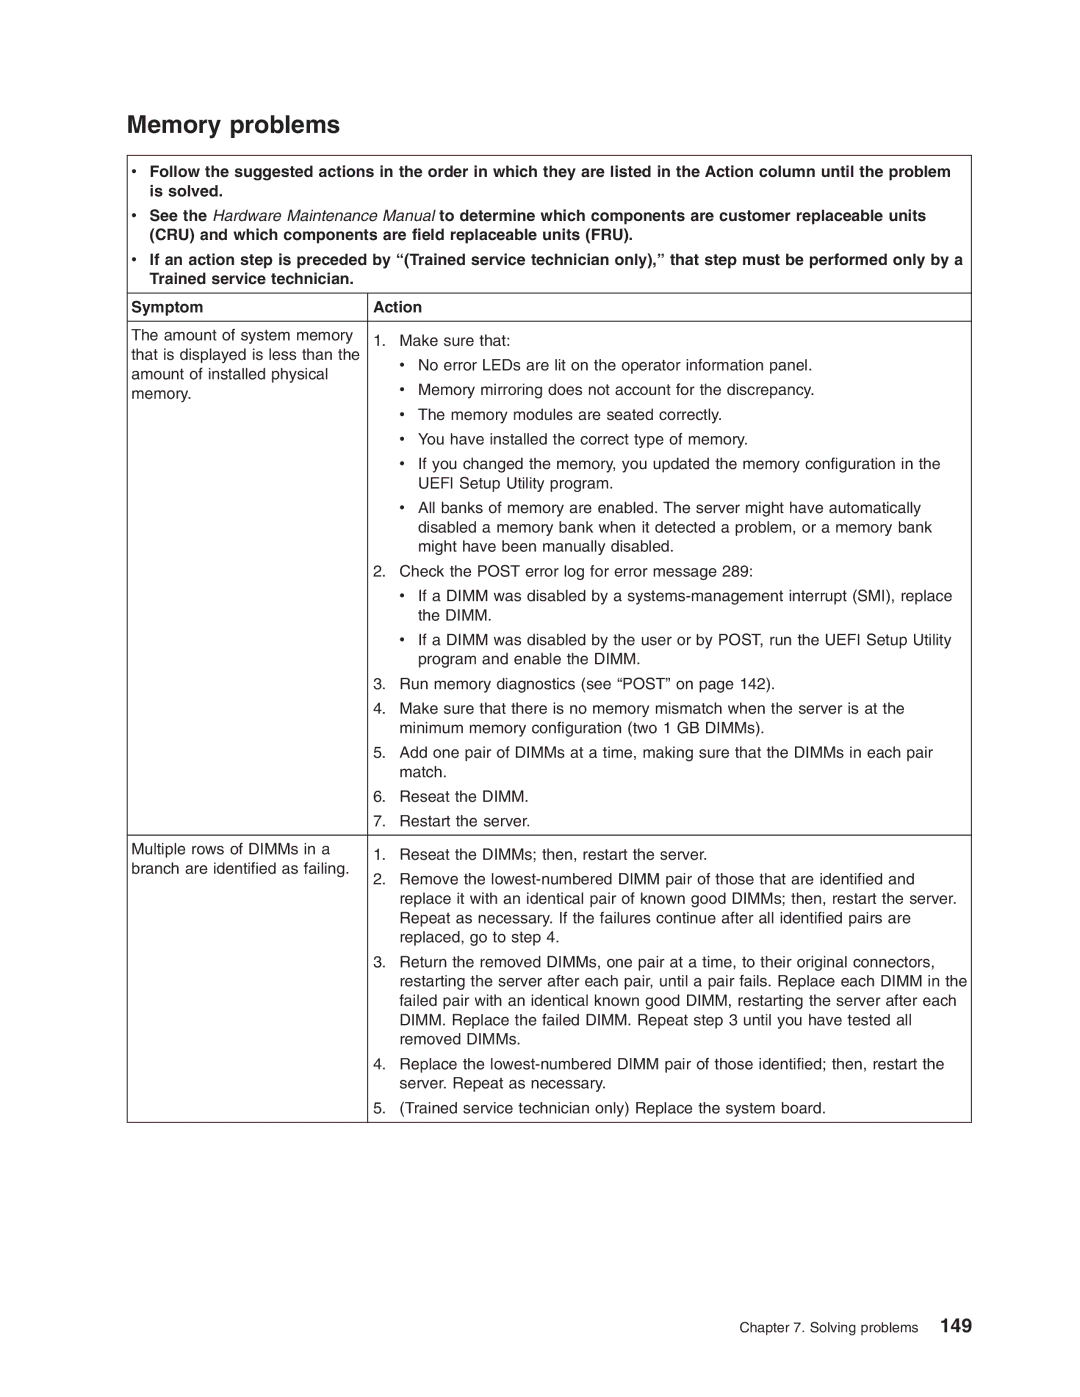
Memory problems

vFollow the suggested actions in the order in which they are listed in the Action column until the problem is solved.

vSee the Hardware Maintenance Manual to determine which components are customer replaceable units (CRU) and which components are field replaceable units (FRU).

vIf an action step is preceded by “(Trained service technician only),” that step must be performed only by a Trained service technician.

Symptom

Action


The amount of system memory

1.

Make sure that:

that is displayed is less than the


v No error LEDs are lit on the operator information panel.

amount of installed physical


v Memory mirroring does not account for the discrepancy.

memory.


v The memory modules are seated correctly.


v You have installed the correct type of memory.


v If you changed the memory, you updated the memory configuration in the


UEFI Setup Utility program.


v All banks of memory are enabled. The server might have automatically


disabled a memory bank when it detected a problem, or a memory bank


might have been manually disabled.


2.

Check the POST error log for error message 289:


v If a DIMM was disabled by a systems-management interrupt (SMI), replace


the DIMM.


v If a DIMM was disabled by the user or by POST, run the UEFI Setup Utility


program and enable the DIMM.


3.

Run memory diagnostics (see “POST” on page 142).


4.

Make sure that there is no memory mismatch when the server is at the


minimum memory configuration (two 1 GB DIMMs).


5.

Add one pair of DIMMs at a time, making sure that the DIMMs in each pair


match.


6.

Reseat the DIMM.


7.

Restart the server.


Multiple rows of DIMMs in a

1.

Reseat the DIMMs; then, restart the server.

branch are identified as failing.

2.

Remove the lowest-numbered DIMM pair of those that are identified and


replace it with an identical pair of known good DIMMs; then, restart the server.


Repeat as necessary. If the failures continue after all identified pairs are


replaced, go to step 4.


3.

Return the removed DIMMs, one pair at a time, to their original connectors,


restarting the server after each pair, until a pair fails. Replace each DIMM in the


failed pair with an identical known good DIMM, restarting the server after each


DIMM. Replace the failed DIMM. Repeat step 3 until you have tested all


removed DIMMs.


4.

Replace the lowest-numbered DIMM pair of those identified; then, restart the


server. Repeat as necessary.


5.

(Trained service technician only) Replace the system board.


Chapter 7. Solving problems 149

Page 165
Image 165
Lenovo RD210 manual Memory problems

RD210 specifications

The Lenovo RD210 is a powerhouse in the realm of entry-level rack servers, designed to deliver high performance and reliability for small to medium businesses. With its compact 1U form factor, the RD210 is an ideal choice for organizations looking to maximize space in their data center while still benefiting from robust computing capabilities.

One of the standout features of the RD210 is its support for the latest Intel Xeon processors, which provide exceptional performance for demanding workloads. This server can be equipped with multiple processor options, allowing businesses to select the configuration that best meets their needs. Its impressive memory capacity, supporting up to 192 GB of DDR3 RAM, ensures that users can run multiple applications simultaneously without experiencing any slowdowns.

Storage flexibility is another strong point of the RD210. The server supports a variety of configurations, accommodating up to four hot-swap drive bays for SAS or SATA drives. This feature allows for easy upgrades and replacements, reducing downtime and increasing overall efficiency. Additionally, organizations can opt for SSDs for enhanced performance, particularly valuable for applications that require rapid data access.

The RD210 also boasts a range of advanced technologies that enhance its performance and reliability. For instance, Lenovo's Intelligent Cooling technology helps maintain optimal operating temperatures, which can extend the life of the server components. Furthermore, with features like redundant power supplies and advanced error correction, the RD210 is designed to minimize system failures and ensure business continuity.

In terms of connectivity, the RD210 comes equipped with multiple Ethernet ports, supporting options for faster networking speeds and redundancy. It also integrates easily into existing infrastructure, with support for various operating systems, including Windows Server and Linux distributions.

For management, the Lenovo RD210 includes advanced tools like Lenovo XClarity, providing real-time monitoring and management capabilities. This feature simplifies server administration, making it easier for IT teams to manage workloads efficiently.

In conclusion, the Lenovo RD210 combines scalability, performance, and reliability in a compact package suitable for diverse computing needs. Its powerful processors, ample memory, and storage options make it a smart investment for businesses aiming to enhance their IT infrastructure. As organizations increasingly rely on secure and efficient solutions, the RD210 stands out as a reliable choice for robust server performance.