Appendix A. CRU instructions
Z570
b ![]()
c ![]() a1
a1
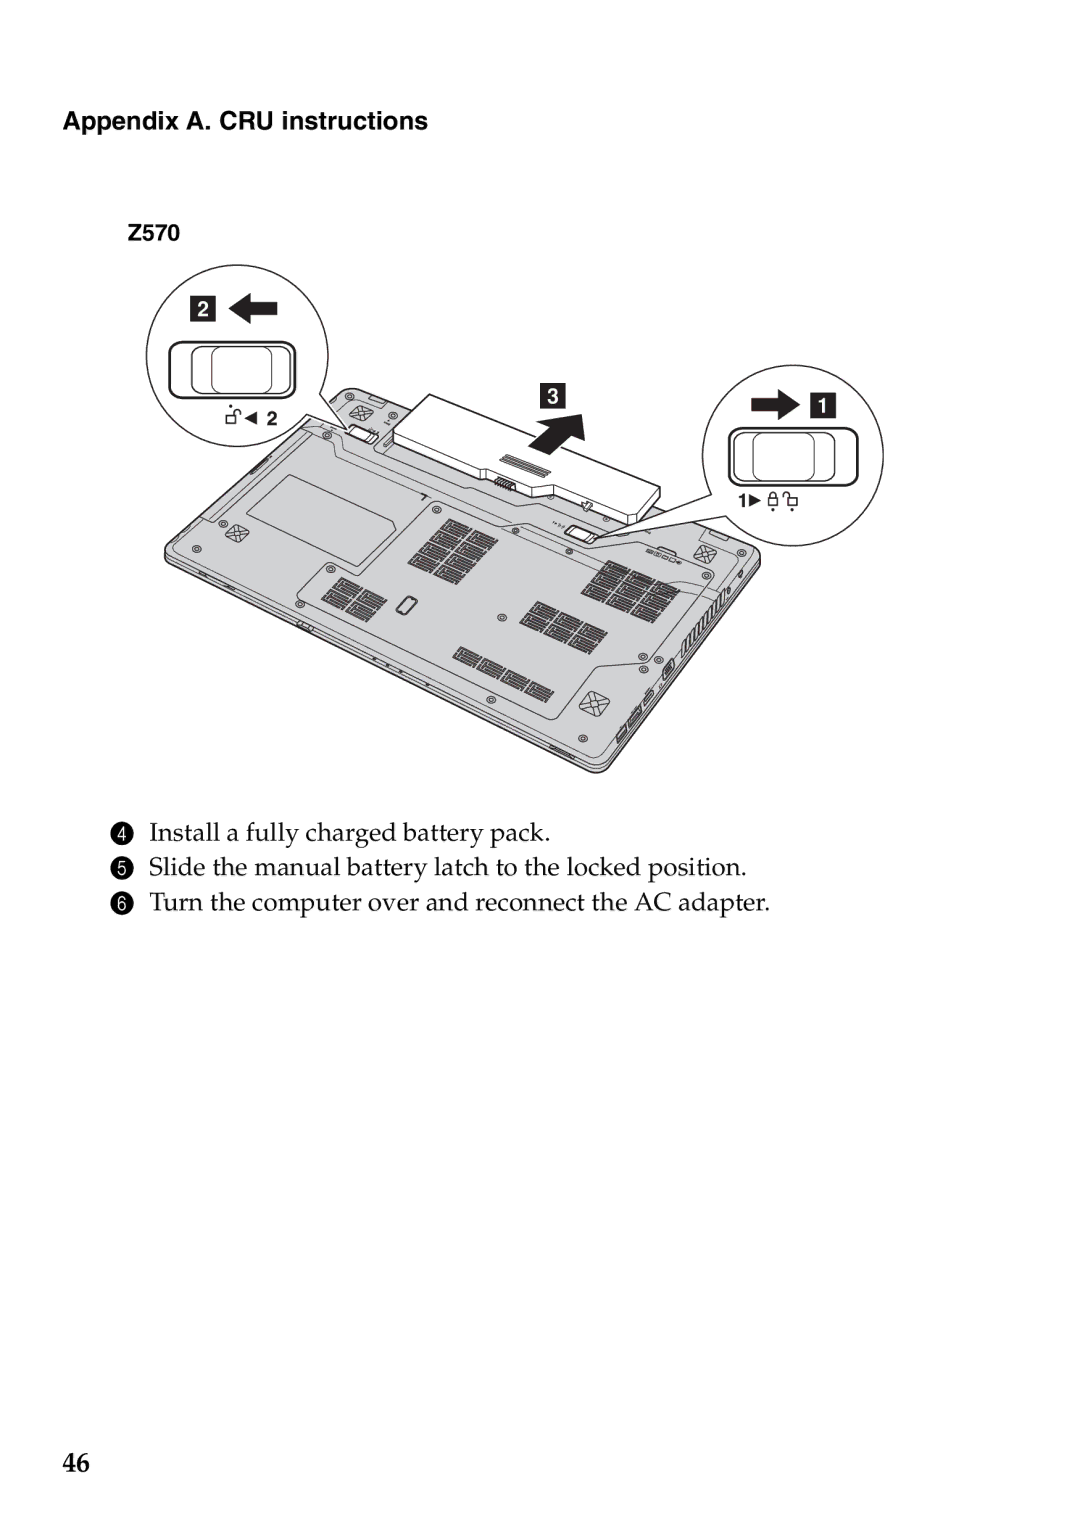
4Install a fully charged battery pack.
5Slide the manual battery latch to the locked position.
6Turn the computer over and reconnect the AC adapter.
46
Z570
b ![]()
c ![]() a1
a1
4Install a fully charged battery pack.
5Slide the manual battery latch to the locked position.
6Turn the computer over and reconnect the AC adapter.
46