CARE AND OPERATION
PRIMARY AIR CONTROL
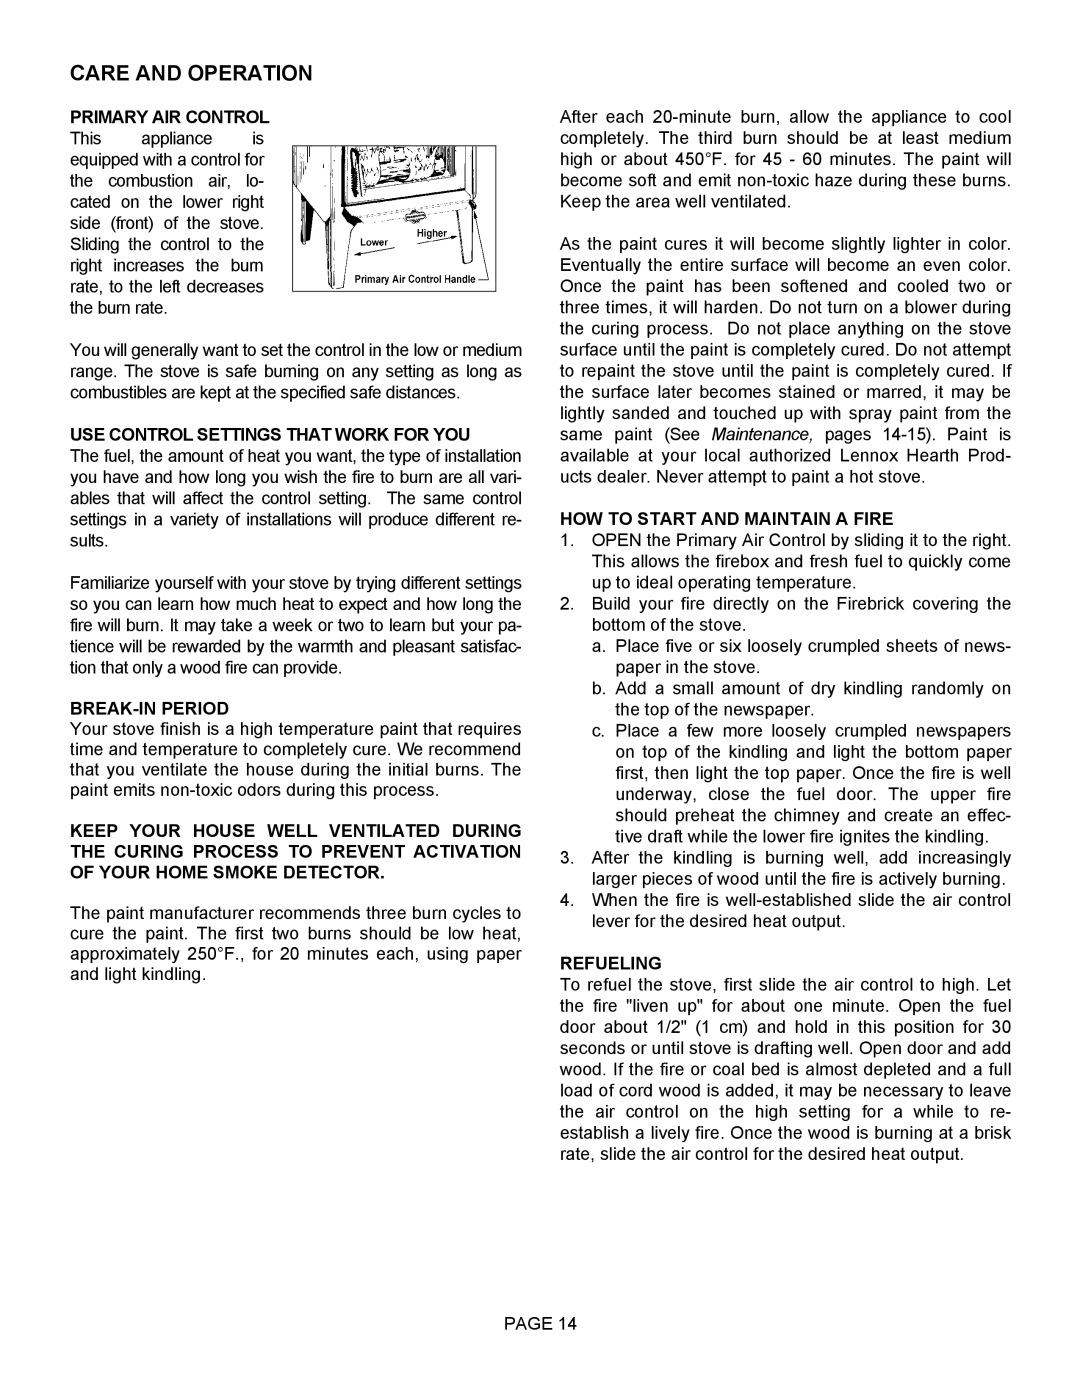
This appliance is equipped with a control for the combustion air, lo- cated on the lower right side (front) of the stove. Sliding the control to the right increases the burn rate, to the left decreases the burn rate.
You will generally want to set the control in the low or medium range. The stove is safe burning on any setting as long as combustibles are kept at the specified safe distances.
USE CONTROL SETTINGS THAT WORK FOR YOU
The fuel, the amount of heat you want, the type of installation you have and how long you wish the fire to burn are all vari- ables that will affect the control setting. The same control settings in a variety of installations will produce different re- sults.
Familiarize yourself with your stove by trying different settings so you can learn how much heat to expect and how long the fire will burn. It may take a week or two to learn but your pa- tience will be rewarded by the warmth and pleasant satisfac- tion that only a wood fire can provide.
BREAK-IN PERIOD
Your stove finish is a high temperature paint that requires time and temperature to completely cure. We recommend that you ventilate the house during the initial burns. The paint emits
KEEP YOUR HOUSE WELL VENTILATED DURING THE CURING PROCESS TO PREVENT ACTIVATION OF YOUR HOME SMOKE DETECTOR.
The paint manufacturer recommends three burn cycles to cure the paint. The first two burns should be low heat, approximately 250°F., for 20 minutes each, using paper and light kindling.
After each
As the paint cures it will become slightly lighter in color. Eventually the entire surface will become an even color. Once the paint has been softened and cooled two or three times, it will harden. Do not turn on a blower during the curing process. Do not place anything on the stove surface until the paint is completely cured. Do not attempt to repaint the stove until the paint is completely cured. If the surface later becomes stained or marred, it may be lightly sanded and touched up with spray paint from the same paint (See Maintenance, pages
HOW TO START AND MAINTAIN A FIRE
1.OPEN the Primary Air Control by sliding it to the right. This allows the firebox and fresh fuel to quickly come up to ideal operating temperature.
2.Build your fire directly on the Firebrick covering the bottom of the stove.
a.Place five or six loosely crumpled sheets of news- paper in the stove.
b.Add a small amount of dry kindling randomly on the top of the newspaper.
c.Place a few more loosely crumpled newspapers on top of the kindling and light the bottom paper first, then light the top paper. Once the fire is well underway, close the fuel door. The upper fire should preheat the chimney and create an effec- tive draft while the lower fire ignites the kindling.
3.After the kindling is burning well, add increasingly larger pieces of wood until the fire is actively burning.
4.When the fire is
REFUELING
To refuel the stove, first slide the air control to high. Let the fire "liven up" for about one minute. Open the fuel door about 1/2" (1 cm) and hold in this position for 30 seconds or until stove is drafting well. Open door and add wood. If the fire or coal bed is almost depleted and a full load of cord wood is added, it may be necessary to leave the air control on the high setting for a while to re- establish a lively fire. Once the wood is burning at a brisk rate, slide the air control for the desired heat output.
PAGE 14