47LT770H, 42LT770H, 32LT770H, 37LT770H specifications
LG Electronics has made significant strides in the world of display technology with its series of commercial televisions, including the models 37LT770H, 32LT770H, 42LT770H, and 47LT770H. These televisions are designed specifically for businesses, retail spaces, and other commercial usages, focusing on durability, professional performance, and versatile applications.One of the standout features of the LT770H series is its Full HD resolution. With vibrant colors and crisp images, these displays ensure that content is presented in a clear and engaging manner. This high definition capability is essential for environments that require detailed visuals, such as presentations or advertisements in retail settings.
The LT770H series incorporates LG's advanced panel technology, which optimizes brightness and color fidelity. The screens are designed to perform well in various lighting conditions, making them ideal for areas with high ambient light. The high brightness levels enhance visibility, ensuring that messages remain impactful even in sunlight.
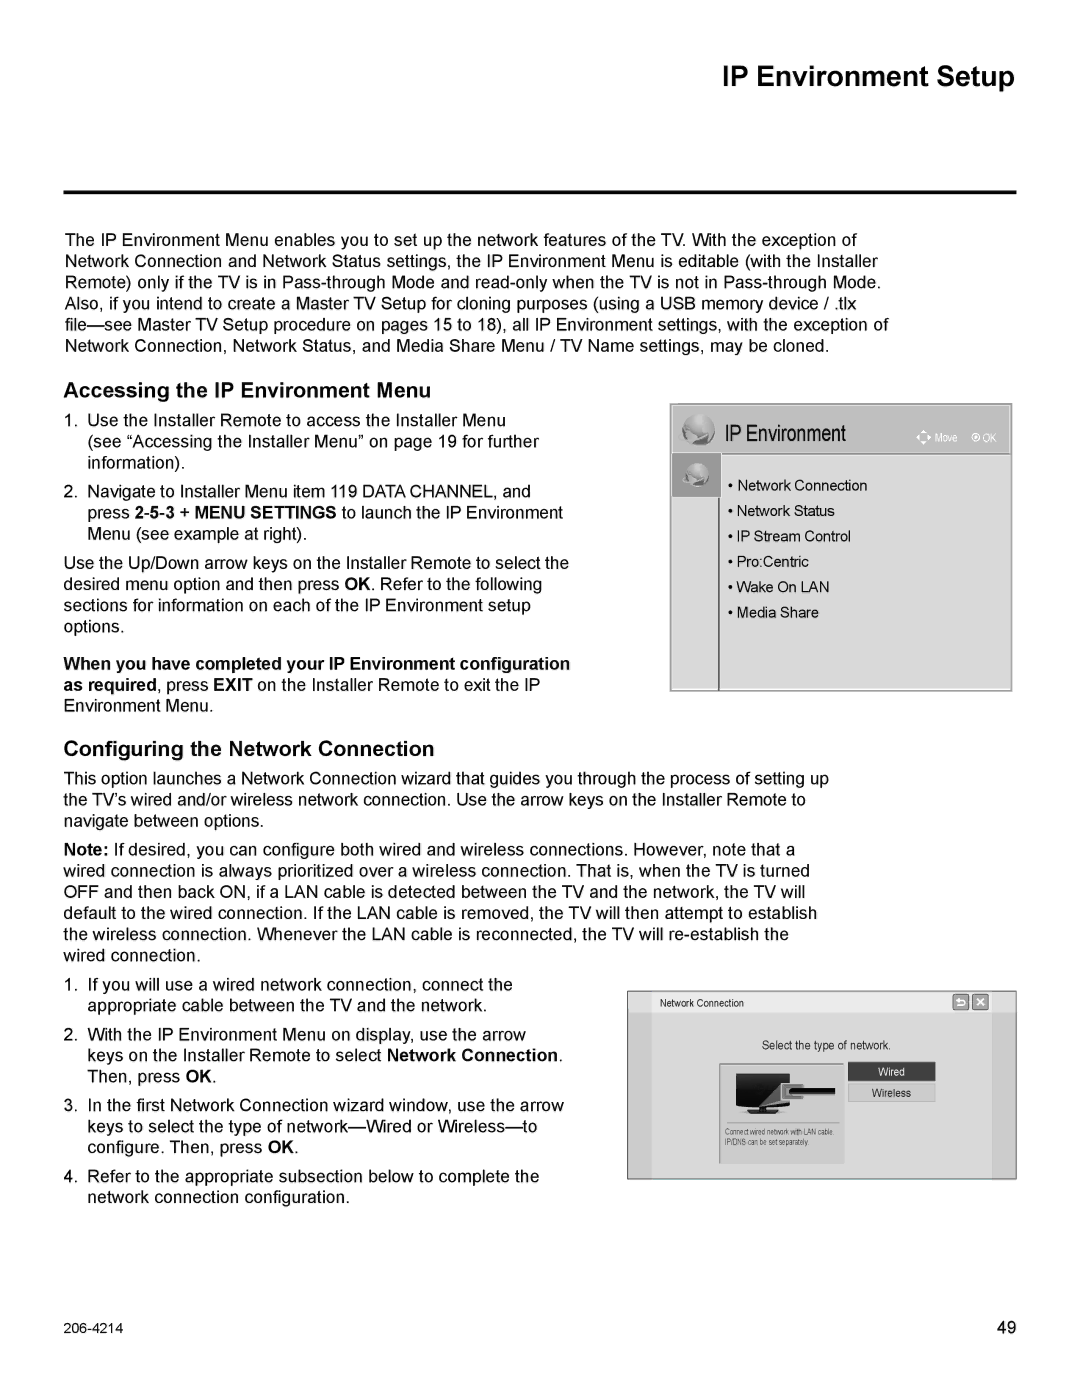
In terms of connectivity, the LT770H series boasts an array of ports, including HDMI, USB, and RS-232C. This versatility allows easy integration with various playback devices and systems, enabling seamless content sharing and display management from multiple sources. Businesses can therefore customize their signage or presentations to suit their needs without compatibility issues.
Additionally, these models feature the LG SuperSign Lite software which simplifies content management. This software allows users to create and schedule content, enabling dynamic displays that can change in real-time to reflect promotions, news, or other relevant information. The intuitive interface of the software makes it accessible for users with varying levels of technical expertise.
Durability is another key attribute of the LT770H series. Designed for continuous operation, these televisions can run for extended periods without overheating or compromising performance. This reliability is crucial for commercial environments where downtime is not an option.
In terms of design, the LT770H series is crafted with a sleek profile, allowing for easy mounting and integration into any environment. The modern aesthetics of these displays contribute to a professional look that complements various commercial settings.
In conclusion, the LG Electronics LT770H series, featuring models 37LT770H, 32LT770H, 42LT770H, and 47LT770H, represents a powerful solution for businesses seeking high-quality display options. With features such as Full HD resolution, superior connectivity, and user-friendly content management, these televisions are tailored for a range of commercial applications. Their durability and design ensure that they meet the demands of any professional environment, making them a reliable choice for businesses looking to enhance their visual communication strategies.

