Speaker Setup
Adjust the following settings for the
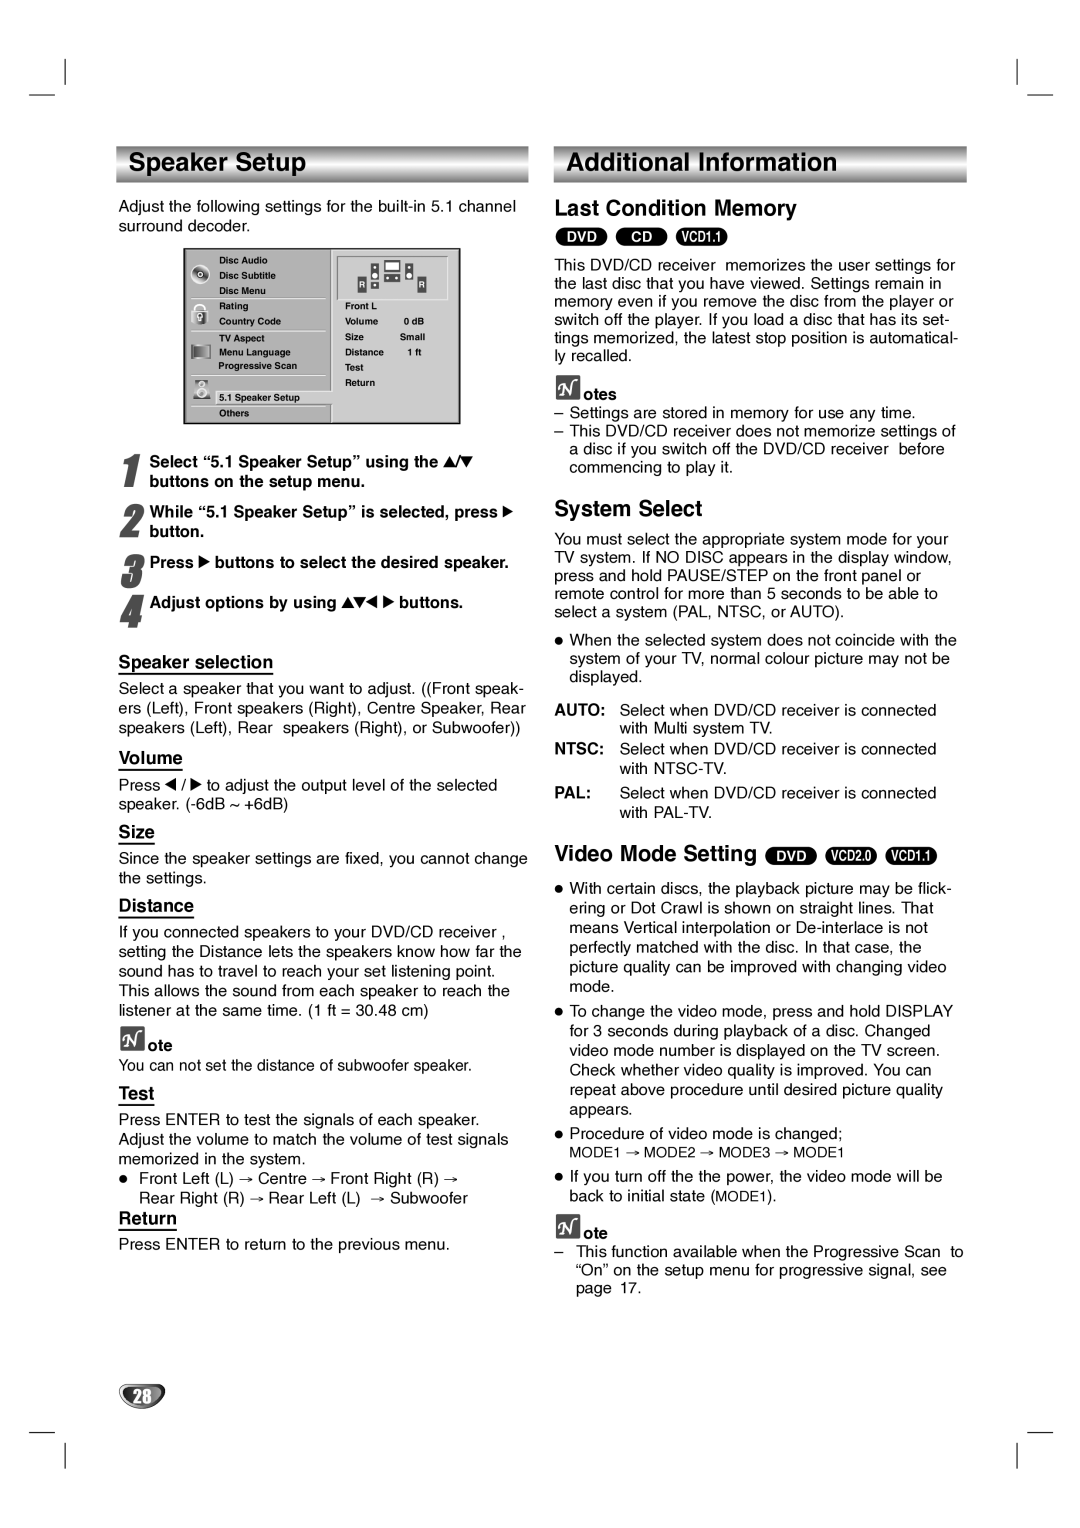
Disc Audio
Disc Subtitle
| Disc Menu | R |
|
| R |
| Front L |
| |||
| Rating |
| |||
| Country Code | Volume | 0 dB | ||
|
| Size | Small | ||
| TV Aspect | ||||
| Menu Language | Distance | 1 ft | ||
| Progressive Scan | Test |
| ||
|
| Return |
| ||
| 5.1 Speaker Setup |
|
|
|
|
|
|
|
|
|
|
| Others |
|
|
|
|
1 | Select “5.1 Speaker Setup” using the 3/4 |
buttons on the setup menu. | |
| While “5.1 Speaker Setup” is selected, press 2 |
2 button. | |
3 Press 2 buttons to select the desired speaker.
4 Adjust options by using 341 2 buttons.
Speaker selection
Select a speaker that you want to adjust. ((Front speak- ers (Left), Front speakers (Right), Centre Speaker, Rear speakers (Left), Rear speakers (Right), or Subwoofer))
Volume
Press 1 / 2 to adjust the output level of the selected speaker.
Size
Since the speaker settings are fixed, you cannot change the settings.
Distance
If you connected speakers to your DVD/CD receiver , setting the Distance lets the speakers know how far the sound has to travel to reach your set listening point. This allows the sound from each speaker to reach the listener at the same time. (1 ft = 30.48 cm)
![]() ote
ote
You can not set the distance of subwoofer speaker.
Test
Press ENTER to test the signals of each speaker. Adjust the volume to match the volume of test signals memorized in the system.
Front Left (L) → Centre → Front Right (R) → Rear Right (R) → Rear Left (L) → Subwoofer
Return
Press ENTER to return to the previous menu.
Additional Information
Last Condition Memory
DVD CD VCD1.1
This DVD/CD receiver memorizes the user settings for the last disc that you have viewed. Settings remain in memory even if you remove the disc from the player or switch off the player. If you load a disc that has its set- tings memorized, the latest stop position is automatical- ly recalled.
 otes
otes
–Settings are stored in memory for use any time.
–This DVD/CD receiver does not memorize settings of a disc if you switch off the DVD/CD receiver before commencing to play it.
System Select
You must select the appropriate system mode for your TV system. If NO DISC appears in the display window, press and hold PAUSE/STEP on the front panel or remote control for more than 5 seconds to be able to select a system (PAL, NTSC, or AUTO).
When the selected system does not coincide with the system of your TV, normal colour picture may not be displayed.
AUTO: Select when DVD/CD receiver is connected with Multi system TV.
NTSC: Select when DVD/CD receiver is connected with
PAL: Select when DVD/CD receiver is connected with
Video Mode Setting DVD VCD2.0 VCD1.1
With certain discs, the playback picture may be flick- ering or Dot Crawl is shown on straight lines. That means Vertical interpolation or
To change the video mode, press and hold DISPLAY for 3 seconds during playback of a disc. Changed video mode number is displayed on the TV screen. Check whether video quality is improved. You can repeat above procedure until desired picture quality appears.
Procedure of video mode is changed;
MODE1 → MODE2 → MODE3 → MODE1
If you turn off the the power, the video mode will be back to initial state (MODE1).
![]() ote
ote
–This function available when the Progressive Scan to “On” on the setup menu for progressive signal, see page 17.
28