 *
* Fig. 13
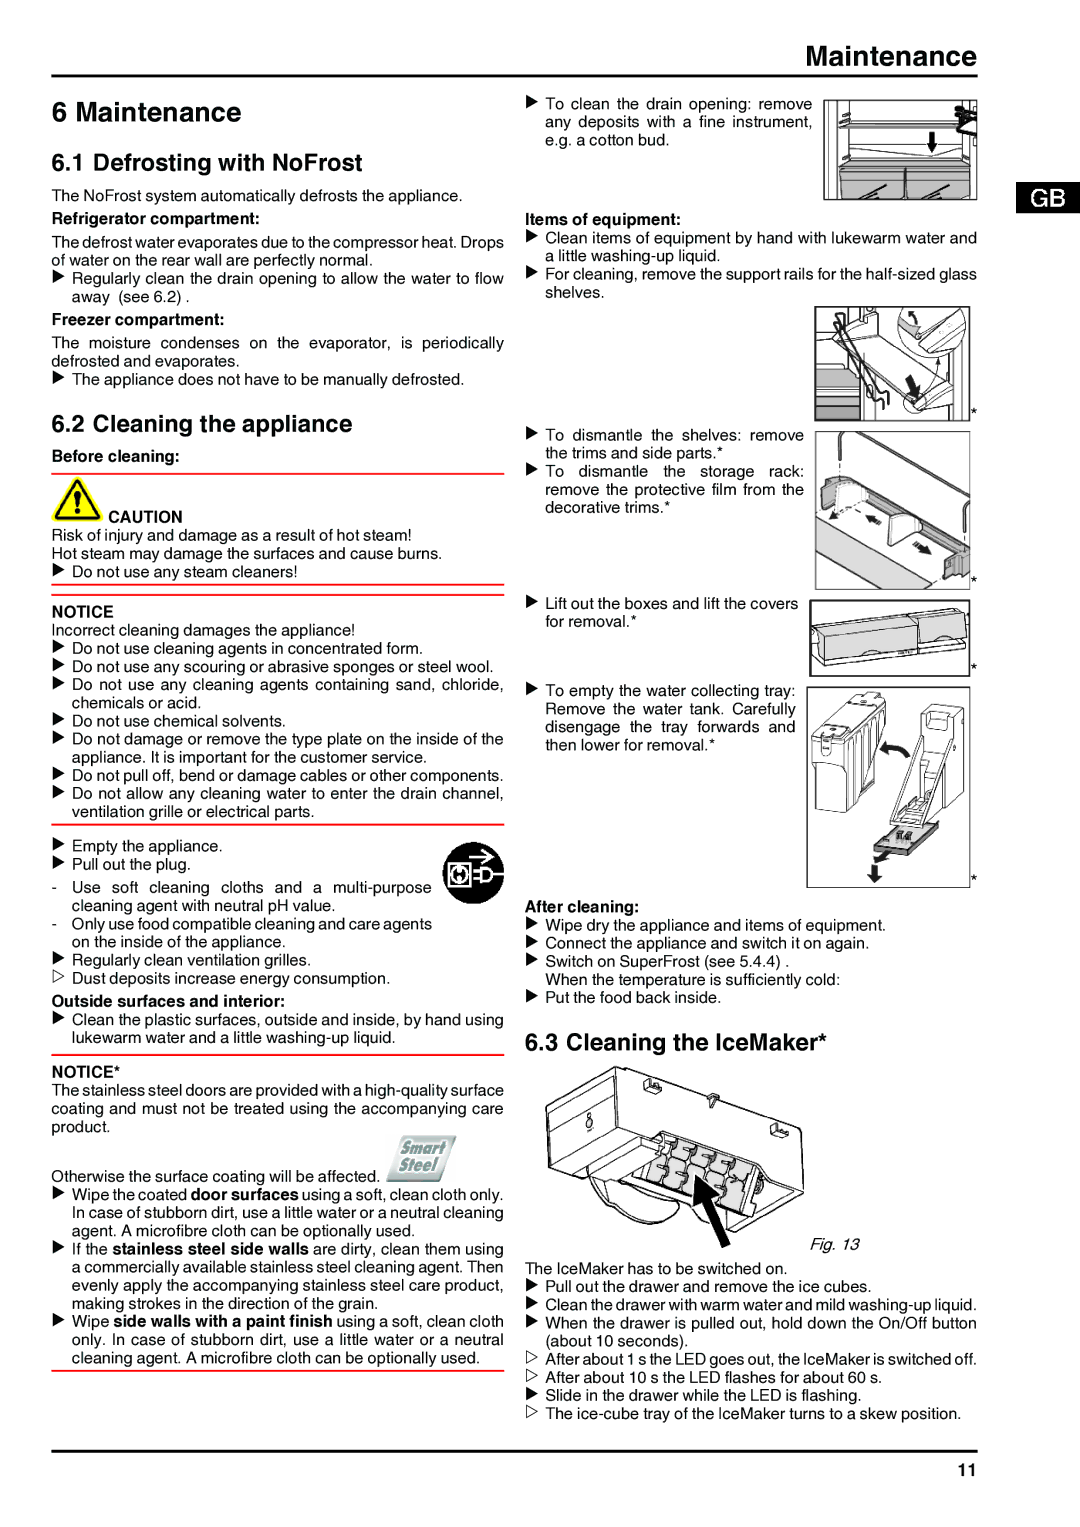
7084376 - 03 specifications
The Liebherr 7084376 - 03 is a cutting-edge component designed to enhance the performance and efficiency of Liebherr's extensive range of machinery. Known for its commitment to innovation, Liebherr integrates advanced features and technologies into its products, making the 7084376 - 03 a notable example of this endeavor.One of the primary features of the Liebherr 7084376 - 03 is its robust construction, ensuring durability and reliability even in the most demanding working conditions. The material selection is paramount, with high-grade alloys used to withstand wear and tear, ensuring a long service life. This durability translates to reduced maintenance costs and increased uptime for users.
The 7084376 - 03 is equipped with state-of-the-art technologies that enhance its operational capabilities. One such technology is the advanced hydraulic system designed to optimize fluid dynamics. This system not only improves the efficiency of power transmission but also facilitates smoother operation, which is vital in handling heavy loads. Additionally, the hydraulic system is engineered to minimize energy consumption, making the machinery more eco-friendly.
Another significant characteristic of the Liebherr 7084376 - 03 is its innovative control interface. The user-friendly design allows operators to easily navigate through various settings and functionalities, promoting efficient use and quick adjustments as required. The interface is designed with intuitive visuals, ensuring that operators can focus on their tasks without getting bogged down by complex controls.
Moreover, the Liebherr 7084376 - 03 features advanced safety mechanisms. These include overload protection and automated alerts, which help prevent accidents and equipment failure. Safety is a crucial aspect of Liebherr’s design philosophy, and these features are a testament to their commitment to providing safe working environments.
In conclusion, the Liebherr 7084376 - 03 stands as a prime example of Liebherr's dedication to producing high-quality, innovative machinery components. Its robust construction, advanced hydraulic technologies, user-friendly control interface, and comprehensive safety features all contribute to its reputation as a reliable choice for operators. Whether in construction, mining, or other heavy-duty applications, the 7084376 - 03 is engineered to perform, ensuring efficiency and safety in challenging environments. As Liebherr continues to push technological boundaries, components like the Liebherr 7084376 - 03 are essential for achieving peak operational excellence.