MAINTENANCE | ||
|
|
|
Service Instructions
Single- and Two-Stage Engine Air CCleaners
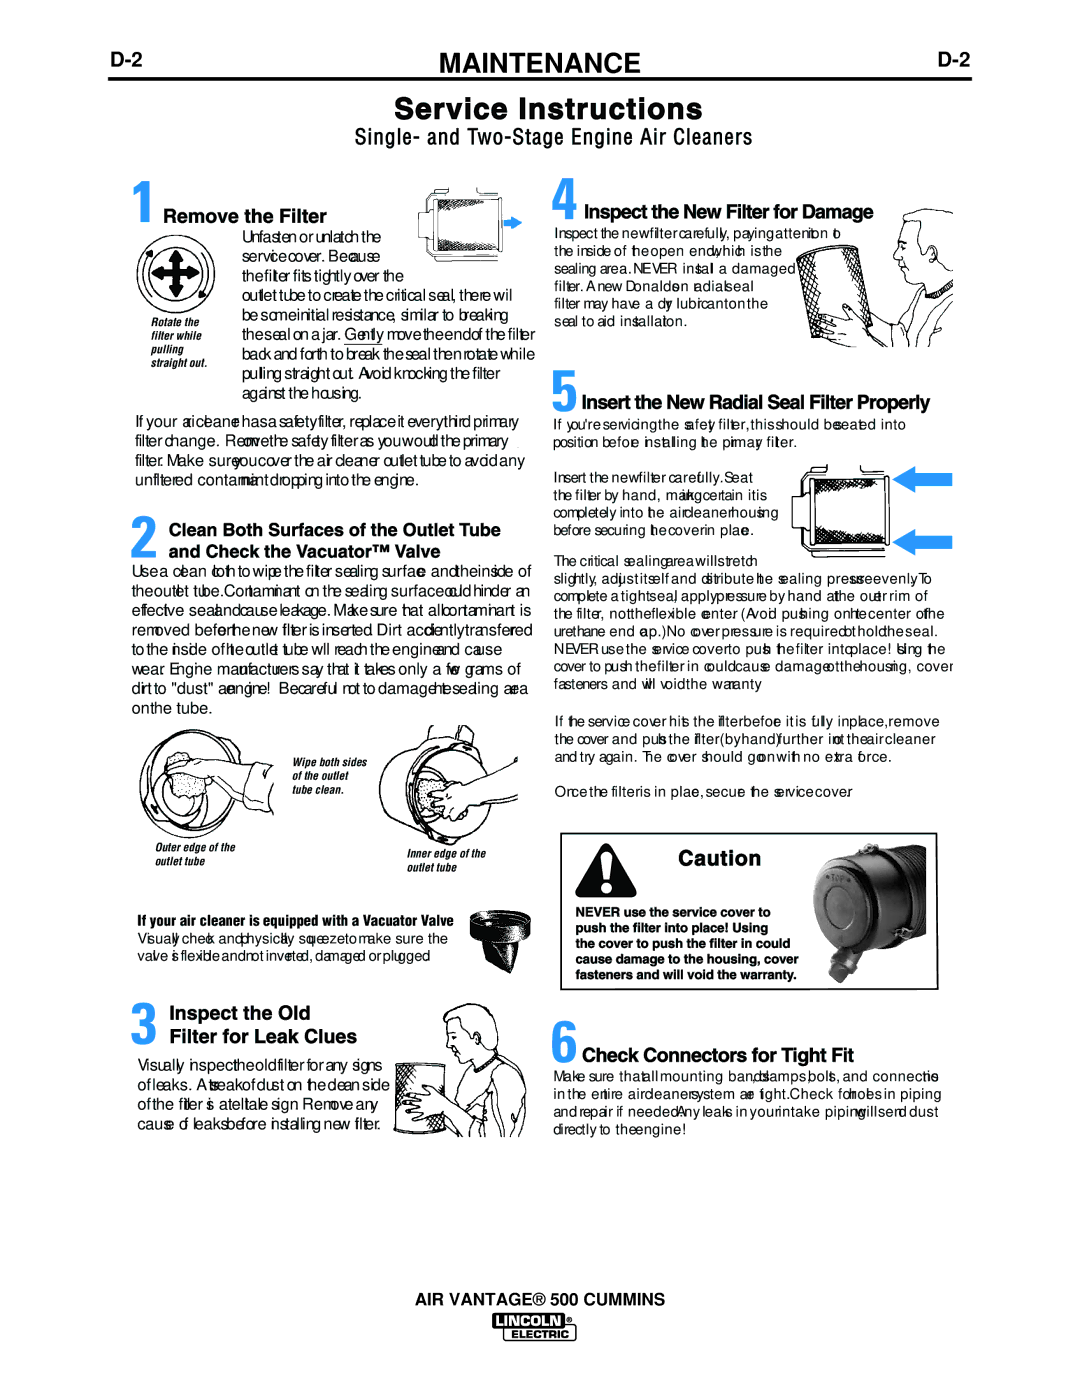
Remove the Filter
| Unfasten or unlatch the | |
| service cover. Because | |
| the filter fits tightly over the | |
| outlet tube to create the critical seal, there will | |
Rotate the | be some initial resistance, similar to breaking | |
the seal on a jar. Gently move the end of the filter | ||
filter while | ||
pulling | back and forth to break the seal then rotate while | |
straight out. | ||
pulling straight out. Avoid knocking the filter | ||
| ||
| against the housing. |
If your air cleaner has a safety filter, replace it every third primary filter change. Remove the safety filter as you would the primary filter. Make sure you cover the air cleaner outlet tube to avoid any unfiltered contaminant dropping into the engine.
Clean Both Surfaces of the Outlet Tube and Check the Vacuator™ Valve
Use a clean cloth to wipe the filter sealing surface and the inside of the outlet tube. Contaminant on the sealing surface could hinder an effective seal and cause leakage. Make sure that all contaminant is removed before the new filter is inserted. Dirt accidently transferred to the inside of the outlet tube will reach the engine and cause wear. Engine manufacturers say that it takes only a few grams of dirt to "dust" an engine! Be careful not to damage the sealing area on the tube.
Wipe both sides of the outlet tube clean.
Outer edge of the | Inner edge of the | |
outlet tube | ||
outlet tube | ||
|
If your air cleaner is equipped with a Vacuator Valve
Visually check and physically squeeze to make sure the valve is flexible and not inverted, damaged or plugged.
 Inspectthe New Filter for Damagee
Inspect the new filter carefully, paying attent ion t o the inside of t he open end, whic h is the
sealing area. NEVER ins tall a damaged filt er. A new Donalds on r adial seal filter may have a dr y lubr icant on the seal to aid ins tallat ion.
 Insert the New Radial SeallFilterProperly
If y ou're servicing the s afet y filt er, this should be seated into position befor e installing t he pr imar y fil ter.
Insert the new filt er caref ully. Seat the filt er by hand, mak ing certain it is completely into t he air cleaner hous ing before securing t he cover in plac e.
The critical s ealing area will stretch
slightly, adj ust its elf and di stribute t he s ealing press ure evenly . To complete a tight seal , apply pressure by hand at the out er rim of the filte r, not the flexible c enter . (A void pus hing on t he center of the urethane end c ap.) No c over pressure is required t o hold the seal. NEVER use the s ervice cover to pus h the filter into place! U sing the cover to push the filt er in c ould caus e damage t o the housi ng, cover fasteners and w ill v oid the war ranty.
If t he service cover hit s the f ilter befor e it is f ully in place, remove the cover and pus h the f ilter (by hand) further int o the air cleaner and try again. T he c over s hould go on with no ex tra f orce.
Once the filter is in plac e, secur e the s ervice cover .
Caution
NEVER use the service cover to push the filter into place! Using the cover to push the filter in could cause damage to the housing, cover fasteners and will void the warranty.
Inspect the Old Filter for Leak Clues
Visually inspect the old filter for any signs of leaks. A streak of dust on the clean side of the filter is a telltale sign. Remove any cause of leaks before installing new filter.
 Check Connectors for Tight Fit
Make sure that all mounting bands , clamps, bolt s, and connectio ns in the en tire air cleaner system ar e tight. Check for holes in piping and repair if needed. Any leaks in your intake piping will send dust directly to the engine!
AIR VANTAGE® 500 CUMMINS