Manuals
/
Lindy
/
Computer Equipment
/
Switch
Lindy
25010
user manual
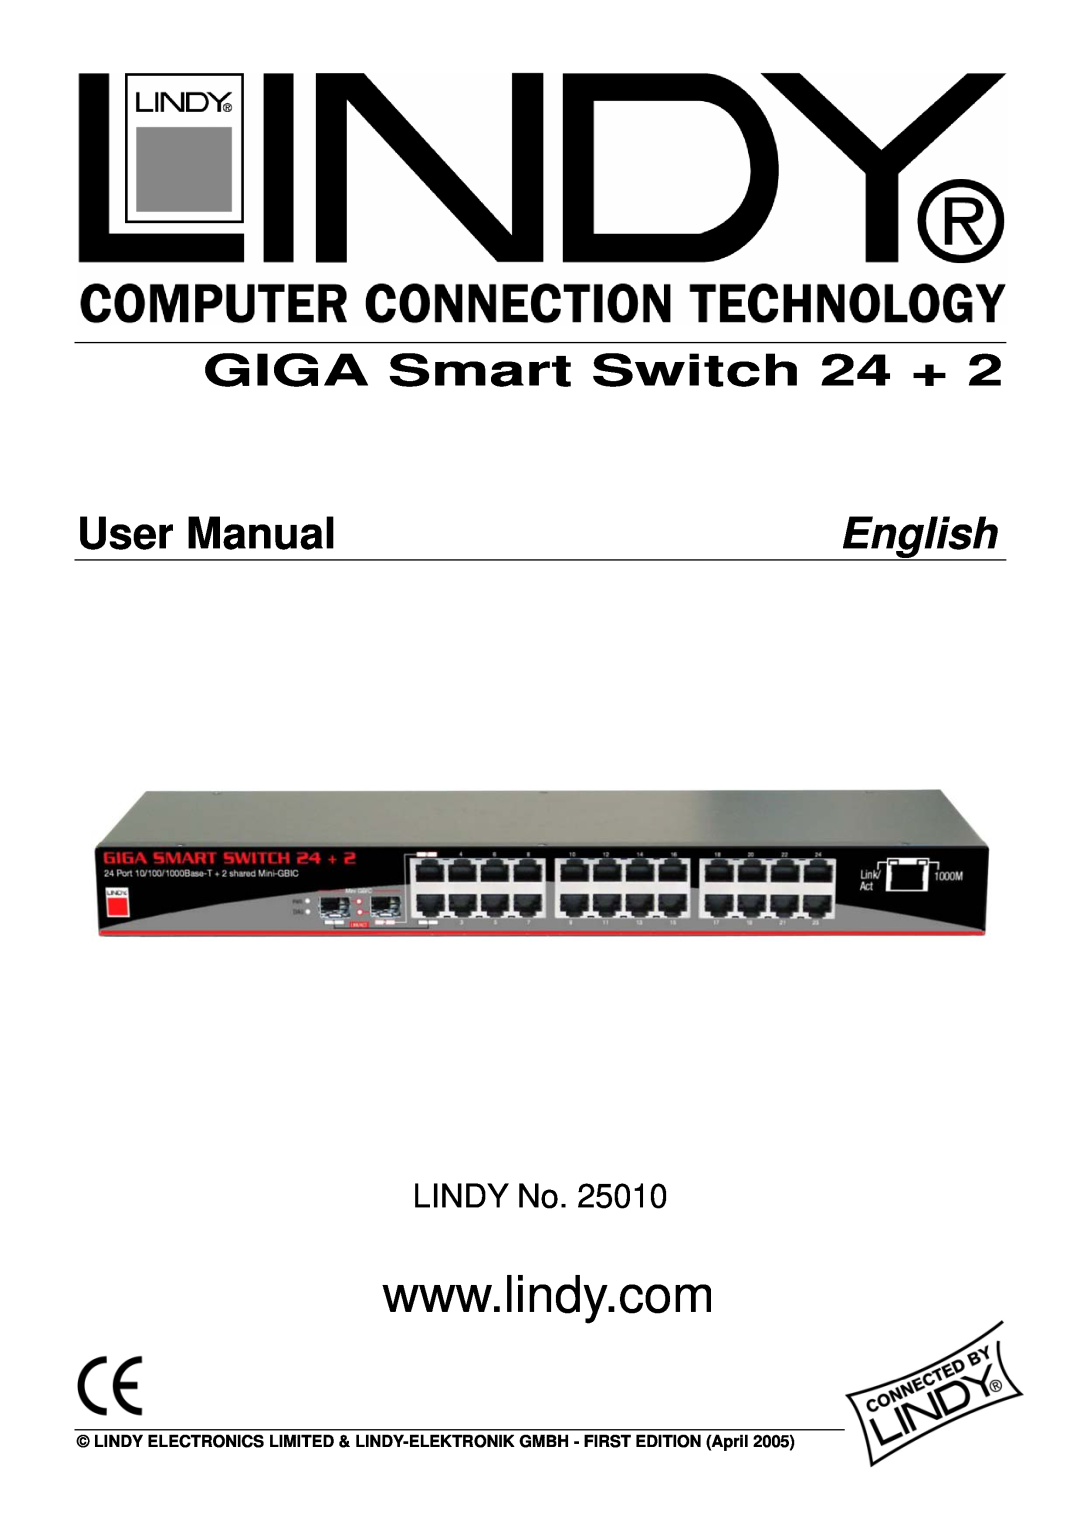
GIGA Smart Switch 24 +, User Manual, English, LINDY No
Models:
25010
1
1
63
63
Download
63 pages
46.1 Kb
1
2
3
4
5
6
7
8
Specs
Login
Dimension
Configurations
Reset System
System Setup
Modify Trunk Settings
Weight
QOS Quality of Service
Firmware Update
Page 1
Image 1
Page 1
Page 2
Page 1
Image 1
Page 1
Page 2
Contents
User Manual
GIGA Smart Switch 24 +
English
LINDY No
Page
Configuration Functions for the Switch
Start to Manage This Switch
Configurations
Port Configuration
Firmware Update
System Setup
2.11.1.1 Firmware Update Via TFTP
2.11.1.2 Firmware Update Via BOOTP/TFTP
1 Introduction
Main Features
„ IP address
1.1 Start to Manage This Switch
1.2 Configuration Functions for the Switch
2.1 Port Status
2 Configurations
9 Fibre -Enable, Copper -Enable - to enable both media
2.2 Port Configuration
z 2 Options for combo ports Port1 and Port2
z 2 Options for ordinary ports Port3 to Port24, copper media only
¾ 100Mbps Full - to set the speed 100Mbps in full duplex mode
2.3 About the Copper/Fibre Media Auto-Detection
2.4 Port Statistics
AlignErrors SymbolErrors FragmentPkts OverSizePkts
256-511 BytePkts 512-1023 BytePkts 1024-1522 BytePkts FCSErrors
UnicastPkts MulticastPkts BroadcastPkts Single Collision
Multi Collisions 64 BytePkts 65-127 BytePkts 128-255 BytePkts
VLAN and 802.1Q VLAN cannot co-exist at the same time
2.5 Port-Based VLAN
2.5.1 Add Port-Based VLAN Groups
Page
Pressing the Remove This VLAN button results in the following
2.5.2 Delete Port-Based VLAN Groups
Now all ports are set to the members in VLAN group No.1
2.5.3 Edit Port-Based VLAN Groups
2.6 802.1Q VLAN
2.6.1 Enable/Disable VLAN
2.6.2 802.1Q VLAN Port Configuration
2.6.3 802.1Q VLAN Config
The VID entry VID=200 is successfully deleted
Finally, click the Apply button to do the changes
¾ SA Source MAC Address ¾ DA Destination MAC Address
2.7 Trunk
¾ SA + DA both SA and DA
following section will list the related rules for this function
2.7.1 Trunking Rules
Page
2.7.2 Get/Refresh the Latest Trunk Settings
¾ Step 3 Click the Apply button to enable trunk settings
2.7.3 Enable Trunk
¾ Step 1 Choose the Distribution Criterion
¾ Step 2 Choose the member ports up to 8 ports for each trunk group
¾ Step 3 Click the Apply button to modify trunk settings
2.7.4 Modify Trunk Settings
¾ Step 2 Click the Apply button to disable trunk
2.7.5 Disable Trunk
¾ Step 1 Click the Not Trunking
2.8 Port Mirroring
2.8.1 Get/Refresh the Latest Mirror Settings
¾ Step 4 Click the Apply button to enable mirroring settings
2.8.2 Enable Mirror
¾ Step 1 Choose Mirror option to be Mirror All Frames
¾ Step 2 Choose the Monitored Port to be Port16
¾ Step 4 Click the Apply button to modify mirroring settings
2.8.3 Modify Mirror Settings
¾ Step 1 Change Mirror option to be Mirror Outgoing Frames
¾ Step 2 Change the Monitored Port to be Port3
¾ Step 1 Choose Mirror option to be Disable Mirror
2.8.4 Disable Mirror
¾ Step 2 Click the Apply button to disable mirroring
2.9 QOS Quality of Service
„ Weight
2.9.1 Get/Refresh the Latest QOS Settings
„ Scheduling Method
„ Priority/Queue Map
2.9.2 Enable QOS
¾ Step 3 Click the Apply button to modify QOS settings
2.9.3 Modify QOS Settings
¾ Step 1 Change the Scheduling Method to be Strict Priority
2.10.1 Rate Control
2.10 Rate and Storm Control
Page
2.10.2 Storm Control
Page
2.11 System Setup
2.11.1 Firmware Update
2.11.1.1 Firmware Update Via TFTP
2.11.1.2 Firmware Update Via BOOTP/TFTP
2.11.2.1 Assign a fixed IP address
2.11.2 DHCP Client
2.11.2.2 Assign an IP address by DHCP server
2.11.3 ARL Aging
2.12 User Management
2.13 Reset System
2.14.1 Hyper Terminal Setup Options
2.14 Command Line Interface CLI
2.14.2 Switch Management Commands In Console
„ Login System
„ Help Menu
„ Get Current Network Settings
„ Get System Information
Press “H”, “h” or “?” to show all management commands in the console
„ User Management
„ Configure Network
„ Get 802.1Q VLAN Enable Setting
„ Enable/Disable 802.1Q VLAN
„ Set PVID
„ Get PVID
„ Reboot System
„ Upgrade Firmware Via TFTP or BOOTP/TFTP
„ Logout
„ Reboot System After Write Default
Type “RD” or “rd” to reset the system to factory settings
Type “LO” or “lo” to logout of the system
„ Standards Compliance
3 Specifications
„ Interfaces
„ Buffer Memory
„ Dimensions
„ Power
„ Weight
„ Safety
FCC Warning
CE Conformity
Top
Page
Image
Contents