1.1 Start to Manage This Switch
IP address: 192.168.223.100
Network mask: 255.255.248.0
Default gateway:192.168.223.254
Try to use the default IP shown above to PING the switch from your PC to make sure the network connection is successful. The default IP address on this switch can be modified later for your needs. If you encounter access problems you can just locally connect to the console port to get the correct IP address for this system.
Now you can use the browser to launch the
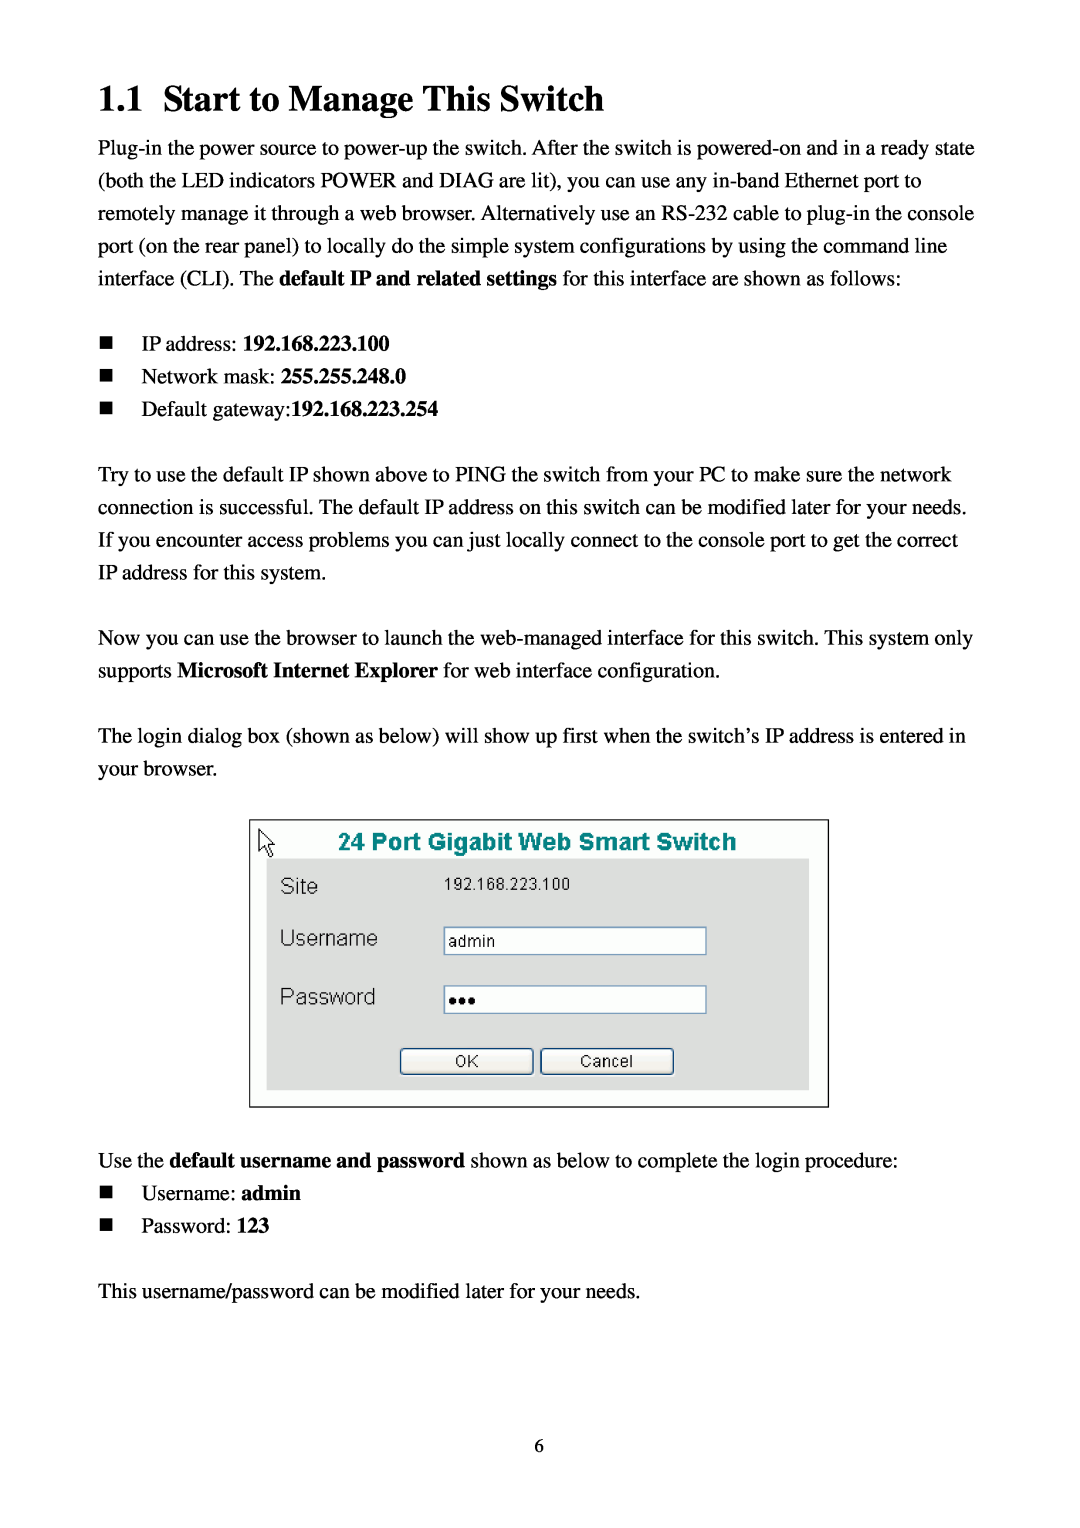
The login dialog box (shown as below) will show up first when the switch’s IP address is entered in your browser.
Use the default username and password shown as below to complete the login procedure:
Username: admin
Password: 123
This username/password can be modified later for your needs.
6
