SD Card Details
| Transfer All To Card |
| When you’re working with an entire session or live performance set, consisting of a dozen |
| or more songs, instead of saving them one at a time you can back them up all at once with |
| a Transfer All command. To transfer all of your recordings to SD card, follow these steps: |
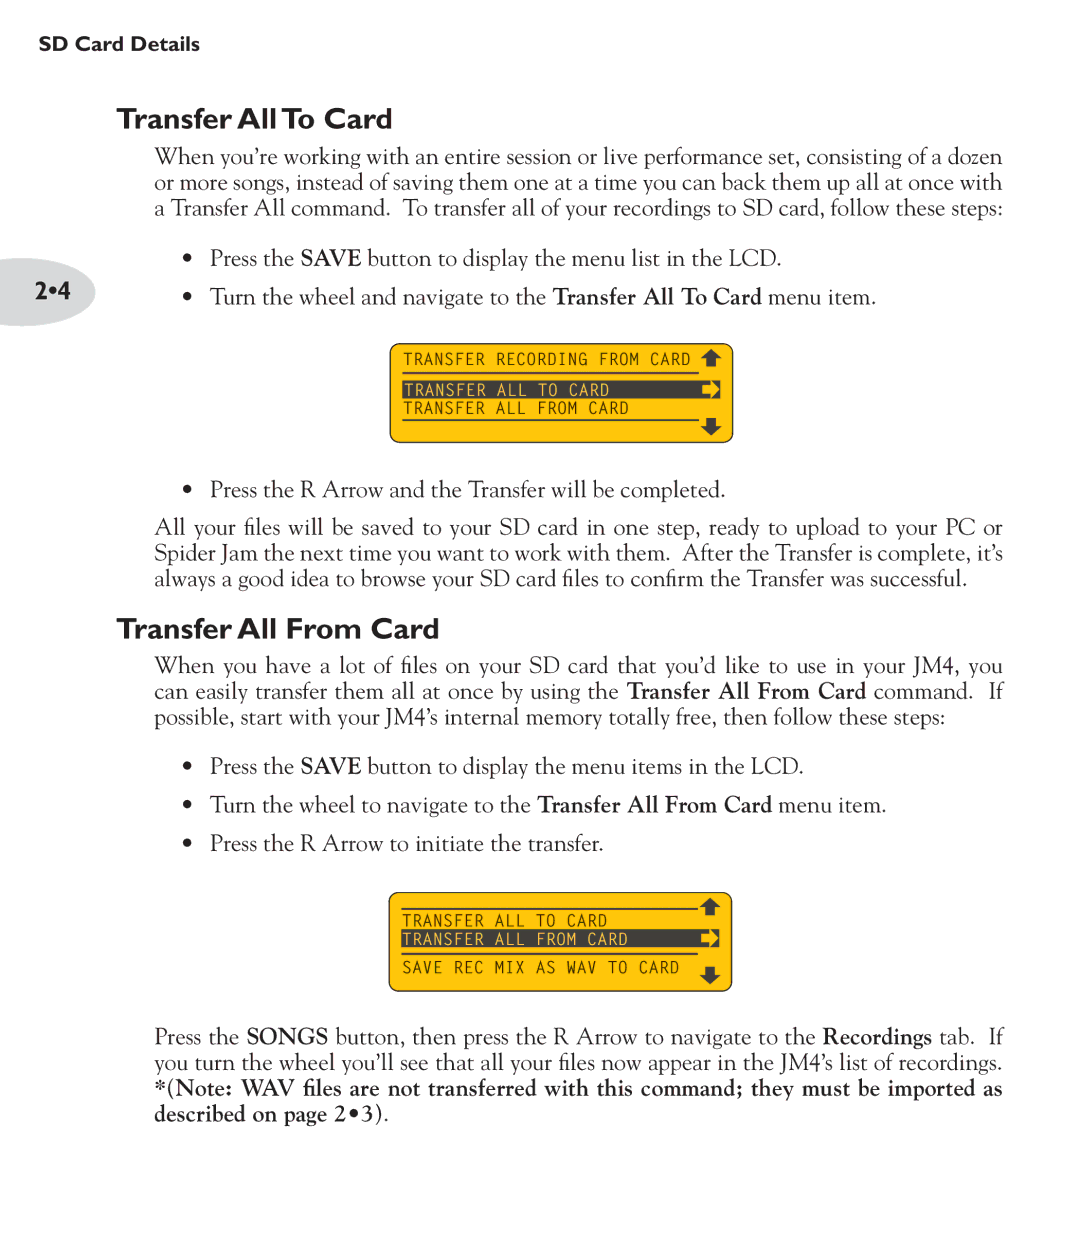
| • Press the SAVE button to display the menu list in the LCD. |
2•4 | • Turn the wheel and navigate to the Transfer All To Card menu item. |
![]() TRANSFER RECORDING FROM CARD
TRANSFER RECORDING FROM CARD ![]()
![]()
TRANSFER ALL TO CARD
TRANSFER ALL FROM CARD
•Press the R Arrow and the Transfer will be completed.
All your files will be saved to your SD card in one step, ready to upload to your PC or Spider Jam the next time you want to work with them. After the Transfer is complete, it’s always a good idea to browse your SD card files to confirm the Transfer was successful.
Transfer All From Card
When you have a lot of files on your SD card that you’d like to use in your JM4, you can easily transfer them all at once by using the Transfer All From Card command. If possible, start with your JM4’s internal memory totally free, then follow these steps:
•Press the SAVE button to display the menu items in the LCD.
•Turn the wheel to navigate to the Transfer All From Card menu item.
•Press the R Arrow to initiate the transfer.
TRANSFER ALL TO CARD
TRANSFER ALL FROM CARD
SAVE REC MIX AS WAV TO CARD
Press the SONGS button, then press the R Arrow to navigate to the Recordings tab. If you turn the wheel you’ll see that all your files now appear in the JM4’s list of recordings. *(Note: WAV files are not transferred with this command; they must be imported as described on page 2•3).