Workflow
Workflow
There are many ways to work with the JM4. You may want to use only the Amp Models and FX for your guitar sound while jamming to a Song. Or you may want to record and overdub complex loops, with or without a reference Drum track, or create your own custom loops.
Once you begin recording, you’ll want to develop an efficient workflow to keep your recordings backed up and organized as you go. You should also keep in mind the JM4 has limited memory, so it’s best to avoid filling it up. The key is to backup to SD card often.
As described in Chapter 1, if you follow a few simple guidelines, it’s easy to keep organized. Start out with a clean SD card, back up often, and keep the JM4’s internal memory as free as possible. With that in mind, let’s review a few of the basics:
Recording | 5•1 |
|
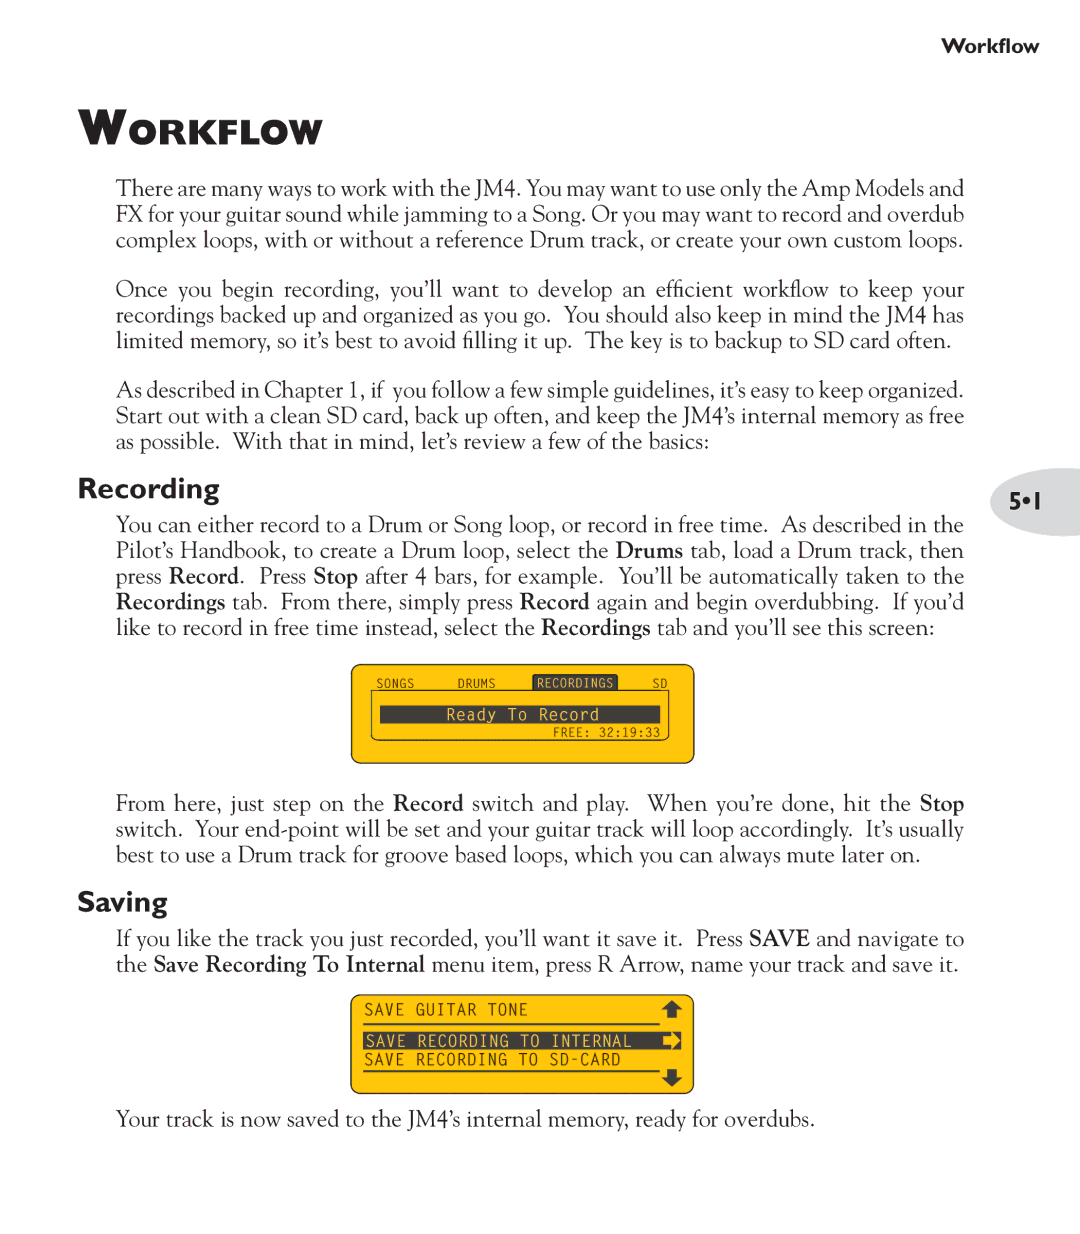
You can either record to a Drum or Song loop, or record in free time. As described in the Pilot’s Handbook, to create a Drum loop, select the Drums tab, load a Drum track, then press Record. Press Stop after 4 bars, for example. You’ll be automatically taken to the Recordings tab. From there, simply press Record again and begin overdubbing. If you’d like to record in free time instead, select the Recordings tab and you’ll see this screen:
SONGS DRUMS ![]() RECORDINGS
RECORDINGS ![]() SD
SD
Ready To Record
FREE: 32:19:33
From here, just step on the Record switch and play. When you’re done, hit the Stop switch. Your
Saving
If you like the track you just recorded, you’ll want it save it. Press SAVE and navigate to the Save Recording To Internal menu item, press R Arrow, name your track and save it.
![]() SAVE GUITAR TONE
SAVE GUITAR TONE
SAVE RECORDING TO INTERNAL
SAVE RECORDING TO
Your track is now saved to the JM4’s internal memory, ready for overdubs.