Chapter 3
Advanced Configuration
Group Management
The groups are listed in the Group Management table. There are two default groups, Admin and Guest; these cannot be deleted. Click Create New Group to create a new group.
If you click Create New Group, the Group Account screen appears.
Each group you created on the Group Account screen will be listed with its access rights, which you can edit or delete. Select Edit to edit a user or Delete to delete the user.
If you click Edit, the Group Account screen appears. Refer to the “Group Account Screen” section.
Click Save Settings to apply your changes, or click Cancel Changes to cancel your changes. For more information, click Help.
Group Account
Group Account Screen
Groups can be added, edited or deleted:
1.Enter a name for the group.
2.Enter a description for the group.
3.Select read and write or read only access.
4.Click Save Settings to save the new changes, or click Cancel Changes to cancel the changes. Click Close to close the screen.
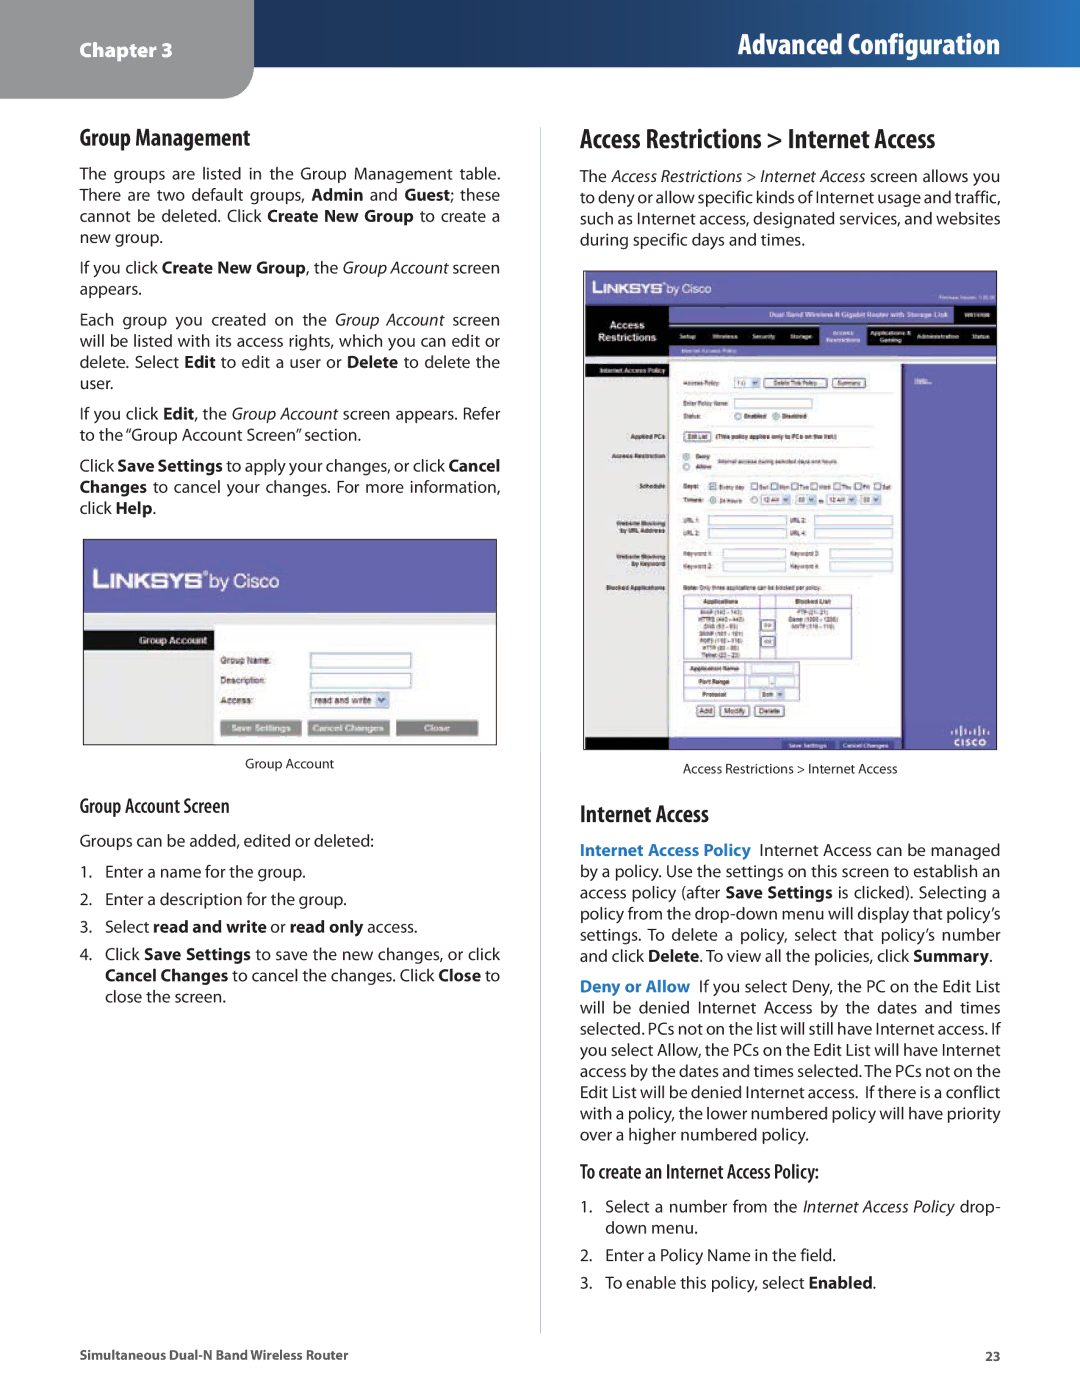
Access Restrictions > Internet Access
The Access Restrictions > Internet Access screen allows you to deny or allow specific kinds of Internet usage and traffic, such as Internet access, designated services, and websites during specific days and times.
Access Restrictions > Internet Access
Internet Access
Internet Access Policy Internet Access can be managed by a policy. Use the settings on this screen to establish an access policy (after Save Settings is clicked). Selecting a policy from the
Deny or Allow If you select Deny, the PC on the Edit List will be denied Internet Access by the dates and times selected. PCs not on the list will still have Internet access. If you select Allow, the PCs on the Edit List will have Internet access by the dates and times selected. The PCs not on the Edit List will be denied Internet access. If there is a conflict with a policy, the lower numbered policy will have priority over a higher numbered policy.
To create an Internet Access Policy:
1.Select a number from the Internet Access Policy drop- down menu.
2.Enter a Policy Name in the field.
3.To enable this policy, select Enabled.
Simultaneous | 23 |