MAIN MENU CONTROL:
Enter the MENU screen by pressing the Menu button. Scroll through the 9 options by pressing the UP and DOWN buttons. To enter a
Outlined below are the buttons used for Menu setting : “c“and “d” : Scroll up and down within a menu option
“SELECT” | : Press this button to select and change the values |
| in a menu option |
“MENU” | : Complete modification of a menu option; exit a menu |
After 20 seconds of Inactivity in the Menu mode, the system will go back to the live camera screen
(MAIN MENU)
1.TIME/DATE
2.SCHEDULE
3.SENSOR/ALARM
4.RECORD SETTING
5.CAMERA OPTIONS
6.EVENT LOG
7.ADVANCED
8.SYSTEM INFO
9.VGA OPTIONS
PRESS ( cd), THEN (SELECT)
PRESS (MENU) TO EXIT
There are 9 options available in the Main Menu:
TIME/DATE | Time/Date Setup |
SCHEDULE | Schedule Record Setup |
SENSOR/ALARM | Sensor / Alarm Setup |
RECORD SETTING | Recording Mode Setup |
CAMERA OPTIONS | Camera Select |
EVENT LOG | Event List |
ADVANCED | Password Input |
SYSTEM INFO | System Information Setup |
VGA OPTIONS | Resolution Setup |
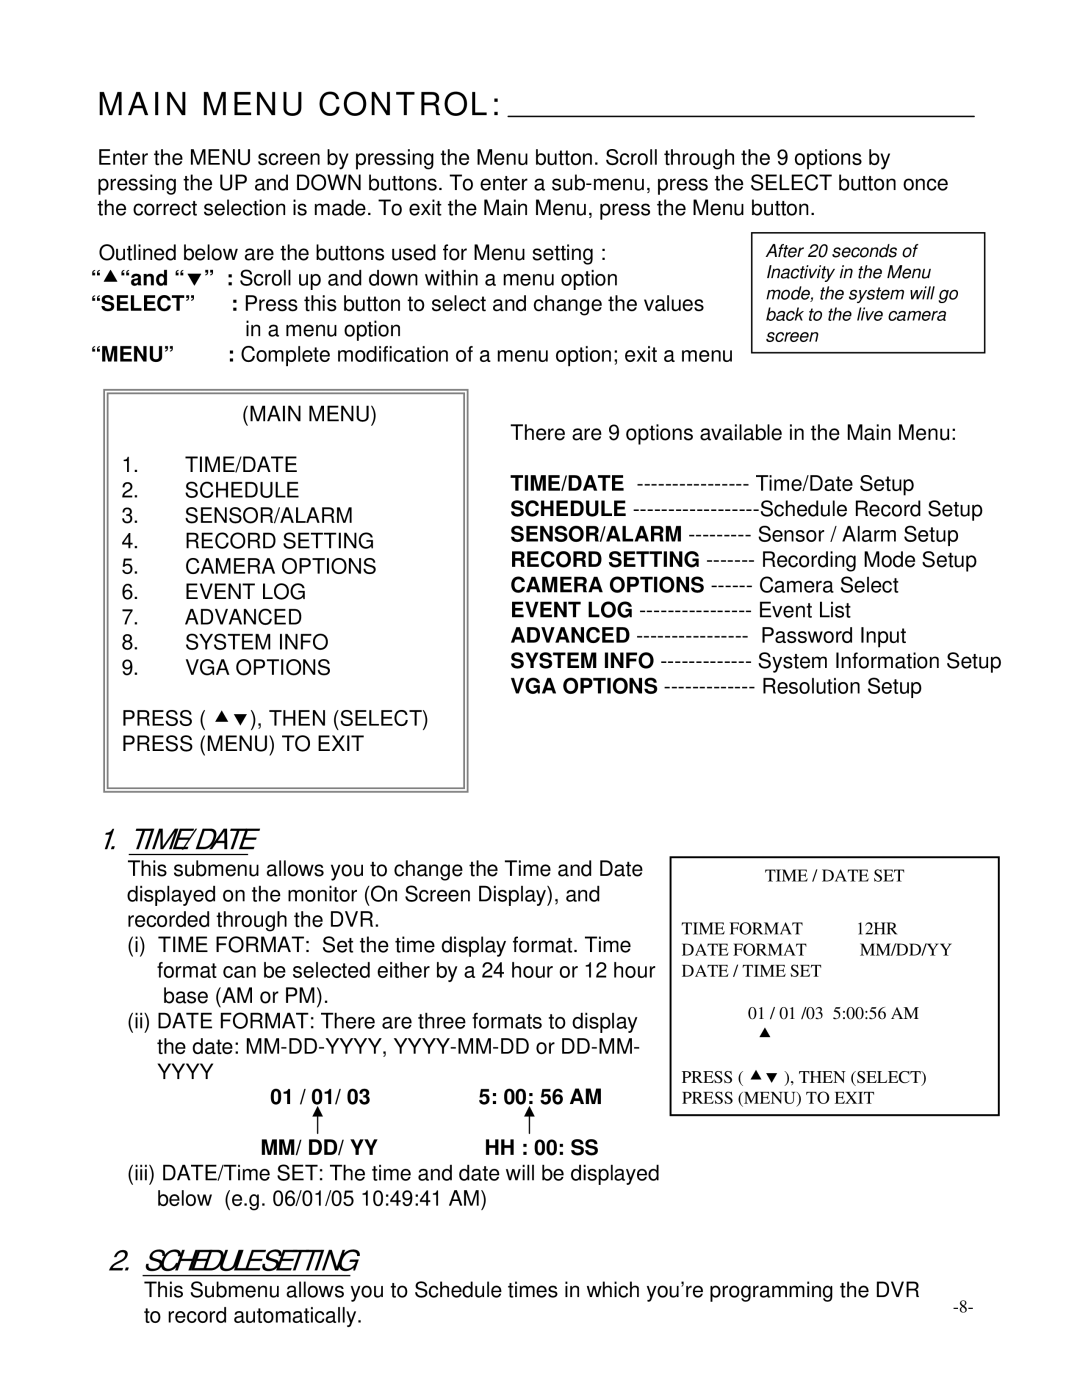
1.TIME/DATE
This submenu allows you to change the Time and Date displayed on the monitor (On Screen Display), and recorded through the DVR.
(i)TIME FORMAT: Set the time display format. Time format can be selected either by a 24 hour or 12 hour base (AM or PM).
(ii)DATE FORMAT: There are three formats to display
the date:
YYYY
01 / 01/ 03 | 5: 00: 56 AM |
MM/ DD/ YY | HH : 00: SS |
(iii)DATE/Time SET: The time and date will be displayed below (e.g. 06/01/05 10:49:41 AM)
2.SCHEDULE SETTING
TIME / DATE SET
TIME FORMAT | 12HR |
DATE FORMAT | MM/DD/YY |
DATE / TIME SET |
|
01 / 01 /03 5:00:56 AM c
PRESS ( cd ), THEN (SELECT)
PRESS (MENU) TO EXIT
This Submenu allows you to Schedule times in which you’re programming the DVR | ||
to record automatically. | ||
|
