NOTE : Higher quality recording consumes more memory on your HDD. Appendix#3 shows the different recording speed associated with the type of setting that you select
(iii)RECORD FPS: Allows you to set the Frames Per Second for recording. Available FPS
settings are: 1, 2, 4, 5, 7, 10, 15, 30. 1 FPS is the slowest speed; it will allow for the longest recording durations as it records less information. Please refer to Appendix #2 for the different recording times
(iv)RECORD CAMERA 1 – RECORD CAMERA 4: Allows you to select the camera ON or OFF for recording
5.CAMERA OPTIONS
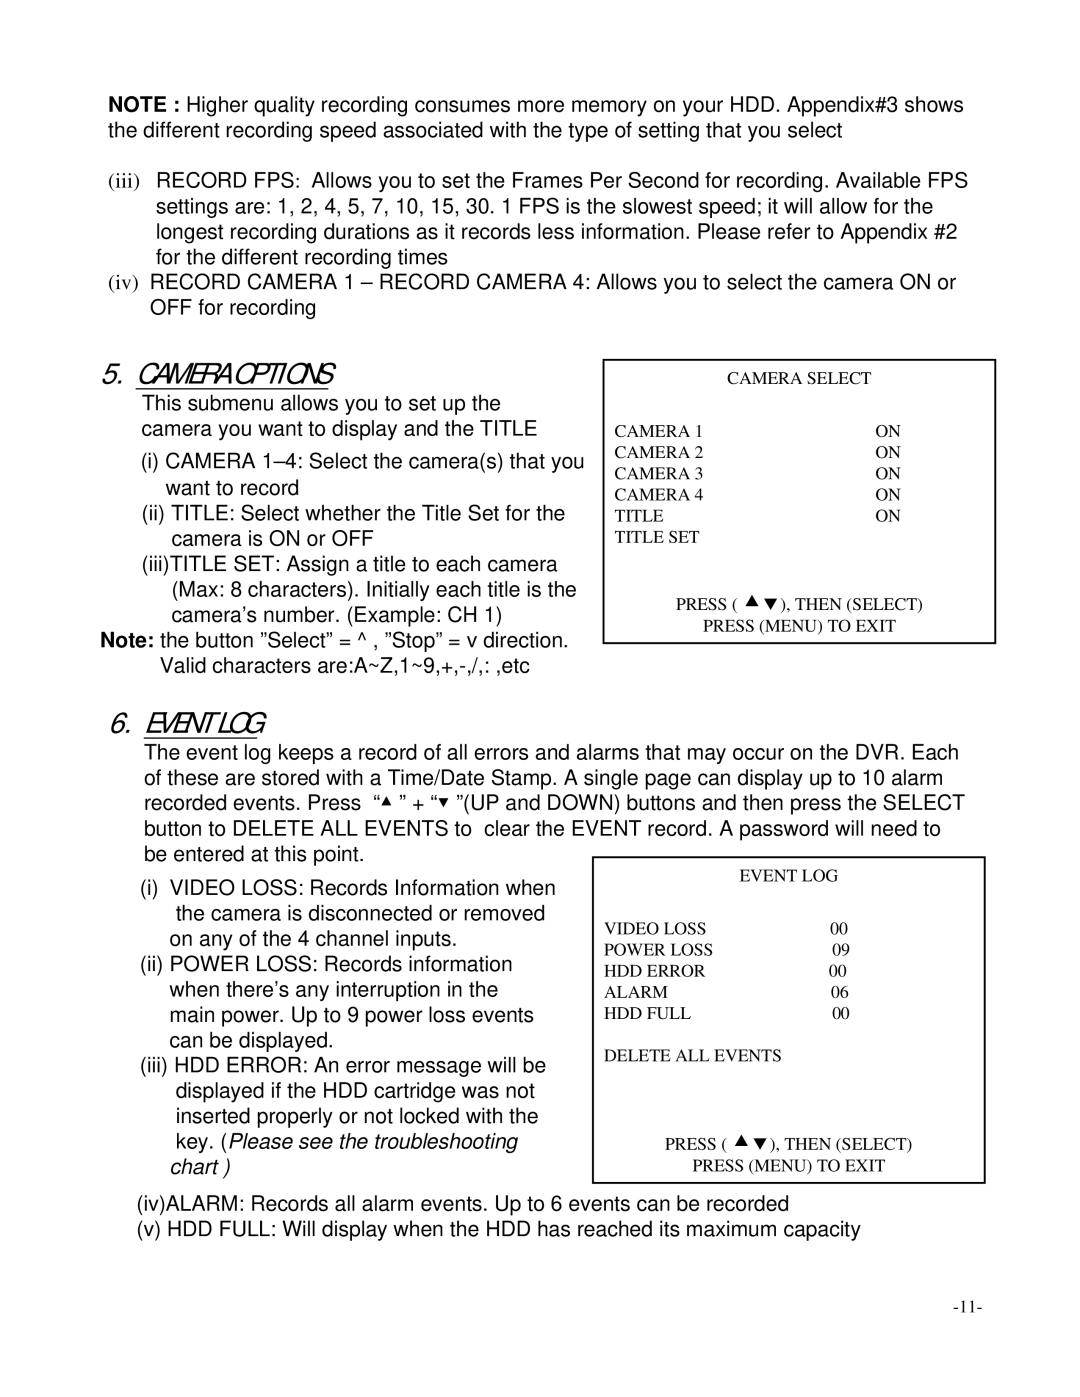
This submenu allows you to set up the camera you want to display and the TITLE
(i)CAMERA
(ii)TITLE: Select whether the Title Set for the camera is ON or OFF
(iii)TITLE SET: Assign a title to each camera (Max: 8 characters). Initially each title is the camera’s number. (Example: CH 1)
Note: the button ”Select” = ^ , ”Stop” = v direction. Valid characters
| CAMERA SELECT |
CAMERA 1 | ON |
CAMERA 2 | ON |
CAMERA 3 | ON |
CAMERA 4 | ON |
TITLE | ON |
TITLE SET |
|
PRESS ( cd), THEN (SELECT)
PRESS (MENU) TO EXIT
6.EVENT LOG
The event log keeps a record of all errors and alarms that may occur on the DVR. Each of these are stored with a Time/Date Stamp. A single page can display up to 10 alarm recorded events. Press “▲ ” + “▼ ”(UP and DOWN) buttons and then press the SELECT button to DELETE ALL EVENTS to clear the EVENT record. A password will need to be entered at this point.
(i) VIDEO LOSS: Records Information when |
| EVENT LOG | |
|
| ||
the camera is disconnected or removed | VIDEO LOSS | 00 | |
on any of the 4 channel inputs. | |||
POWER LOSS | 09 | ||
(ii) POWER LOSS: Records information | |||
HDD ERROR | 00 | ||
when there’s any interruption in the | ALARM | 06 | |
main power. Up to 9 power loss events | HDD FULL | 00 | |
can be displayed. | DELETE ALL EVENTS | ||
(iii) HDD ERROR: An error message will be | |||
|
| ||
displayed if the HDD cartridge was not |
|
| |
inserted properly or not locked with the |
|
| |
key. (Please see the troubleshooting | PRESS ( cd), THEN (SELECT) | ||
chart ) | PRESS (MENU) TO EXIT | ||
(iv)ALARM: Records all alarm events. Up to 6 events can be recorded
(v) HDD FULL: Will display when the HDD has reached its maximum capacity
