Display Setup
Display Setup
1.TIME DISPLAY: Turns the onscreen Time display ON or OFF. Navigate using the K and L buttons, and press + and - to change the setting to ON or OFF.
2.TITLE DISPLAY: Turns the onscreen Camera Title display ON or OFF. Navigate using the K and L buttons, and press + and - to change the setting to ON or OFF.
3.VOICE DISPLAY: Displays an indicator icon on the channel currently sending sound. Navigate using the K and L buttons, and press + and - to change the setting to ON or OFF.
4.HDD CAPACITY: Turns the onscreen Hard Drive Capacity display ON or OFF. Navigate using the K and L buttons, and press + and - to change the setting to ON or OFF.
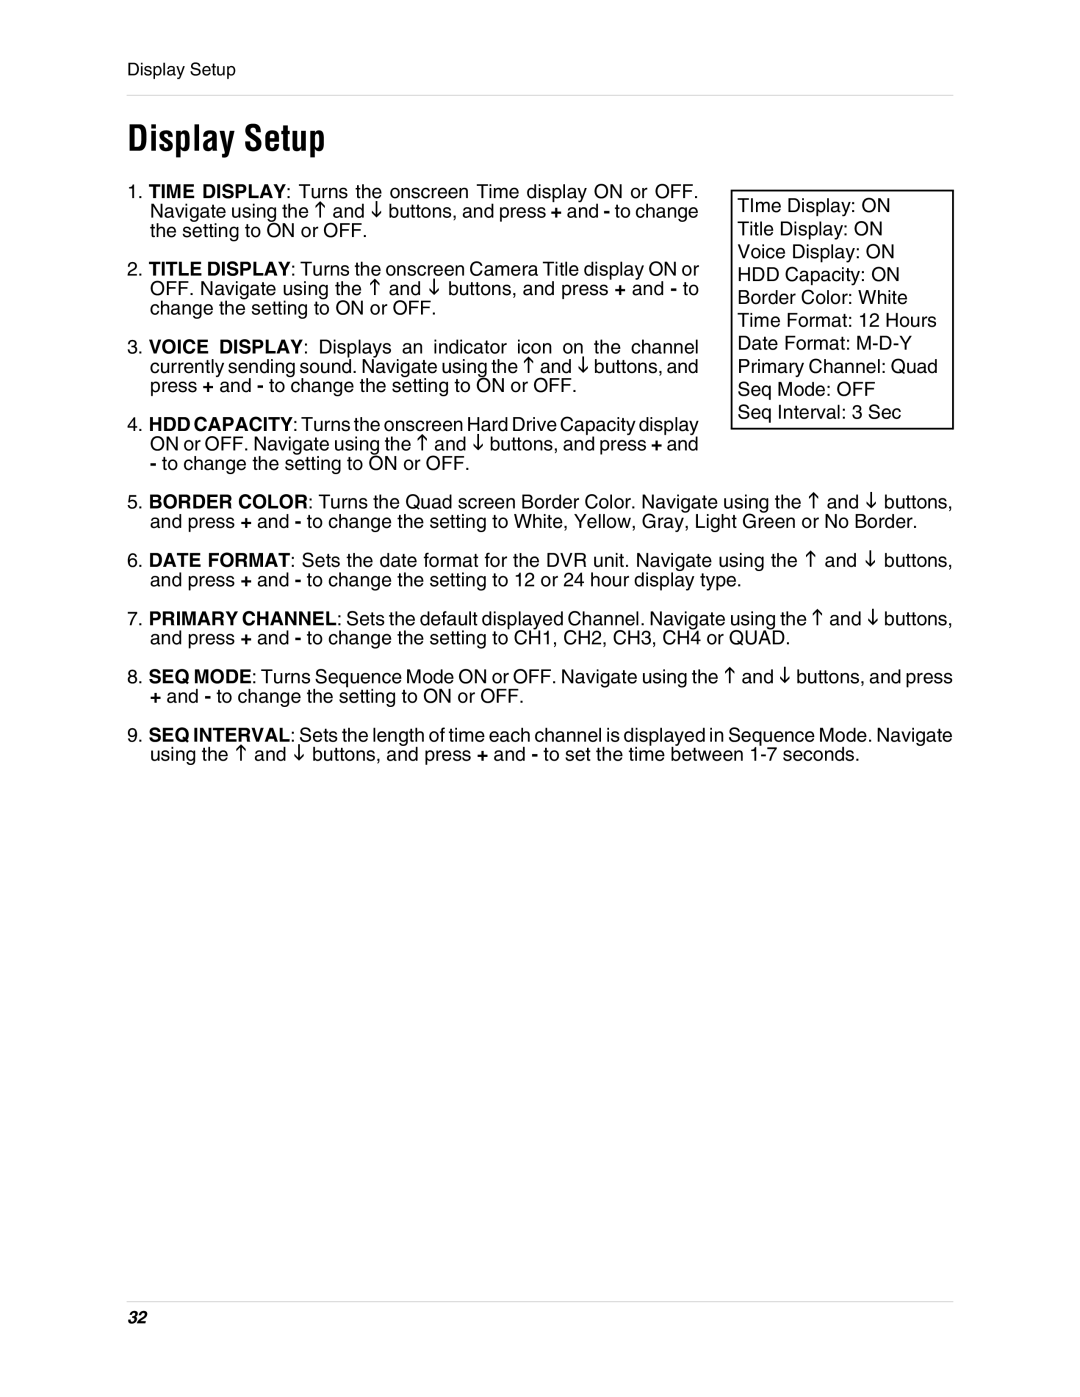
TIme Display: ON
Title Display: ON
Voice Display: ON
HDD Capacity: ON
Border Color: White
Time Format: 12 Hours
Date Format:
Primary Channel: Quad
Seq Mode: OFF
Seq Interval: 3 Sec
5.BORDER COLOR: Turns the Quad screen Border Color. Navigate using the K and L buttons, and press + and - to change the setting to White, Yellow, Gray, Light Green or No Border.
6.DATE FORMAT: Sets the date format for the DVR unit. Navigate using the K and L buttons, and press + and - to change the setting to 12 or 24 hour display type.
7.PRIMARY CHANNEL: Sets the default displayed Channel. Navigate using the K and L buttons, and press + and - to change the setting to CH1, CH2, CH3, CH4 or QUAD.
8.SEQ MODE: Turns Sequence Mode ON or OFF. Navigate using the K and L buttons, and press + and - to change the setting to ON or OFF.
9.SEQ INTERVAL: Sets the length of time each channel is displayed in Sequence Mode. Navigate using the K and L buttons, and press + and - to set the time between
32