4.Gently form the AR Interconnect Cable from the exit of the rubber boot up and over the rear cable exit of the AR Base
5.Replace the AR Gasket on the AR Base, over the AR Interconnect Cable, and then install the AR as described in “2. AR Flush Mount through deck installation.”
IM Installation
With all of the AR installation options, we recommend the IM be mounted/installed below deck in a water tight area.
To install the IM:
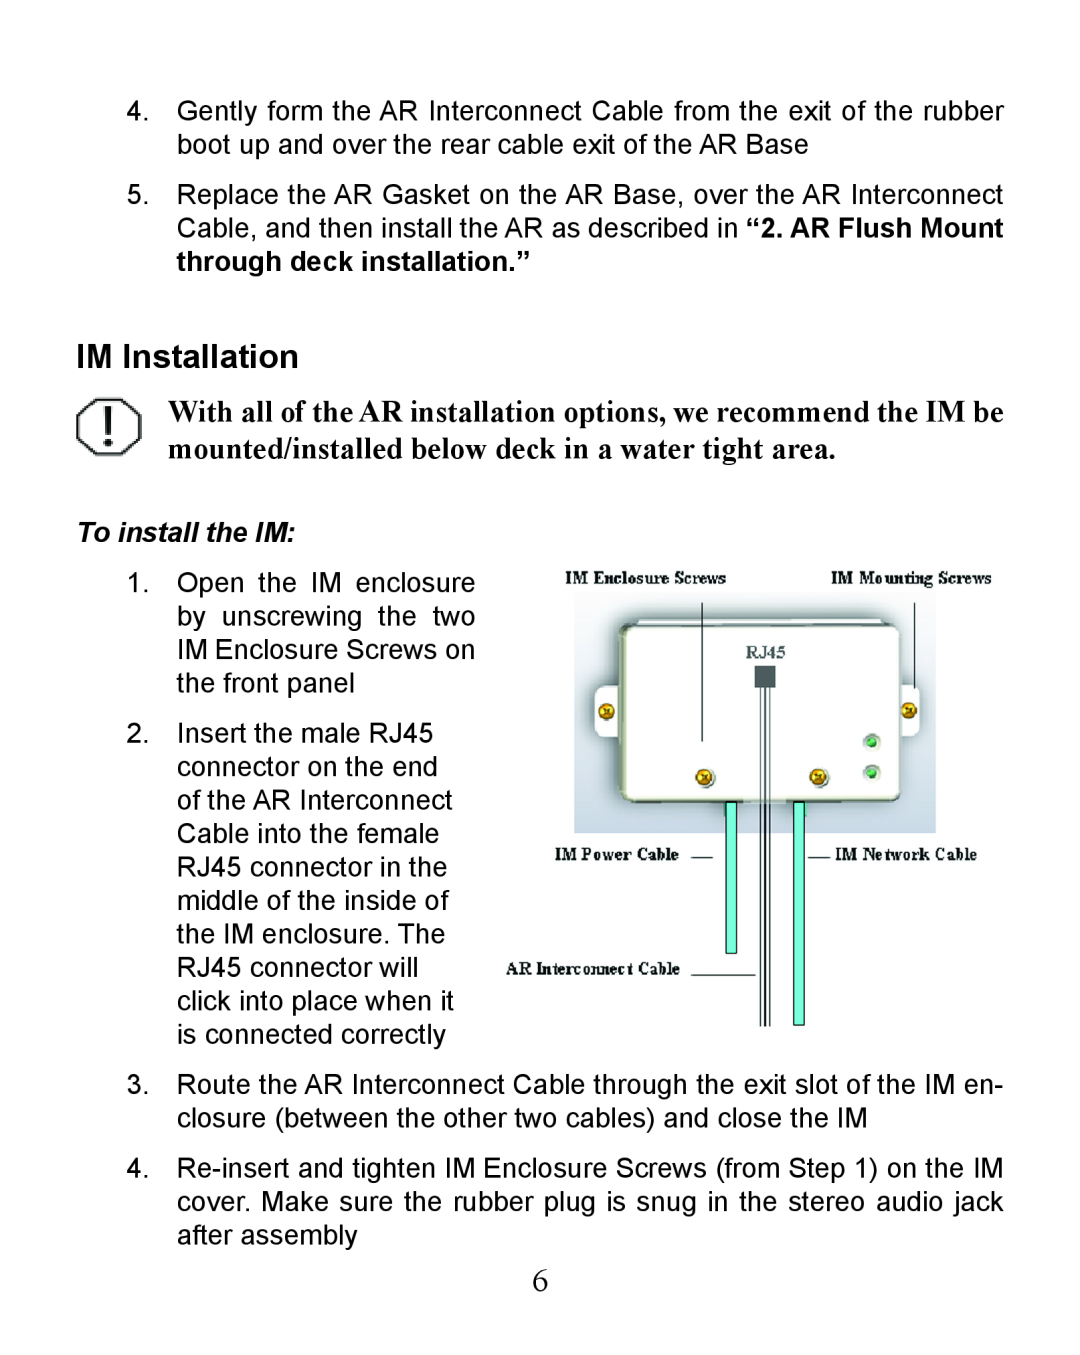
1.Open the IM enclosure by unscrewing the two IM Enclosure Screws on the front panel
2.Insert the male RJ45 connector on the end of the AR Interconnect Cable into the female RJ45 connector in the middle of the inside of the IM enclosure. The RJ45 connector will click into place when it is connected correctly
3.Route the AR Interconnect Cable through the exit slot of the IM en- closure (between the other two cables) and close the IM
4.
6