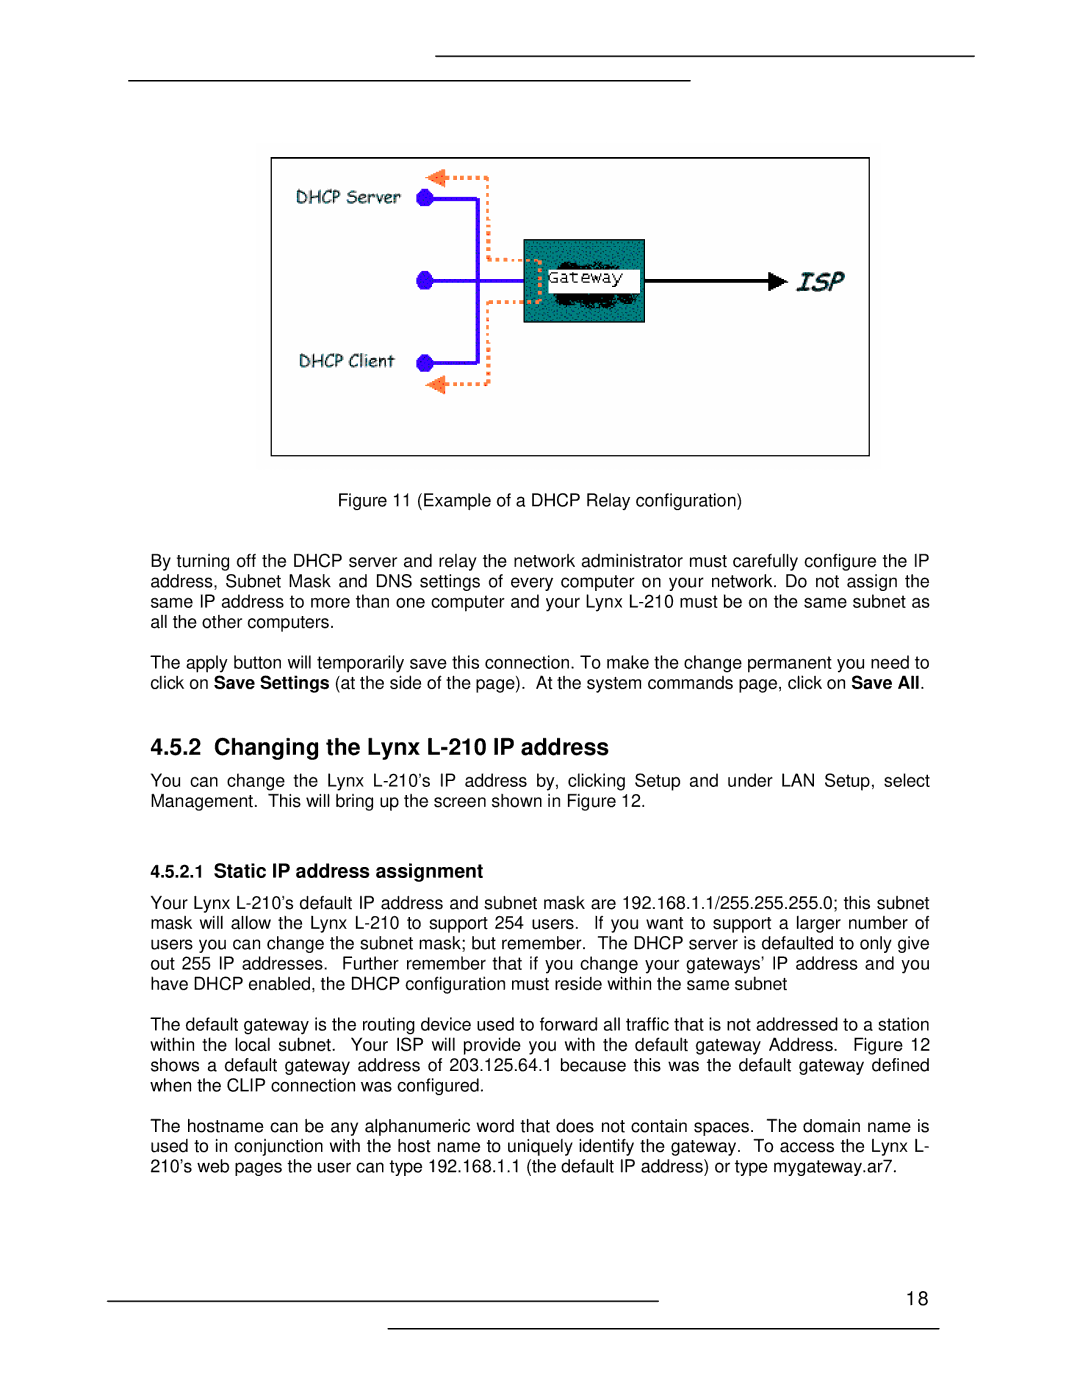
Figure 11 (Example of a DHCP Relay configuration)
By turning off the DHCP server and relay the network administrator must carefully configure the IP address, Subnet Mask and DNS settings of every computer on your network. Do not assign the same IP address to more than one computer and your Lynx L-210 must be on the same subnet as all the other computers.
The apply button will temporarily save this connection. To make the change permanent you need to click on Save Settings (at the side of the page). At the system commands page, click on Save All.
4.5.2 Changing the Lynx L-210 IP address
You can change the Lynx
4.5.2.1Static IP address assignment
Your Lynx
The default gateway is the routing device used to forward all traffic that is not addressed to a station within the local subnet. Your ISP will provide you with the default gateway Address. Figure 12 shows a default gateway address of 203.125.64.1 because this was the default gateway defined when the CLIP connection was configured.
The hostname can be any alphanumeric word that does not contain spaces. The domain name is used to in conjunction with the host name to uniquely identify the gateway. To access the Lynx L- 210’s web pages the user can type 192.168.1.1 (the default IP address) or type mygateway.ar7.
18