4.Setting up your Lynx L-210
This section will guide you through your Lynx L-210’s configuration. The Lynx L-210 is shipped with a standard PPP configuration.
4.1Log into your Lynx L-210
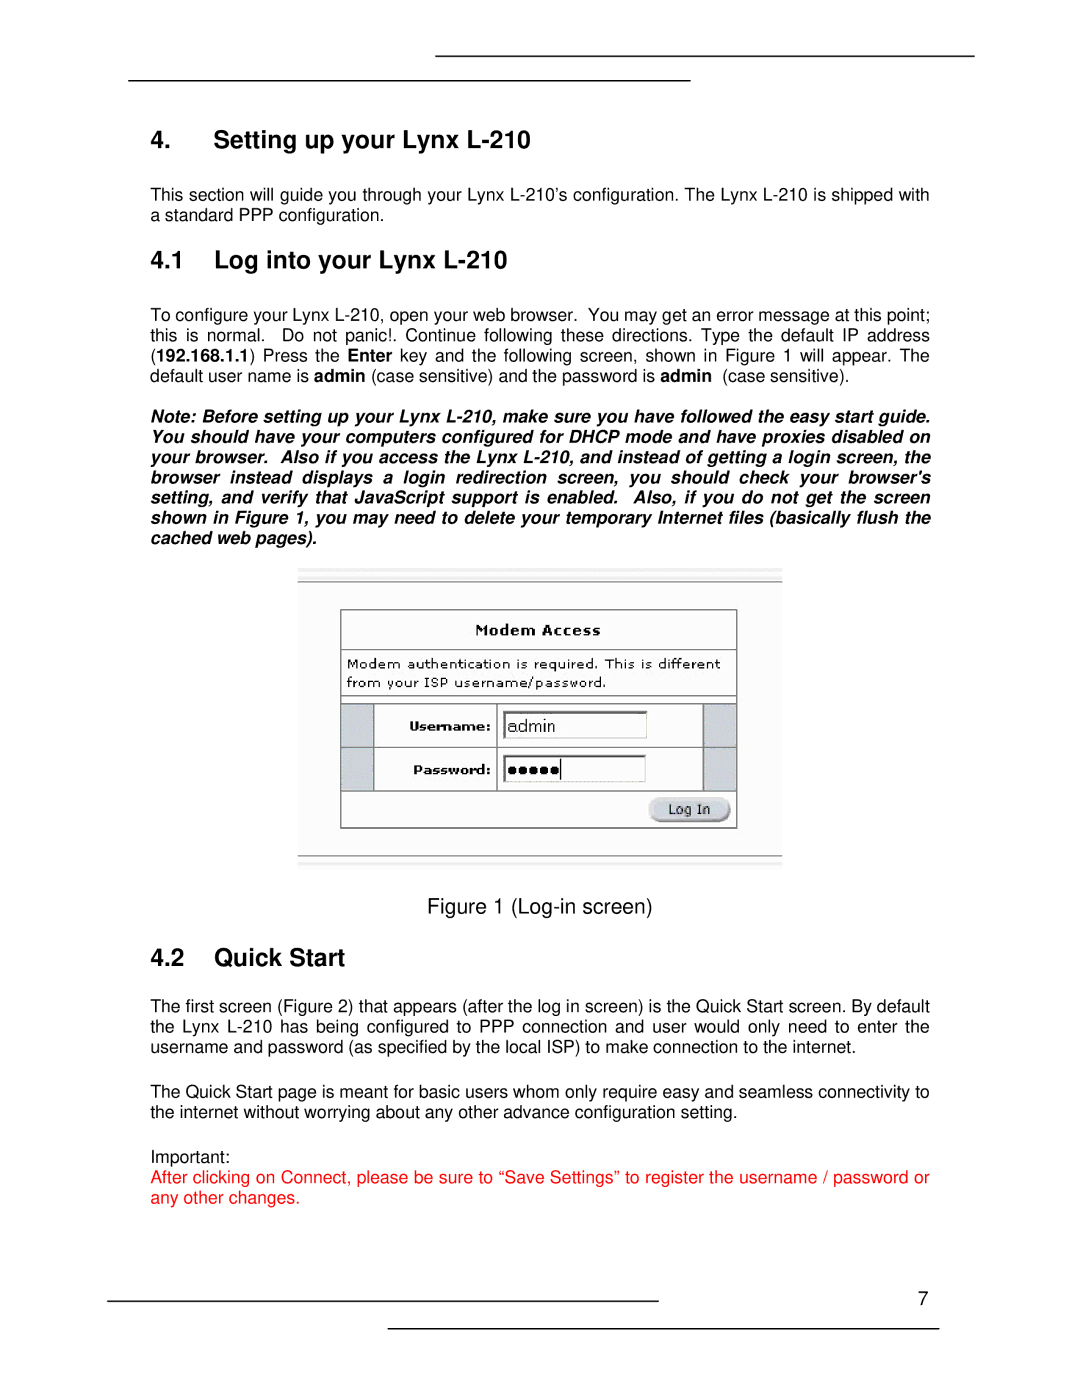
To configure your Lynx L-210, open your web browser. You may get an error message at this point; this is normal. Do not panic!. Continue following these directions. Type the default IP address (192.168.1.1) Press the Enter key and the following screen, shown in Figure 1 will appear. The default user name is admin (case sensitive) and the password is admin (case sensitive).
Note: Before setting up your Lynx L-210, make sure you have followed the easy start guide. You should have your computers configured for DHCP mode and have proxies disabled on your browser. Also if you access the Lynx L-210, and instead of getting a login screen, the browser instead displays a login redirection screen, you should check your browser's setting, and verify that JavaScript support is enabled. Also, if you do not get the screen shown in Figure 1, you may need to delete your temporary Internet files (basically flush the cached web pages).
Figure 1 (Log-in screen)
4.2Quick Start
The first screen (Figure 2) that appears (after the log in screen) is the Quick Start screen. By default the Lynx L-210 has being configured to PPP connection and user would only need to enter the username and password (as specified by the local ISP) to make connection to the internet.
The Quick Start page is meant for basic users whom only require easy and seamless connectivity to the internet without worrying about any other advance configuration setting.
Important:
After clicking on Connect, please be sure to “Save Settings” to register the username / password or any other changes.
7