22
Now you can continue to specify the DVD menu layout as described in Chapter 3 of this manual (frame color, title, etc.)
5.Practice Excercises for Specifying the Background Menu Using Supplementary Software
Each of the following examples is an extension of increased complexity over the previous example. We therefore recommend that you work through the examples in the order given.
It is assumed that you are familiar with the basic operation of Casablanca, e.g. using the
For these practice examples it is not necessary to actually burn a DVD. The virtual DVD you have created is on the hard disk and can be played with the
5.1 Animated DVD title text
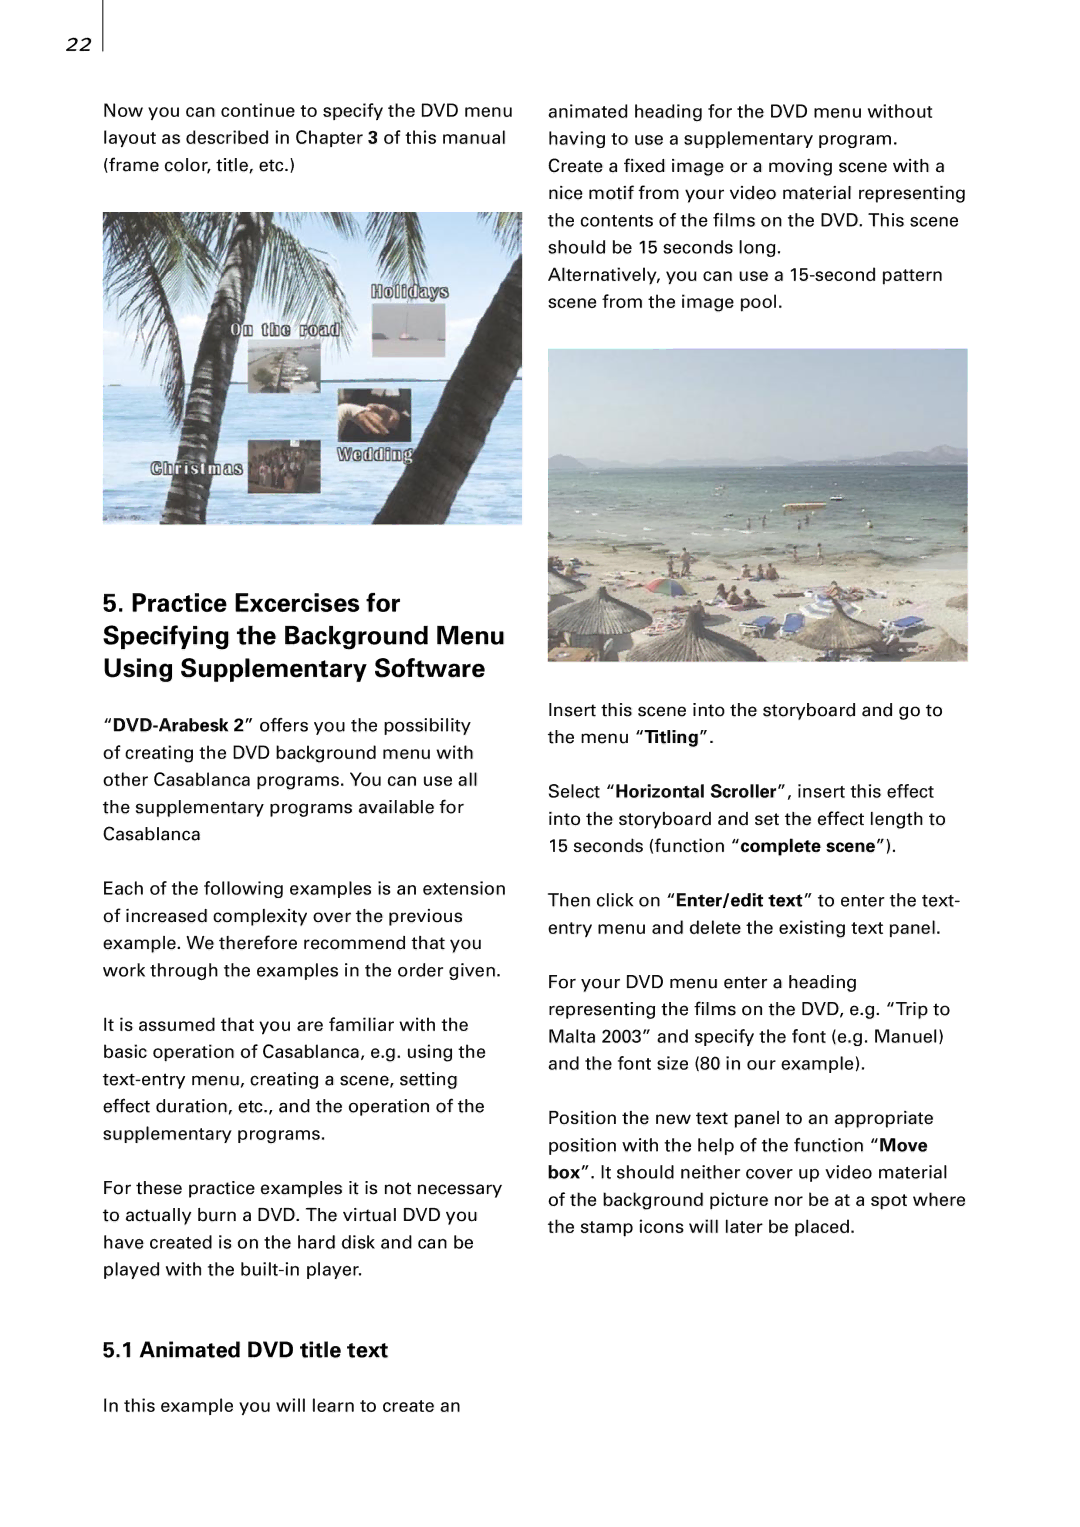
animated heading for the DVD menu without having to use a supplementary program. Create a fixed image or a moving scene with a nice motif from your video material representing the contents of the films on the DVD. This scene should be 15 seconds long.
Alternatively, you can use a
Insert this scene into the storyboard and go to the menu “Titling”.
Select “Horizontal Scroller”, insert this effect into the storyboard and set the effect length to 15 seconds (function “complete scene”).
Then click on “Enter/edit text” to enter the text- entry menu and delete the existing text panel.
For your DVD menu enter a heading representing the films on the DVD, e.g. “Trip to Malta 2003” and specify the font (e.g. Manuel) and the font size (80 in our example).
Position the new text panel to an appropriate position with the help of the function “Move box”. It should neither cover up video material of the background picture nor be at a spot where the stamp icons will later be placed.
In this example you will learn to create an
