Chapter 3 - EASY INSTALLATION
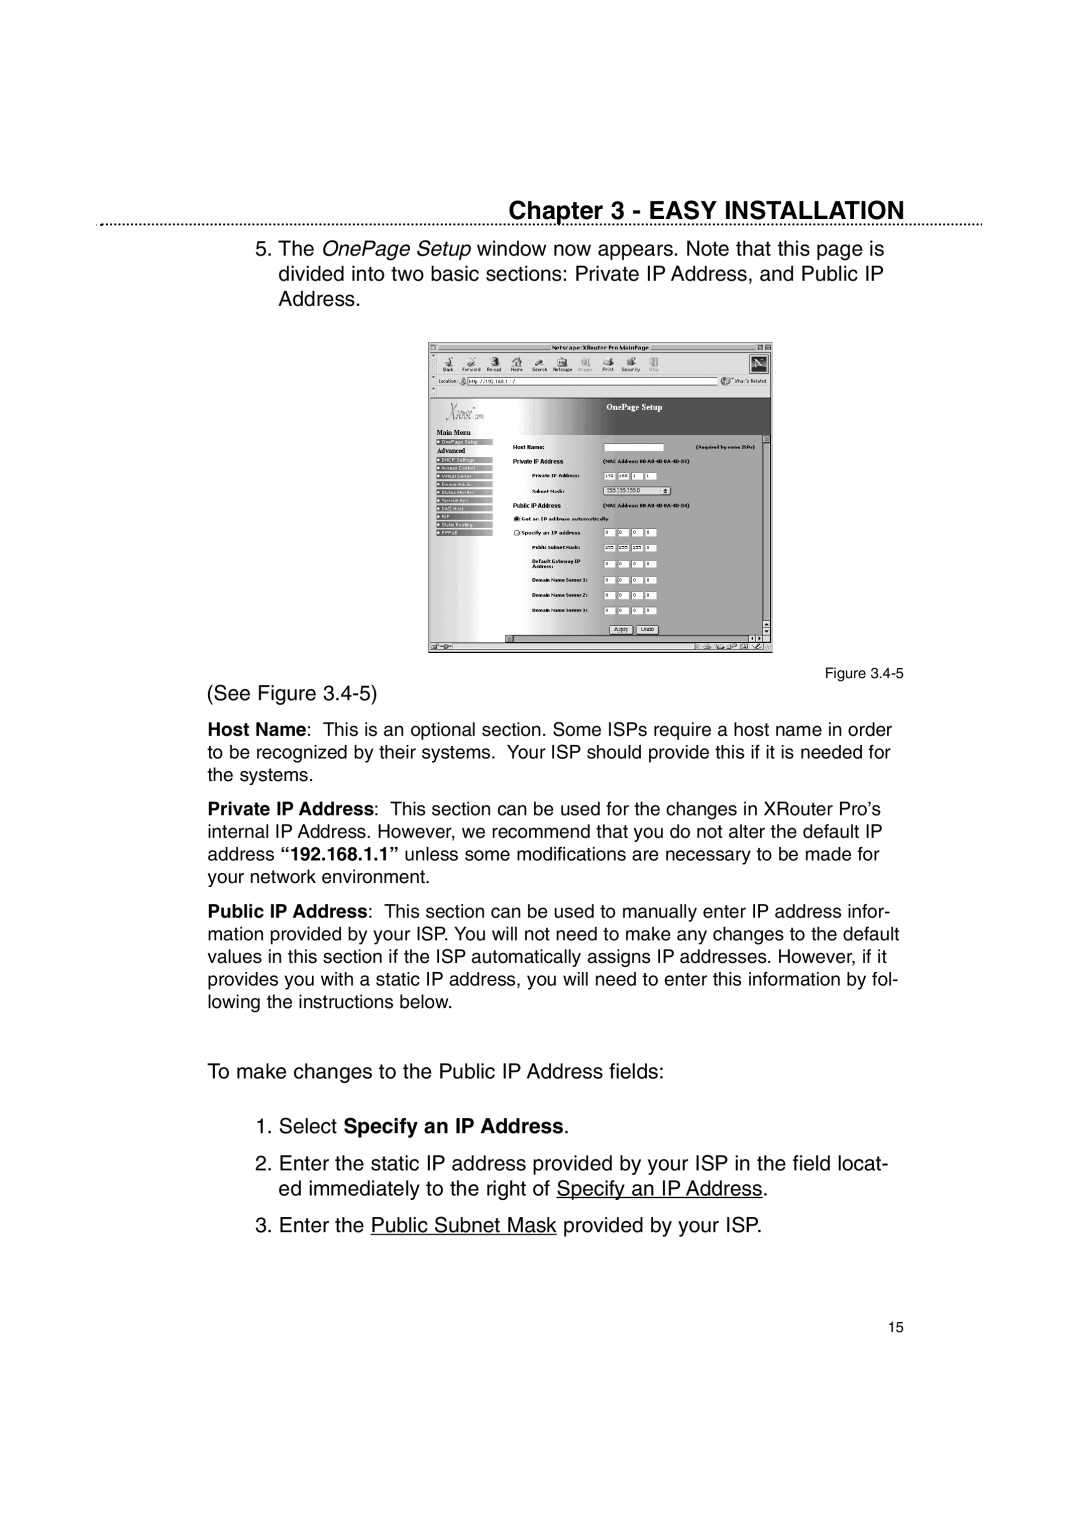
5.The OnePage Setup window now appears. Note that this page is divided into two basic sections: Private IP Address, and Public IP Address.
Figure
(See Figure
Host Name: This is an optional section. Some ISPs require a host name in order to be recognized by their systems. Your ISP should provide this if it is needed for the systems.
Private IP Address: This section can be used for the changes in XRouter Pro’s internal IP Address. However, we recommend that you do not alter the default IP address “192.168.1.1” unless some modifications are necessary to be made for your network environment.
Public IP Address: This section can be used to manually enter IP address infor- mation provided by your ISP. You will not need to make any changes to the default values in this section if the ISP automatically assigns IP addresses. However, if it provides you with a static IP address, you will need to enter this information by fol- lowing the instructions below.
To make changes to the Public IP Address fields:
1.Select Specify an IP Address.
2.Enter the static IP address provided by your ISP in the field locat- ed immediately to the right of Specify an IP Address.
3.Enter the Public Subnet Mask provided by your ISP.
15
